5-78
CONNECTING RODS AND PISTONS
9. Install:
• Connecting rod cap
• Connecting rod bolt
• Make sure the “Y” marks “a” on the connecting
rods face towards the left side of the crank-
shaft.
• Make sure that the projection “b” on the con-
necting rod cap faces the same direction as the
“Y” mark “a” on the connecting rod.
• Apply Molybdenum disulfide oil to the bolt
threads and seats.
10.Tighten:
• Connecting rod bolt
Tighten the connecting rod bolts using the fol-
lowing procedure.
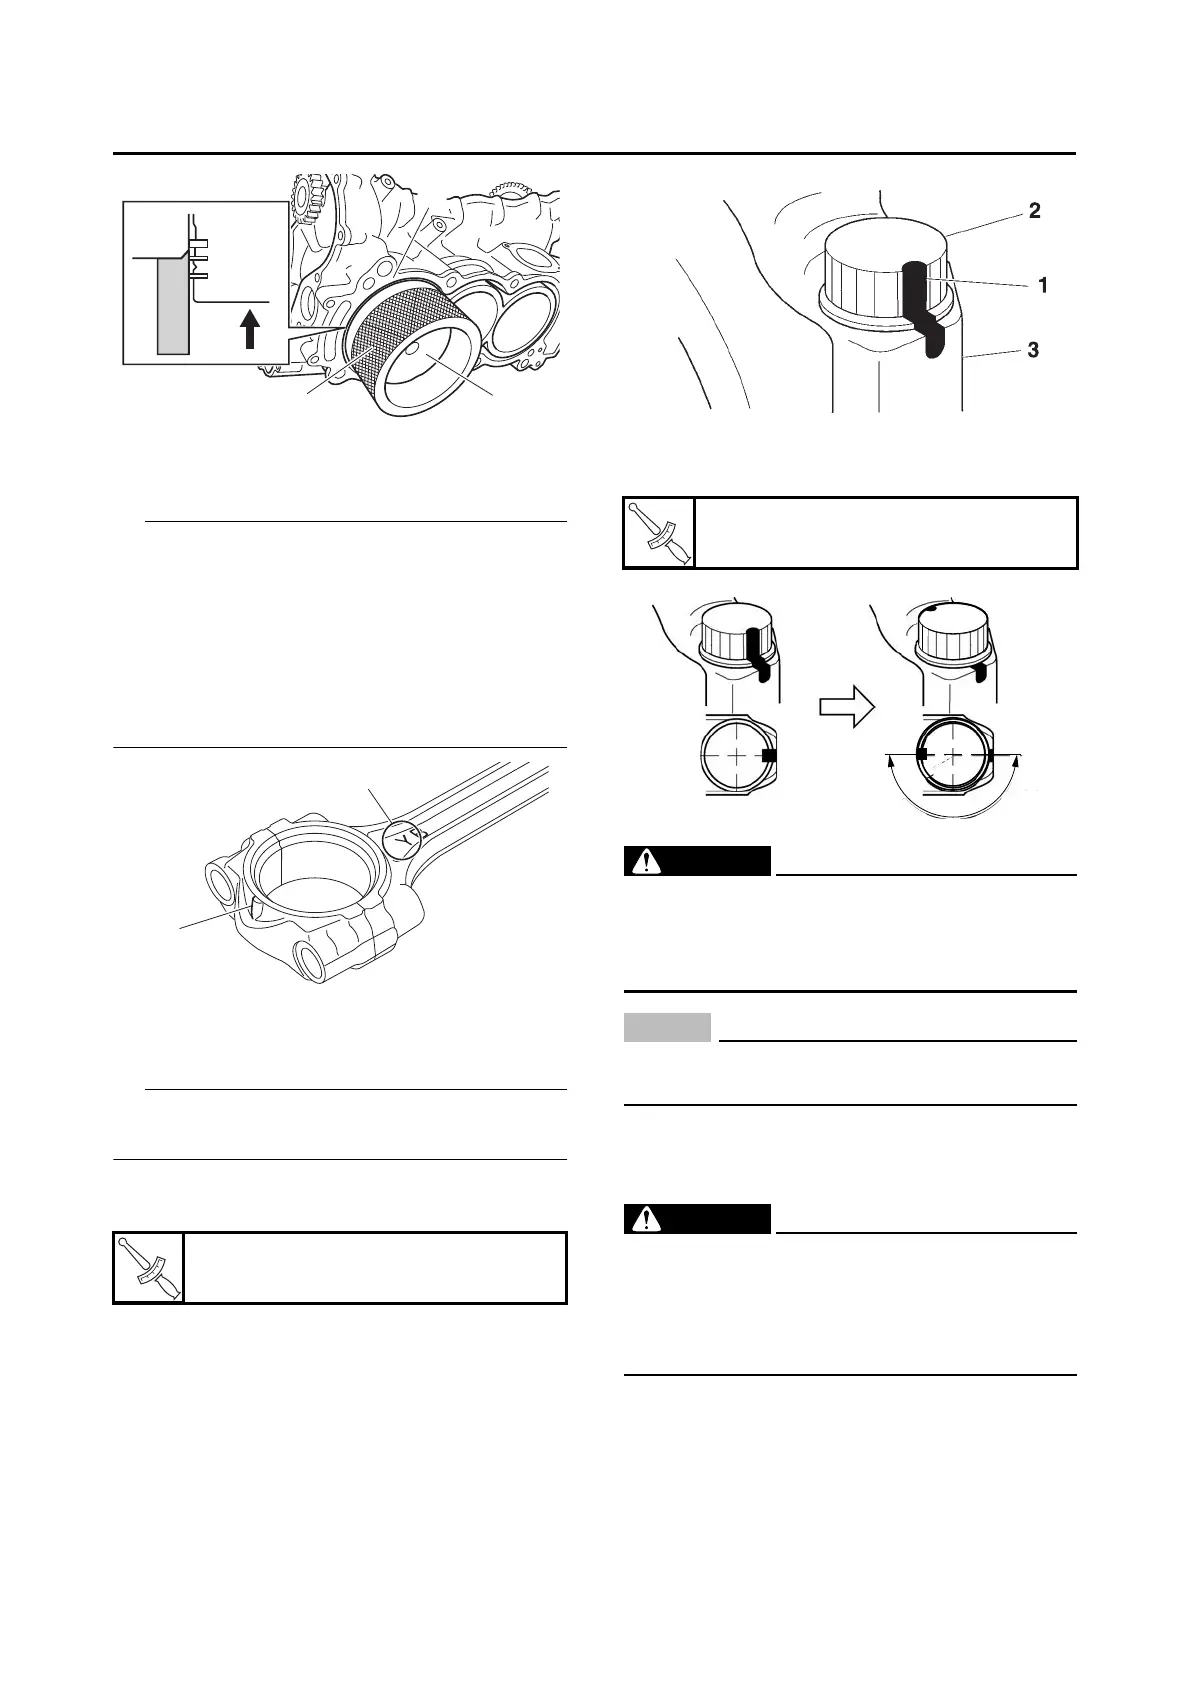
a. Tighten the connecting rod bolts with a
torque wrench.
b. Put a mark “1” on the corner of the connect-
ing rod bolt “2” and the connecting rod cap
“3”.
c. Tighten the connecting rod bolts further to
reach the specified angle 180°.
WARNING
EWA16610
If the bolt is tightened more than the speci-
fied angle, do not loosen the bolt and then re-
tighten it. Instead, replace the bolt with a new
one and perform the procedure again.
NOTICE
ECA20890
Do not use a torque wrench to tighten the
bolt to the specified angle.
d. After the installation, check that the section
shown “a” is flush with each other by touch-
ing the surface.
WARNING
EWA17120
If the connecting rod and cap are not flush
with each other, remove the connecting rod
bolts and big end bearing and restart from
step (1). In this case, make sure to replace
the connecting rod bolts.
Connecting rod bolt (1st)
20 N·m (2.0 kgf·m, 15 lb·ft)
Connecting rod bolt (final)
Specified angle 180°
 Loading...