5-51
CLUTCH
• Perform the thickness measurement without
applying the oil.
• This step should be performed only if the fric-
tion plates and clutch plates were replaced.
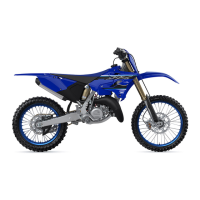
• To measure the total width of the friction plates
and clutch plates, combine 9 friction plates and
8 clutch plates as shown.
a. Assembly width adjusted by clutch plate 2
“1” and “2”.
b. Select the clutch plate 2 from the following
table.
When adjusting the clutch assembly width [by
replacing the clutch plate(s)], be sure to replace
the clutch plate 2 “1” first.
After replacing the clutch plate 2 “1”, if specifica-
tions cannot be met, replace the clutch plate 2
“2”.
EAS30351
CHECKING THE CLUTCH SPRINGS
The following procedure applies to all of the
clutch springs.
1. Check:
•Clutch spring
Damage → Replace the clutch springs as a
set.
2. Measure:
• Clutch spring free length
Out of specification → Replace the clutch
springs as a set.
EAS30352
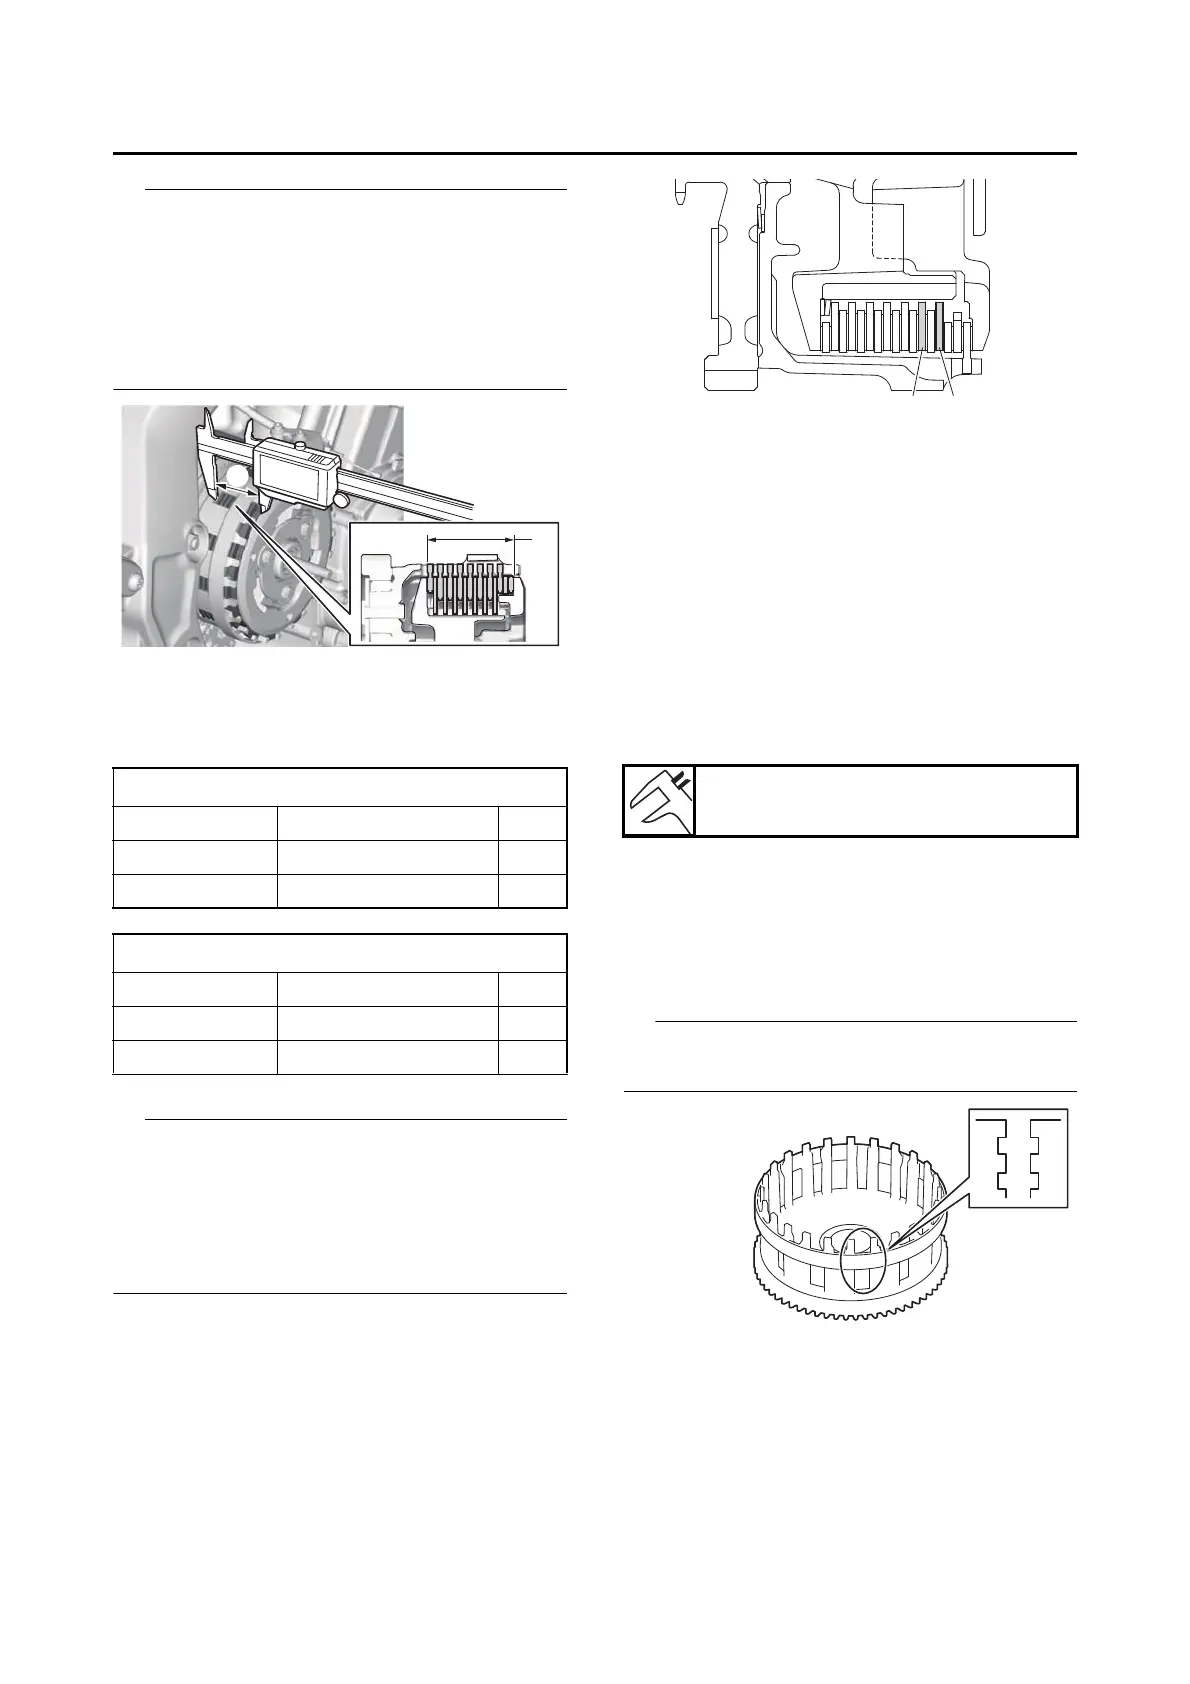
CHECKING THE CLUTCH HOUSING
1. Check:
• Clutch housing dogs
Damage/pitting/wear → Deburr the clutch
housing dogs or replace the clutch housing.
Pitting on the clutch housing dogs will cause er-
ratic clutch operation.
Clutch plate 2 “1”
BR9-16324-00 1.6 mm (0.063 in)
5VY-16325-00 2.0 mm (0.079 in) STD
4B1-16325-00 2.3 mm (0.091 in)
Clutch plate 2 “2”
BR9-16324-00 1.6 mm (0.063 in)
5VY-16325-00 2.0 mm (0.079 in) STD
4B1-16325-00 2.3 mm (0.091 in)
Clutch spring free length limit
42.53 mm (1.67 in)