52 service@zcorp.com
REMOVING THE PRINTED PART
1. With starch-based parts, wait approximately ten
to fifteen minutes to ensure that the uppermost
layers of the part have had a chance to dry. With
plaster-based parts, leave the part in the bed for
approximately 30-60 minutes.
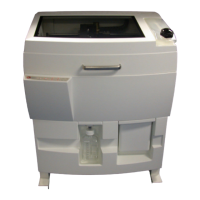
2. Take the machine offline by pressing the online
button.
3. Lift the top cover.
4. Vacuum off any remaining powder on the deck.
5. Press the ‘Feed Down’ button to lower the feed piston.
6. Place a tray on the top of the feed area.
7. Take a moment to look at the computer screen and
determine exactly where parts lie in the build box. 3D View
in the ZPrint Software makes this easy to perform.
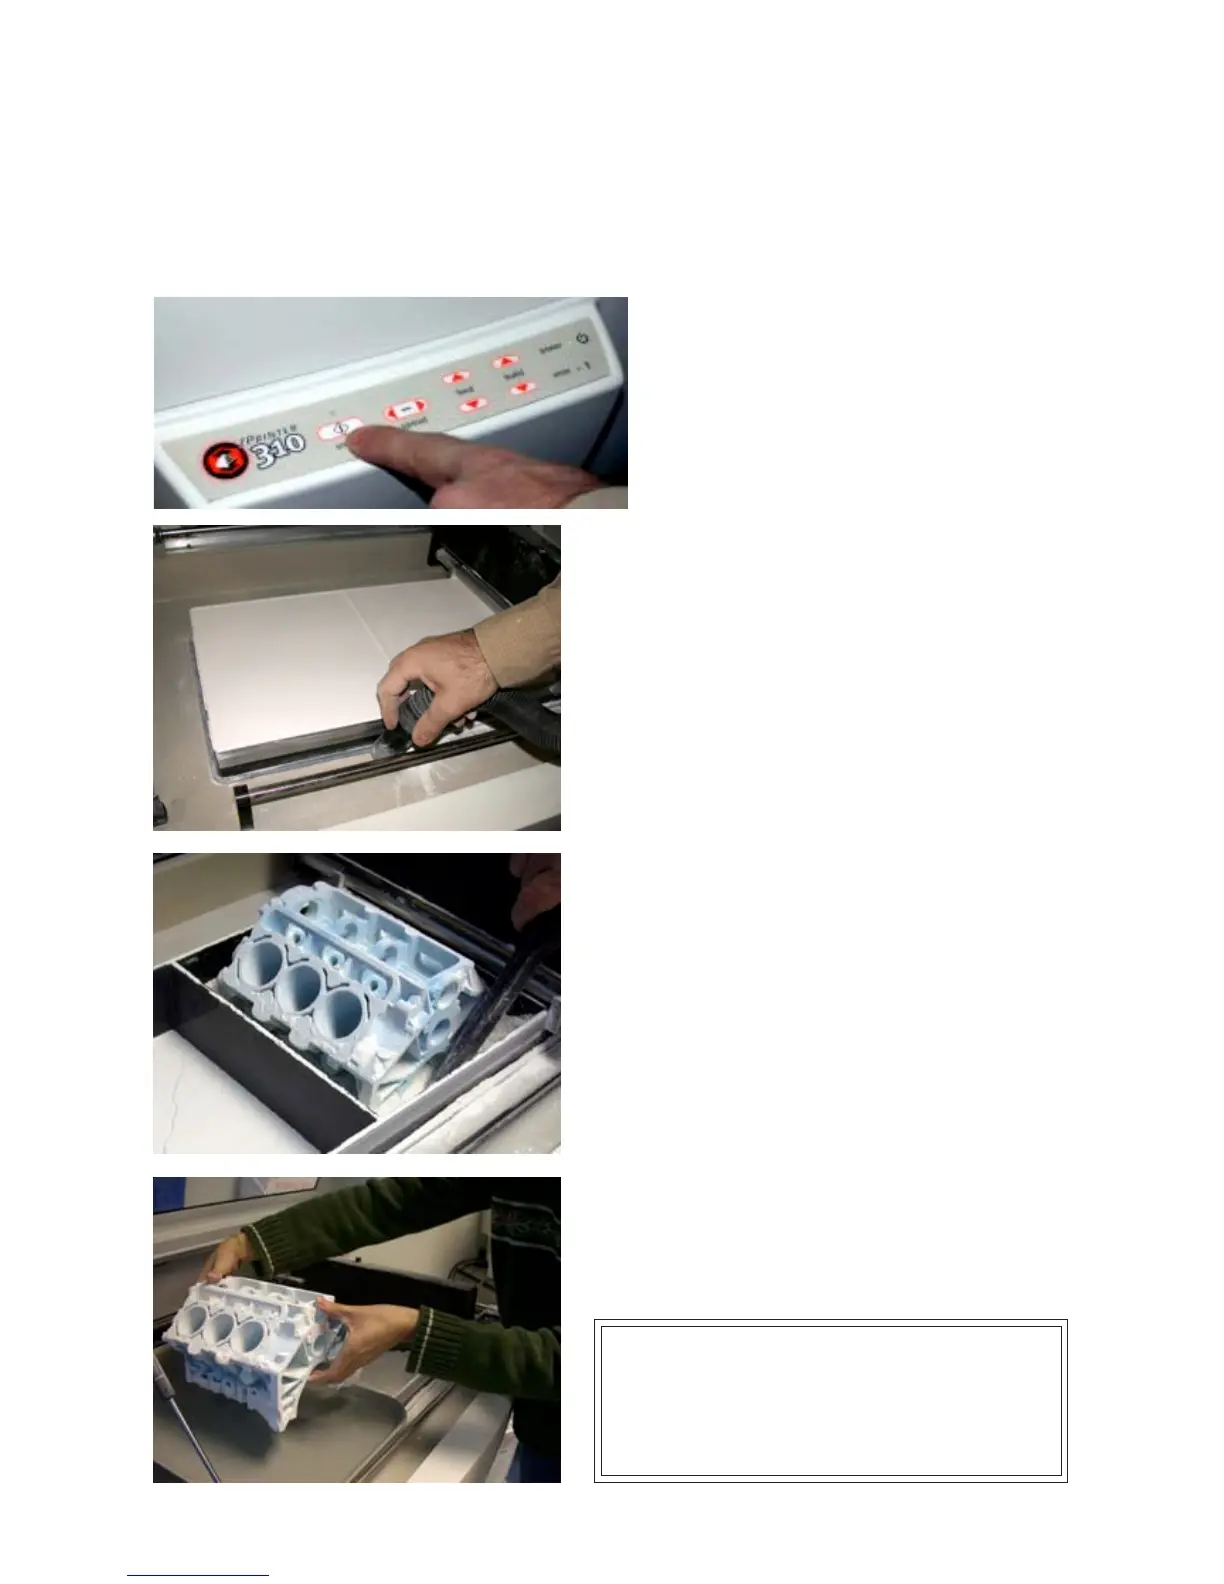
8. Without raising the build piston, begin vacuuming powder
out of the build box. Hold the end of the hose on a 20° to
30° degree angle over the powder so the hose inlet is 1/4"
to 3/8" above the surface of the powder. This generates
enough of a draft to lift loose powder without damaging the
parts.
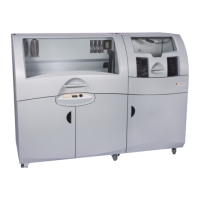
9. Vacuum powder away from the buried parts, and clean
powder out of the margins against the walls of the build
box.
10. To gain access to the sides of the parts, raise the build
piston by holding the ‘Build Up’ button.
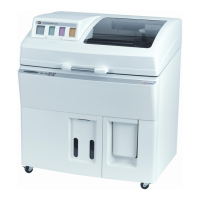
11. Remove the part or build plate and place on the tray.
The part is now ready to be depowdered.
WARNING: When performing any vacuuming
operation, use the vacuum provided as part of the
ZPrinter 310 System. Vacuuming powder can generate
static electricity, and use of a non-grounded vacuum
hose will create static charges, which may affect the
operation of the printer and harm the operator.