32 service@zcorp.com
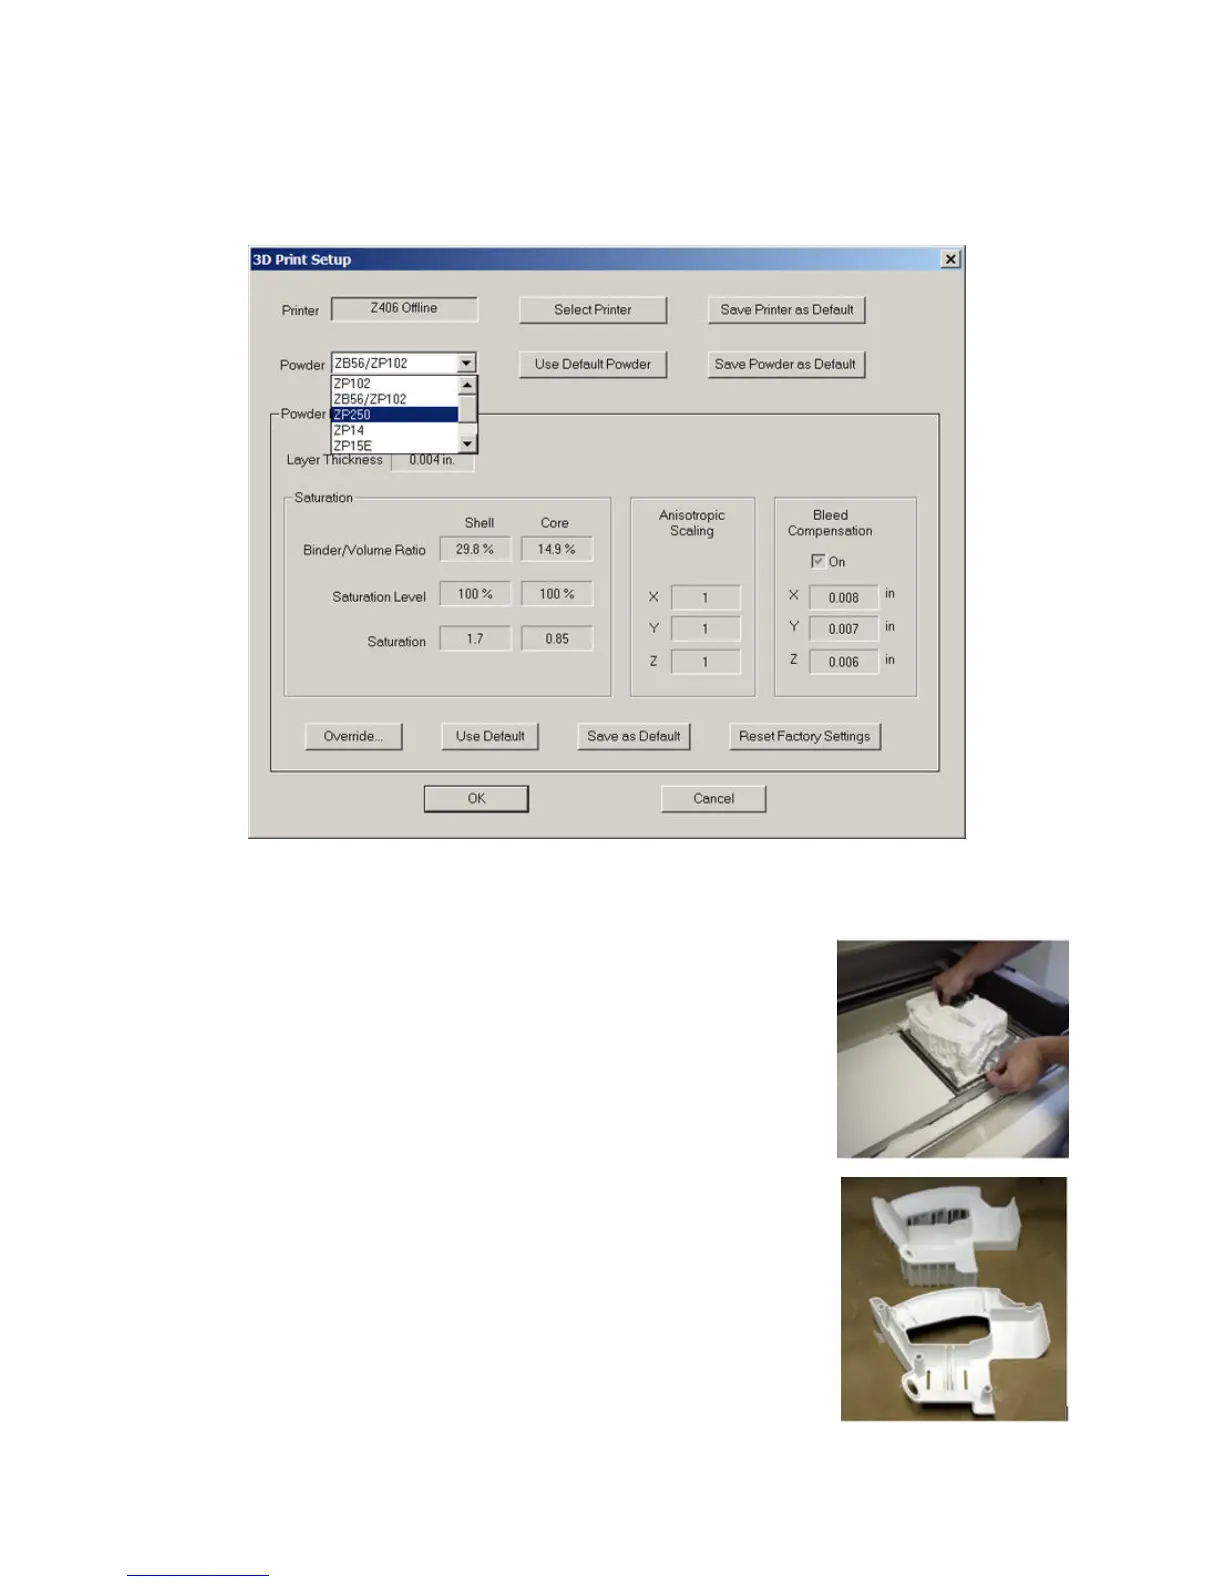
• Go to the “3D Print Setup” window under the File menu and select zp250 powder as the powder type.
PART REMOVAL AND POST PROCESSING
1. When printing parts that can be manually handled, allow the part and fixture to
dry in the build bed for at least 2 hours before removing. If printing parts that
cannot be manually handled, please refer to the Infiltration Addendum of this set
of instructions. Parts built deeper than 2 inches (50.8 mm) into the build box may
require longer drying time before handling. If the removable build plate was used
the part can be gross depowdered and removed prior to two hours and placed in
an oven at 150°F (66°C) for at least 2 hours or longer depending on the mass/
volume of the part.
If a fixture was used during the printing process it should be used as a cradle for
the part during the infiltration and curing steps as well.
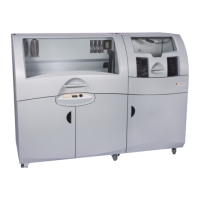
2. Depowder the part and the fixture.
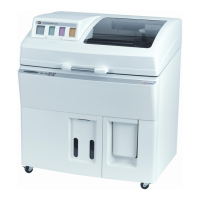
3. Remove part from build plate and place on a clean surface. Then separate the
part from the fixture.