74 service@zcorp.com
Master Pattern Production
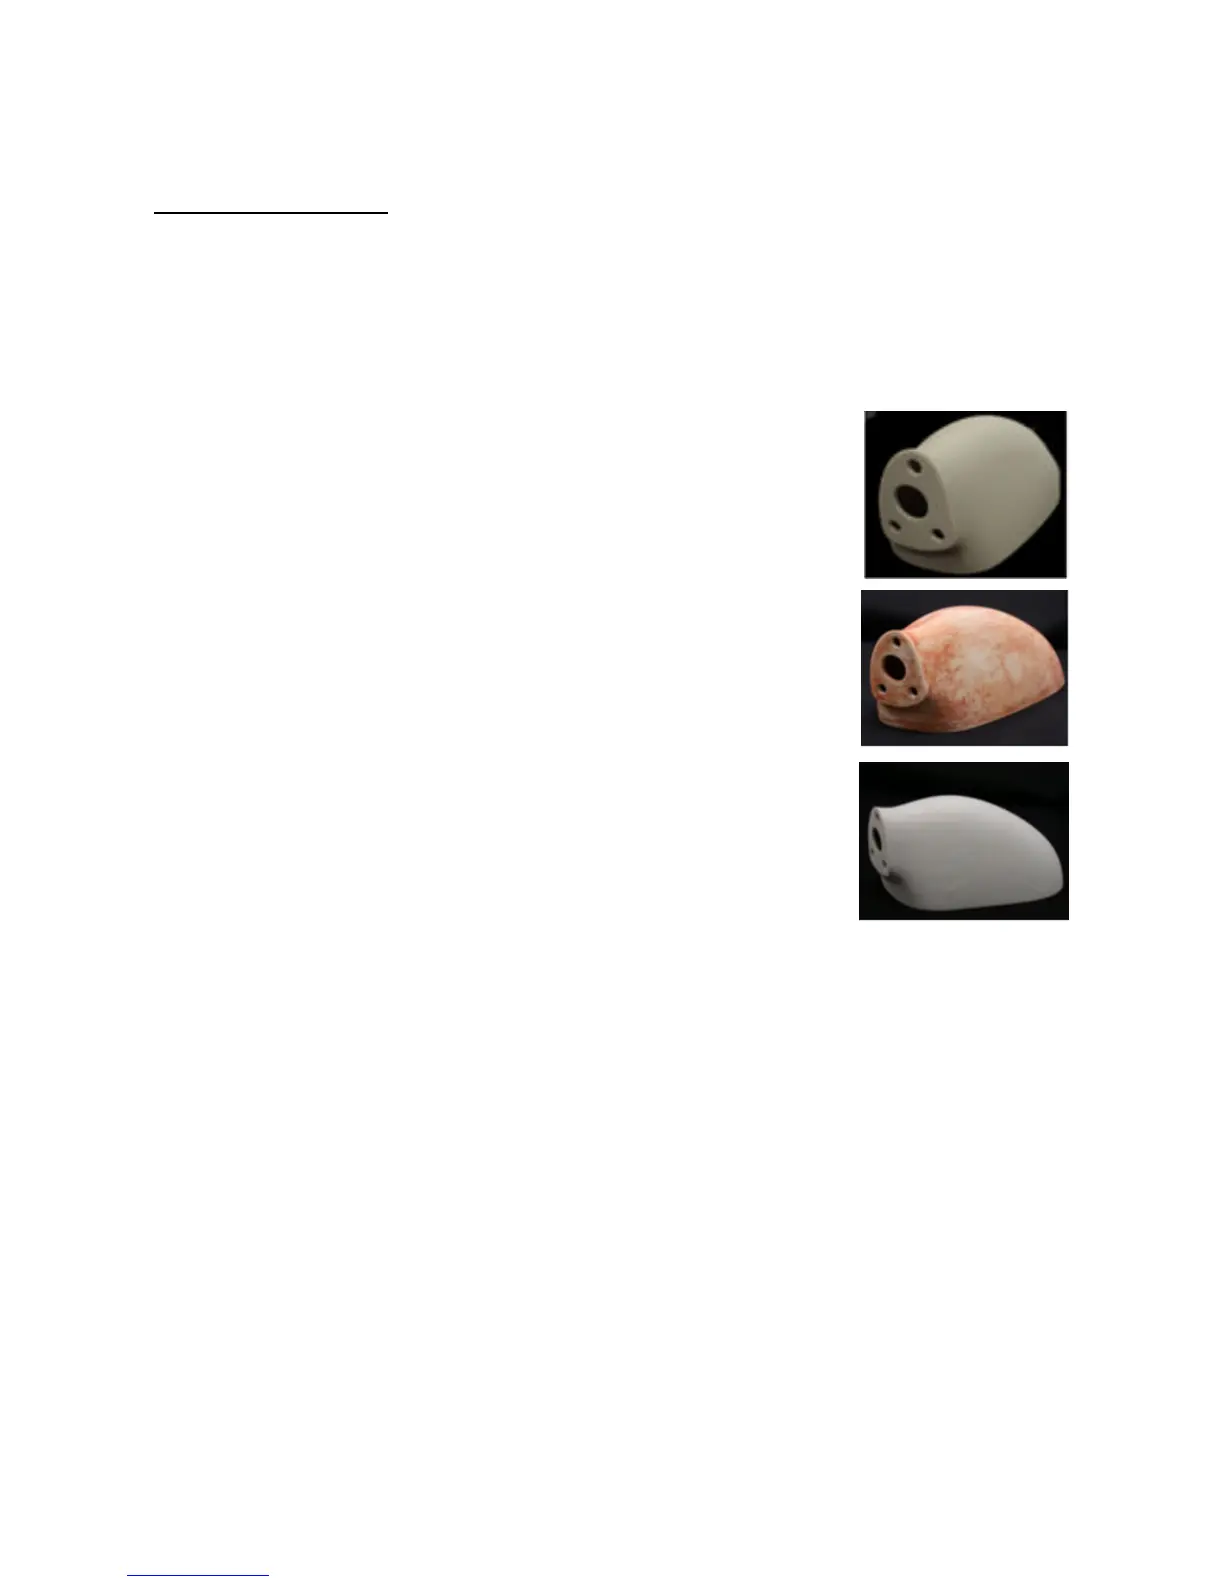
Preparation of the master is the key to successful mold making and part casting. Every detail of the master’s
surface finish will translate to the cast pieces. The polished appearance of an injected molded part is often the
goal when prototyping with RTV molding. To achieve the polished appearance, prepare the surface finish of the
master pattern by following the seven steps listed below. Note that it is only necessary to follow these steps to
achieve the appearance of an injected molded part with an ultra-smooth finish.
Instructions:
1. Remove, post-process and infiltrate the printed part from the Z Corporation 3D
Printer. Infiltration with cyanoacrylate or epoxy is recommended. The use of wax is
not recommended because the part will not accept a primer later in the finishing
process and is not easily sanded.
2. Sand the part with 100-grit sand paper after it has been infiltrated with either epoxy
or cyanoacrylate. Sand the part so there are no pits in the surface.
3. Coat the part with a filler, such as Bondo
®
No. 907 Glazing & Spot Putty, being sure
to fill in any remaining pits. You can also use a fast curing spackling putty. Both
putties are applied wet and dry quickly at ambient temperatures.
4. Sand the filler with 220-grit sand paper. The finish at this point should be
completely smooth with no surface defects.
5. Prime the part with a sprayable / sandable primer. Z Corporation recommends
Plasti-kote
®
Sandable Primer for parts infiltrated with cyanoacrlylate and Dupont
®
Corlar
®
Epoxy Primer for parts infiltrated with epoxy. Apply 2-3 thin coats.
6. Allow the part to dry. Wet sand the pattern with 400-grit sand paper. Wet sanding
the part re-wets the primer making it extremely smooth and fills in any remaining
pits.
7. Dry sand the pattern with 400-grit sand paper. This step will remove any
residual surface defects such as drips in the primer.
A gate to feed the casting material into the mold must be set up prior to creating the mold. The gate also acts as
a vent to allow air to escape the mold cavity. If the part is complex the master pattern may require numerous
vents. The master pattern usually has the gate mounted to the highest feature and is almost always oriented in
a manner such that air rising up through the mold will not be trapped. If the pattern cannot be oriented to prevent
trapping air, additional vents will need to be added to allow the air to escape. Gates and vents are usually
attached permanently to the pattern using an adhesive but Klean Klay and wax can also be used.
It is common to draw a line on the part where the desired parting line will be. This serves as a reference when
removing the master pattern from the mold as to where two pieces of the mold should be separated.
A mold release may need to be applied to the master pattern to prevent it from bonding to the mold depending
on the silicone chosen. Use a dry mold release if cast parts are to be painted. A part cast after using a dry mold
release will be easier to clean in preparation for painting. Use a mold release that is recommended by the
manufacturer of the silicone used to create the mold. Mold releases can be purchased through most silicone
distributors.