2. Verify the socket of the AC power cord is fully inserted into the inlet in the back of the cart.
3. Connect the plug of the AC power cord into a Hospital Grade receptacle.
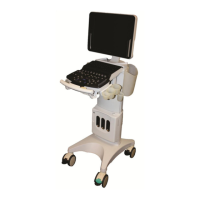
4. Make sure the AC Main Circuit Breaker on the z.one
pro
System is in the “1” (ON, pushed in on the LEFT)
position (see illustration below).
LED Status
1. LED #1 should illuminate indicating AC power is present.
2. LED #2 will flash if the cart battery is installed and charging.
3. LED #5 will illuminate indicating the main 24VDC supply is On
NOTE: The z.one
pro
ultrasound system has the ability to be powered by AC or battery (IF the Z-
PAK battery pack “Option” is ordered). When fully charged the battery should allow for
normal system operation up to 1.5 hours.
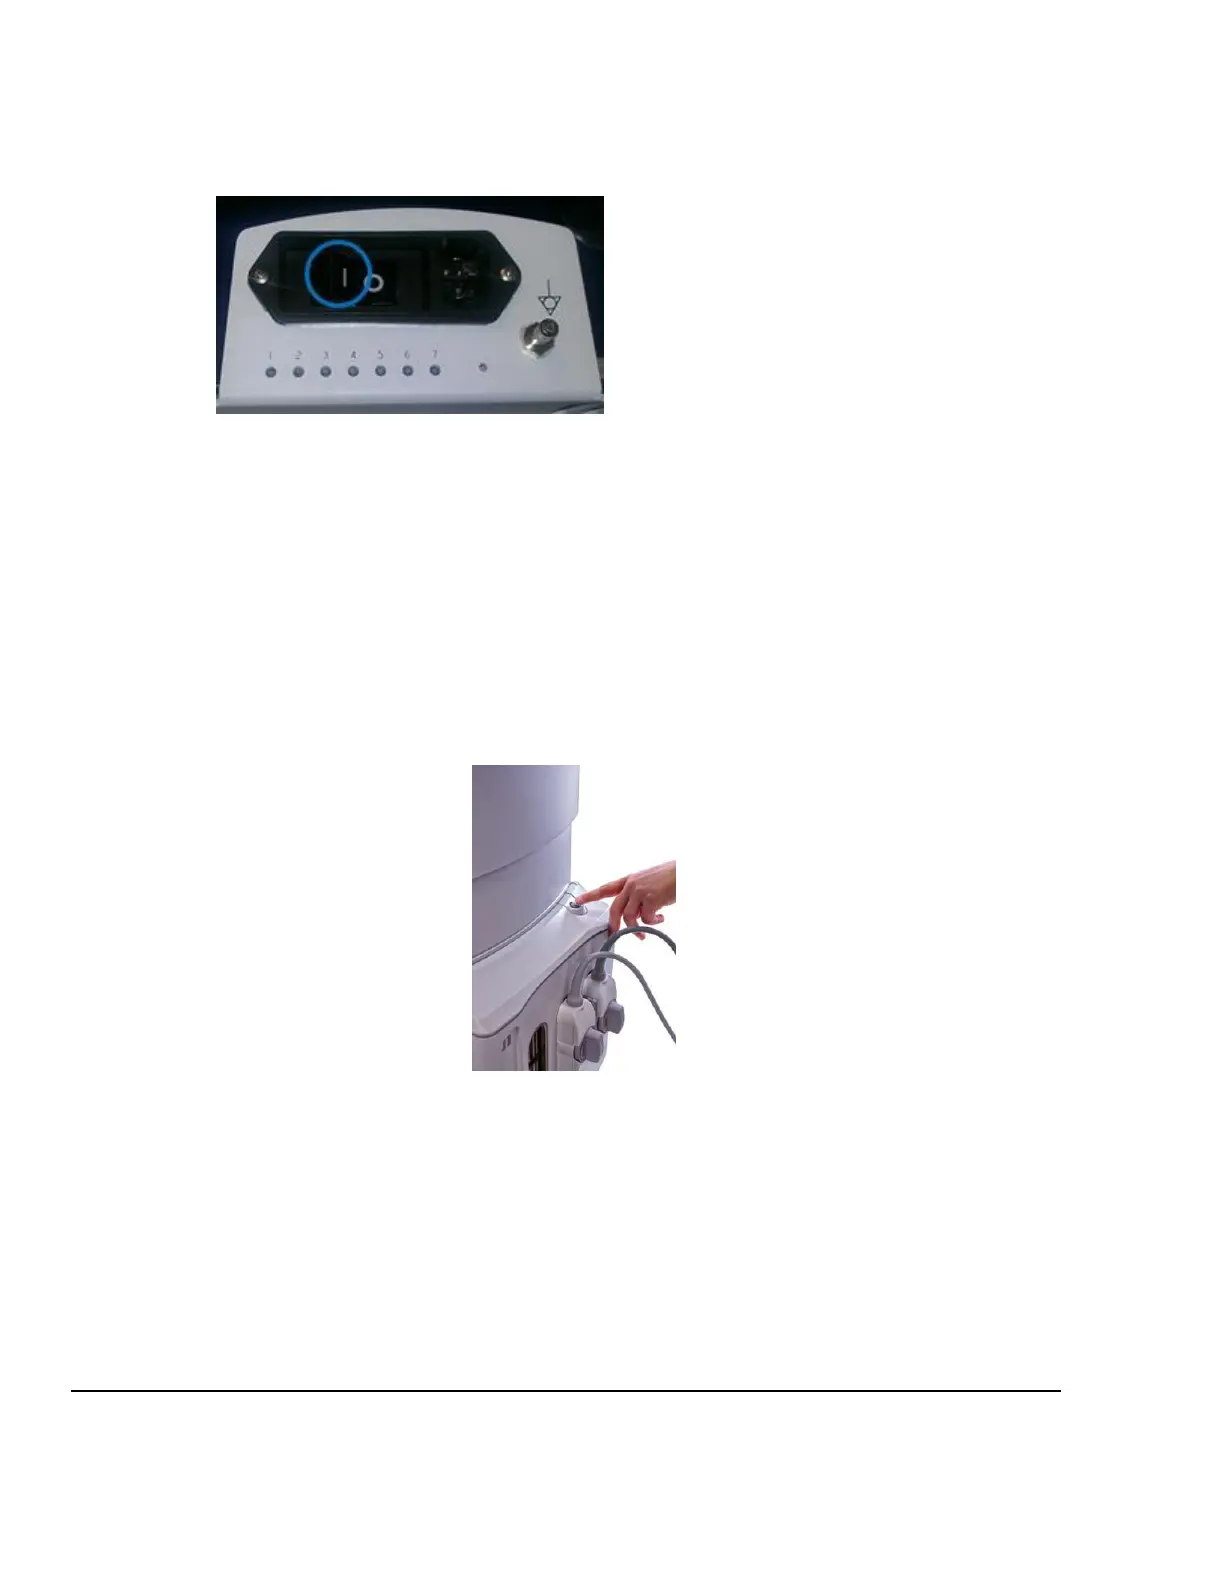
5. Locate the grey power button at the top/right on the module. Press and release the On/Off button to
power on the z.one
pro
ultrasound system (as shown below).
On/Off Button Status
The Green backlight for the button will
begin to flash as the system boots-up.
Once the system is booted, the Green
Backlight will be steady On.
Abnormal conditions will be indicated
with an Amber colored backlight.
6. Verify that the System is functioning correctly by performing a basic test. This test is comprised of the
following:
Attach a transducer (if not already connected)
Verify LCD display is functioning correctly by watching the boot and verifying that normal imaging
is displayed after fully booted.
Verify Audio from the Display assembly – Enter PW, turn up the PW Gain and increase volume
Verify that the User Interface keys are functioning correctly
Test USB ports on front of system
Test and Verify Network Connectivity (if applicable)
 Loading...