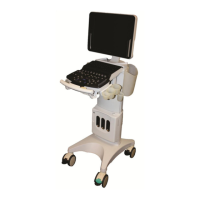
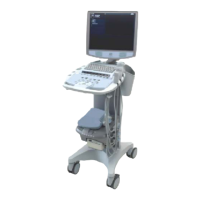
Power Module – Removal/Replacement
Required Parts
P/N: 88012-00 ......... Power Supply Module
Overview of Procedure
Removal/Replacement of Power Supply Module
System verification
Required Tools
• 4mm Allen Head Wrench
#1 Phillips Screwdriver
Procedure
Power Supply Module Removal:
1. Ensure the system is powered “OFF”.
2. Place AC circuit breaker, located at the rear of the system, in the “0” (OFF) position.
3. Disconnect the main AC power cord from the rear of the system or unplug from the wall
source.
4. Put the User Interface in the highest position.
5. Set the front caster brakes to prevent system from rolling.
6. Cut any plastic tie-wraps that retain the AC power cable to the chassis, and free it from its
mounting for later removal with the Power Supply Module.
7. The Power Supply Module is located under the system. Ensure that the display is in horizontal
position. For the easiest access, tilt the system so it rests on the front handles, exposing the
bottom of the unit. Rest the front-side handles on foam or cardboard if available.