3. Verify that the LCD display is functioning correctly by watching the boot and verifying that
normal imaging is displayed after fully booted.
4. Attach a transducer (if not already connected) and enable PW mode.
5. Turn PW Gain up to obtain a filled in spectral trace with excess noise (this will generate white
noise for the speakers)
6. Turn the Volume up (Clockwise) and verify that the white noise is audible from both speakers.
7. If possible – scanning with actual Doppler flow is ideal, but not required.
8. Go to Service page and click on Maintenance button.
9. Click on Cart Battery Status
10. Verify that the battery is in rapid charge mode.
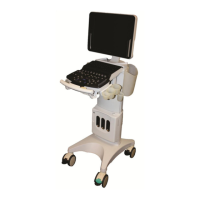
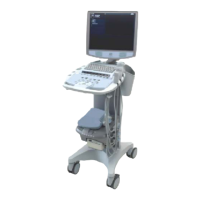
User Interface – Removal/Replacement
Required Parts
86700-00 ....................... Assy, User Interface, z.one
pro
(Standard Version)
Or 86702-00…………..Assy, User Interface, z.one
pro
(SP version)
..................................... 86596-00 Trackball Assy (if replaced separately)
..................................... 86597-00 QWERTY, Low profile, (if replaced separately)
Overview of Procedure
Removal and replacement of User Interface Assy
System verification
Required Tools/Equipment
#1 Phillips Screwdriver
Procedure
UI Removal/Replacement:
1. Ensure the system is powered “OFF”.
2. Place AC circuit breaker, located at the rear of the system, in the “0” (OFF) position.