Chapter 9 Routing
VMG8924-B10D/B30D User’s Guide
138
9.3.1 The DNS Route Add Screen
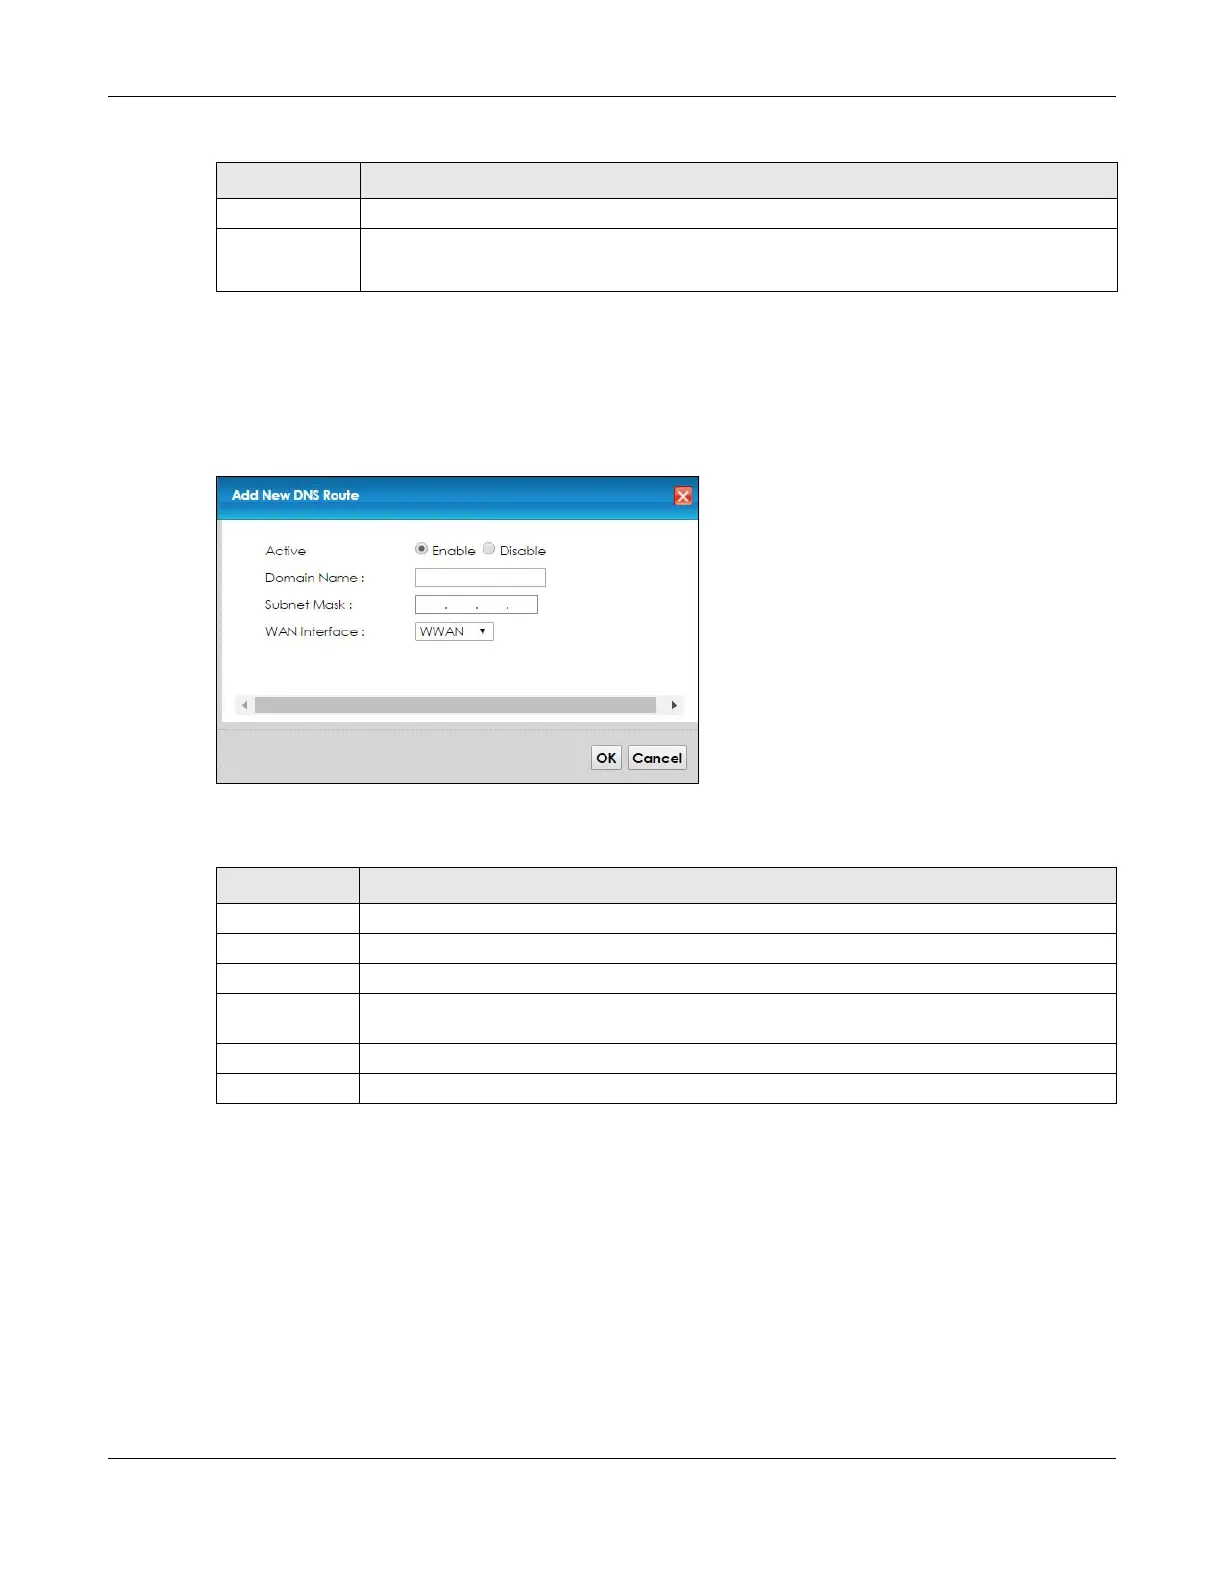
You can manually add the VMG’s DNS route entry. Click Add New DNS Route in the Network Setting >
Routing > DNS Route screen. The screen shown next appears.
Figure 60 DNS Route Add
The following table describes the labels in this screen.
9.4 The Policy Route Screen
Traditionally, routing is based on the destination address only and the VMG takes the shortest path to
forward a packet. Policy route allows the VMG to override the default routing behavior and alter the
packet forwarding based on the policy defined by the network administrator. Policy-based routing is
applied to outgoing packets, prior to the normal routing.
You can use source-based policy forwarding to direct traffic from different users through different
connections or distribute traffic among multiple paths for load sharing.
Subnet Mask This is the subnet mask of the DNS route entry.
Modify Click the Edit icon to modify the DNS route.
Click the Delete icon to delete the DNS route.
Table 39 Network Setting > Routing > DNS Route (continued)
LABEL DESCRIPTION
Table 40 DNS Route Add
LABEL DESCRIPTION
Active Select Enable or Disable to activate or deactivate the DNS route.
Domain Name Enter the domain name of the DNS route entry.
Subnet Mask Enter the subnet mask of the DNS route entry.
WAN Interface Select the WAN connection through which the VMG forwards DNS requests for this domain
name. WWAN means the wireless cellular interface.
OK Click this to save your changes.
Cancel Click this to exit this screen without saving any changes.
 Loading...