AMT/PTD/PBX/0058/4/6/EN Installation and Maintenance Manual - Aastra 5000
Page 318 01/2011 Installation and activation
Installation
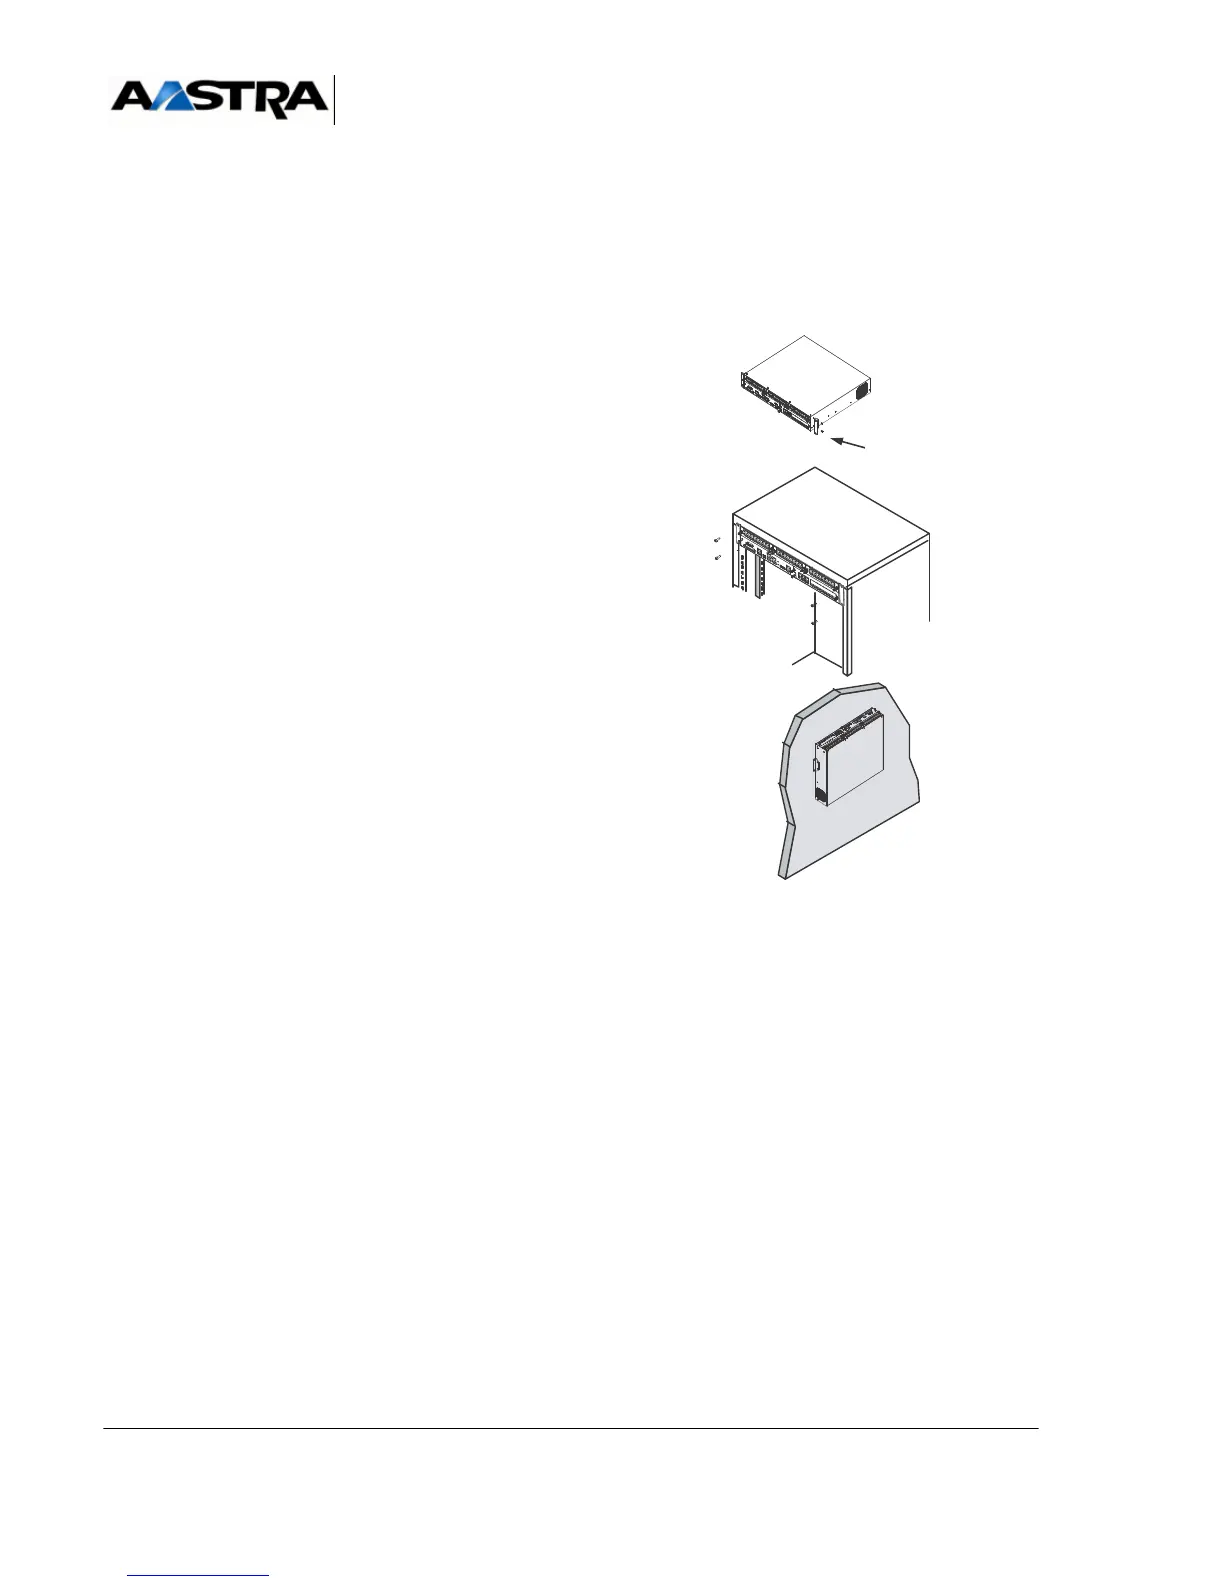
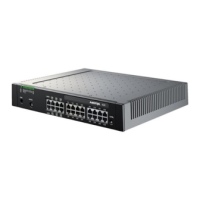
An AXS, AXS12 or AXS6 cabinet can be installed:
• Stacked
- Place the cabinet in position.
• Inside a rack
- Fit the securing brackets on the sides of the cabinets using the
screws supplied (2 per bracket).
- Identify the position in the rack where the cabinet is to be
installed. On the brackets on which the cabinet is to be fitted,
install the captive nuts on the holes selected.
- Lift the cabinet and align the bracket attachment holes with
those of the rack.
- Fix the securing brackets on the rack using screws.
• On a wall
- Mark the drill points on the wall using the drilling template
supplied with the mounting kit.
- Drill the holes. Insert the wall plugs adapted to the type of
wall.
- Fix the two securing brackets on the wall using screws (2 per
bracket).
- Fix the cabinet on the securing brackets using the screws in
the mounting kit (2 per bracket).
Caution: The front panel of the cabinet can face upwards or
downwards, though we recommend turning it
upwards.
vis