Brake fluid will damage finished surfaces. Do
not allow brake fluid to come in contact with
finished surfaces. This procedure should be
used to change fluid or bleed brakes during
regular maintenance.
1. Clean master cylinder reservoir cover thoroughly and
remove the cover.
2. If changing fluid, remove old fluid from reservoir with a
vacuum pump or similar tool.
3. Add brake fluid to the indicated MAX level of reservoir.
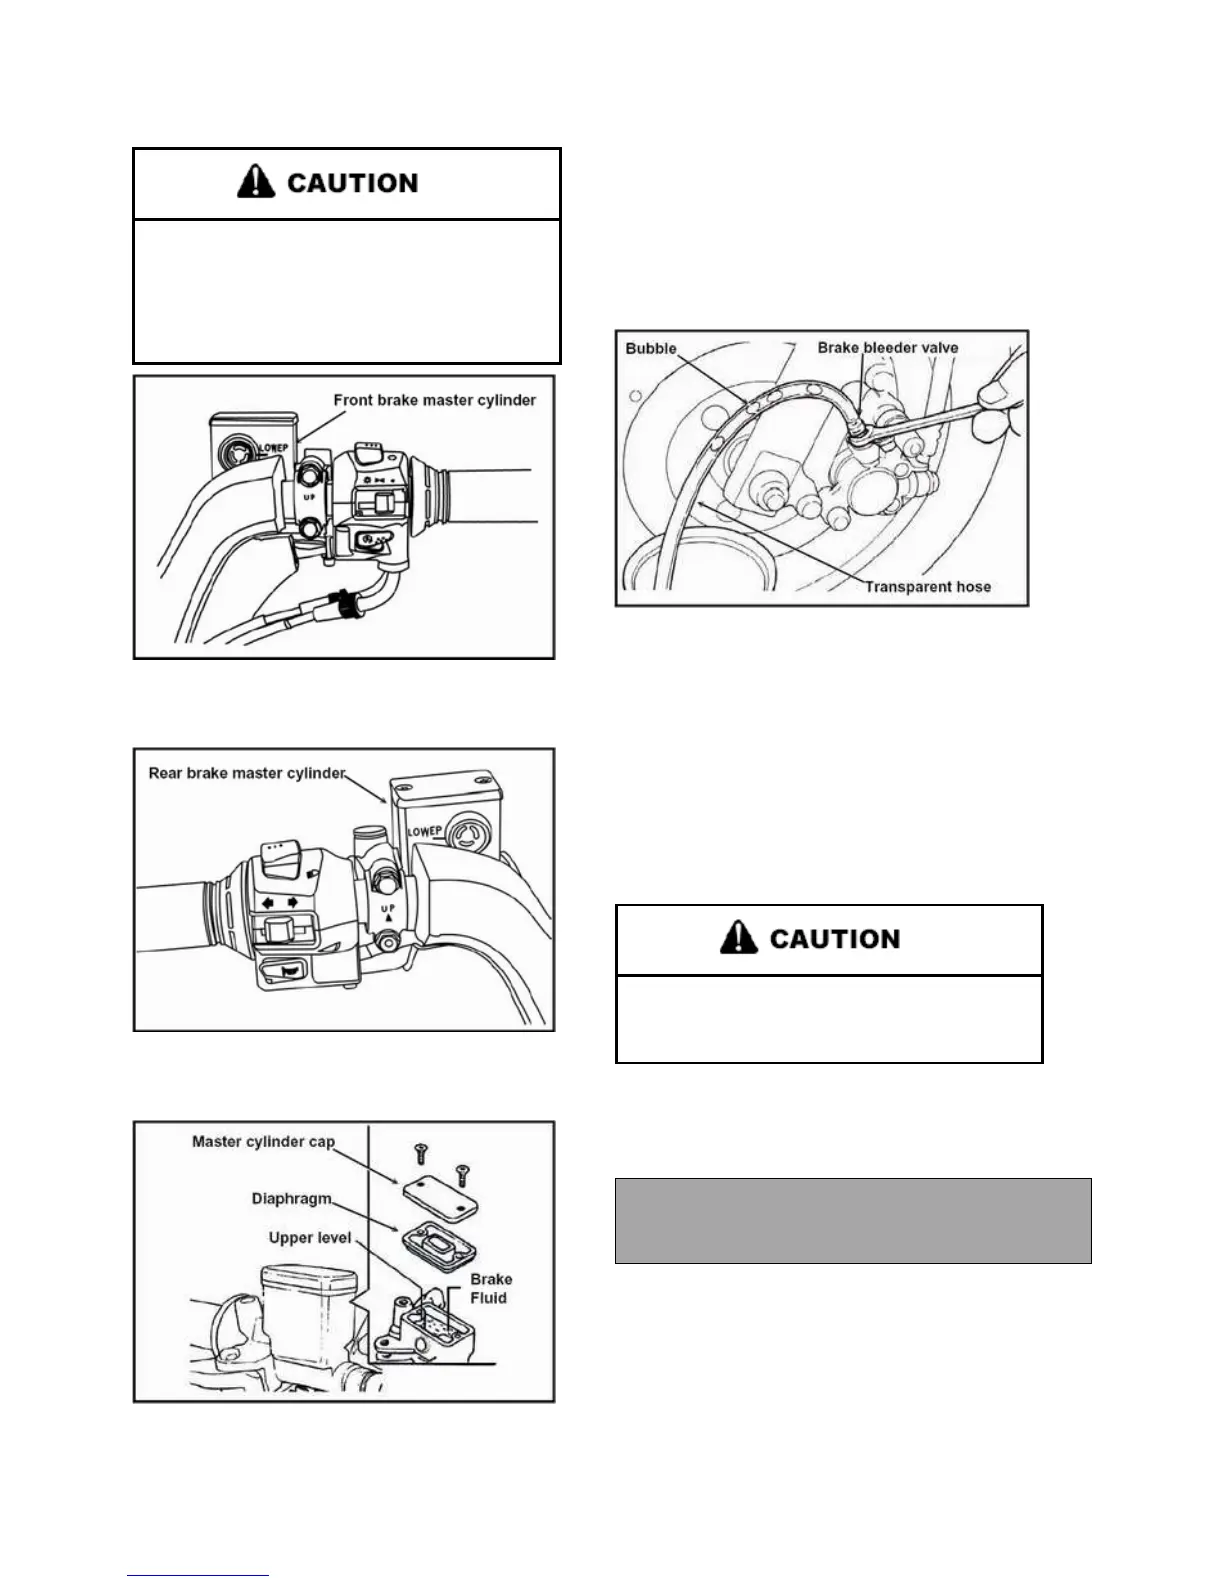
4. Begin bleeding procedure with the caliper that is farthest
from the master cylinder. Install a box end wrench on caliper
bleeder screw. Attach a clean, clear hose to fitting and place
the other end in a clean container. Be sure the hose fits tightly
on fitting.
5. Have an assistant slowly pump brake lever until pressure
builds and holds.
6. Hold brake lever on to maintain fluid pressure, and open
bleeder screw. Close bleeder screw and release brake lever.
NOTE: Do not release brake lever before bleeder
screw is tight or air may be drawn into master
cylinder.
7. Repeat procedure until clean fluid appears in bleeder hose
level in reservoir.
Maintain at least 1.5 cm of brake fluid in the
reservoir to prevent air from entering the
master cylinder.
8. Tighten bleeder screw securely and remove bleeder hose.
Torque bleeder screw to 5 Nm.
9. Repeat procedure Steps 5 - 8 for the remaining calipers.
10. Add brake fluid to MAX level inside reservoir.
Master Cylinder Fluid Level
Between the MIN and MAX line shown on the
reservoir.
11. Install master cylinder reservoir cover.
12. Field test machine at low speed before putting into service.