NEVER attempt to add electrolyte or water to a Low
Maintenance battery. Doing so will damage the case and
shorten the life of the battery. Refer to the Battery
Maintenance Video (PN 9917987) for proper instruction on
servicing Low Maintenance batteries.
How To service a Low Maintenance battery:
1. Remove battery from the vehicle
2. Test battery with a voltage meter or load tester to determine
battery condition. This will determine the length of time
required to charge the battery to
full capacity. Refer to capacity
table.
3. Charge battery using a variable rate charger.
SEALED LOW MAINTENANCEBATTERY
CHARGING
If battery voltage is 12.8 V or less, the battery may need
recharging. When using an automatic charger, refer to the
charger manufacturer’s instructions for recharging. When
using a constant current charger, use the following guidelines
for recharging.
NOTE: Always verify battery condition before and 1-2
hours after the end of charging.
WARNING: An overheated battery could explode,
causing severe injury or death. Always watch
charging times carefully. Stop charging if the battery
becomes very warm to the touch. Allow it to cool
before resuming charging.
BATTERY CHARGING REFERENCE TABLE
State of
CHARGE TIME
100% 12.8-13.0V None FULL None Required
75%
12.5-12.8V Slight
Charge
3-6 Hours @ 0.5 A
50% 12-12.5V Charge 5-11 Hours @ 0.5 A
25%
11.5-12.0V Charge
13+ Hours @ 0.5 A
Check Charging
0%
Less than
11.5v
Charge
20 Hours @ 0.5 A
Battery may be dead
SEALED LOW MAINTENANCE BATTERY
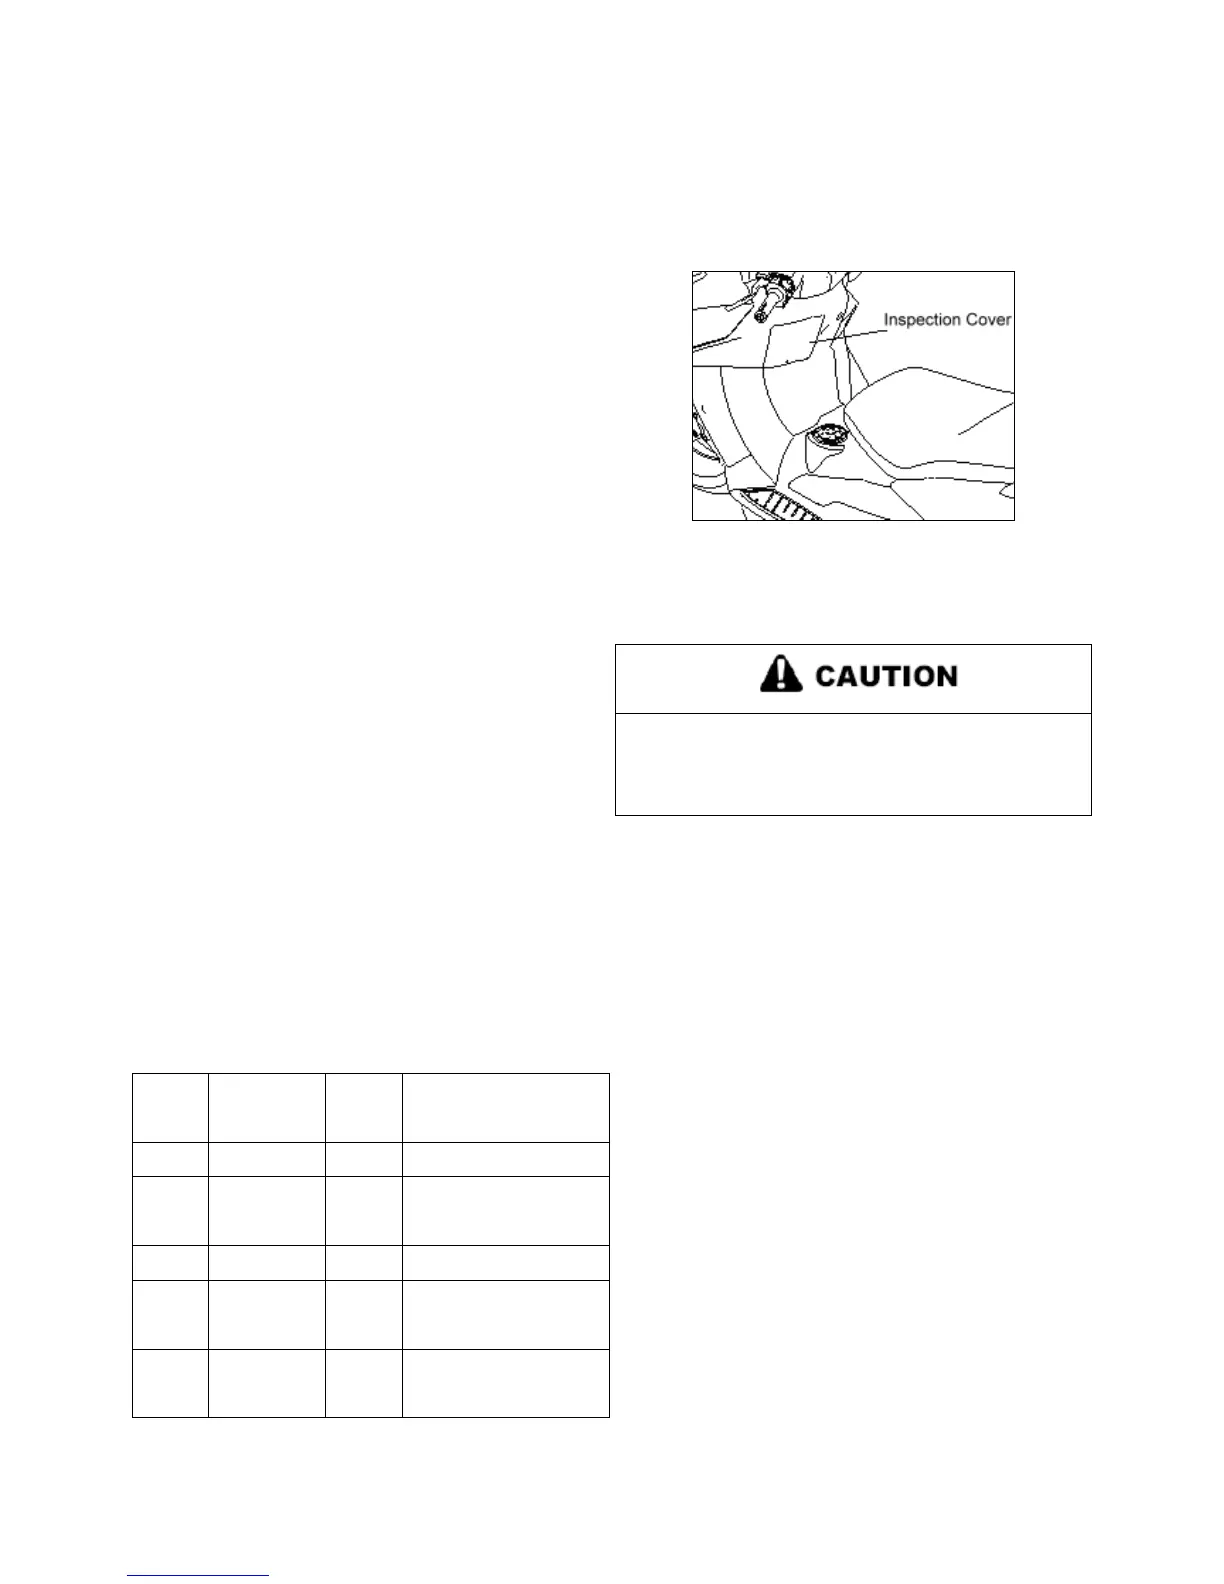
INSPECTION/ REMOVAL
The battery is located under left handlebar and inside of inspection cover.
1. Disconnect holder strap.
2. Disconnect battery negative (-) (black) cable first, followed
by the positive (+) (red) cable.
Whenever removing or reinstalling the battery,
disconnect the negative (black) cable first and
reinstall the negative cable last!
3. Remove the battery.
SEALED LOW MAINTENANCE BATTERY
INSTALLATION
1. Clean battery cables and terminals with a stiff wire brush.
Corrosion can be removed using a solution of one cup water
and one tablespoon baking soda. Rinse well with clean water
and dry thoroughly.
2. Route the cables correctly.
3. Reinstall battery, attaching positive (+) (red) cable first and
then the negative (-) (black) cable. Coat terminals and bolt
threads with Grease.
4. Reinstall the holder strap.
SEALED LOW MAINTENANCE BATTERY
TESTING
Whenever a service complaint is related to either the starting
or charging systems, the battery should be checked first.