Wear eye protection when performing cylinder head
service. Valve guide replacement will
of the cylinder head. Wear gloves to prevent burns.
Follow the manufacturers instructions provided with the valve
seat cutters in the Valve Seat Reconditioning Kit. Abrasive
stone seat reconditioning equipment can also be used. Keep
valves in order with their respective seat.
NOTE: Valve seat width and point of contact on the
valve face is very important for proper sealing. The
valve must contact the valve seat over the entire
circumference of the seat, and the seat must be the
proper width all the way around. If the seat is uneven,
compression leakage will result. If the seat is too
wide, seat pressure is reduced, causing carbon
accumulation and possible compression loss. If the
seat is too narrow, heat transfer from valve to seat is
reduced and the valve may overheat and warp,
resulting in burnt valves.
1. Install pilot into valve guide.
2. Apply cutting oil to valve seat and cutter.
3. Place 46∘cutter on the pilot and make a light cut.
4. Inspect the cut area of the seat. If the contact area is less
than 75% of the circumference of the seat, rotate the pilot
180∘and make another light cut.
If the cutter now contacts the uncut portion of the seat, check
the pilot. Look for burrs, nicks, or run out. If the pilot is bent it
must be replaced.
If the contact area of the cutter is in the same place, the valve
guide is distorted from improper installation and must be
replaced. Be sure the cylinder head is at
and replace the guide.
If the contact area of the initial cut is greater than 75%,
continue to cut the seat until all pits are removed and a new
seat surface is evident.
NOTE: Remove only the amount of material
necessary to repair the seat surface.
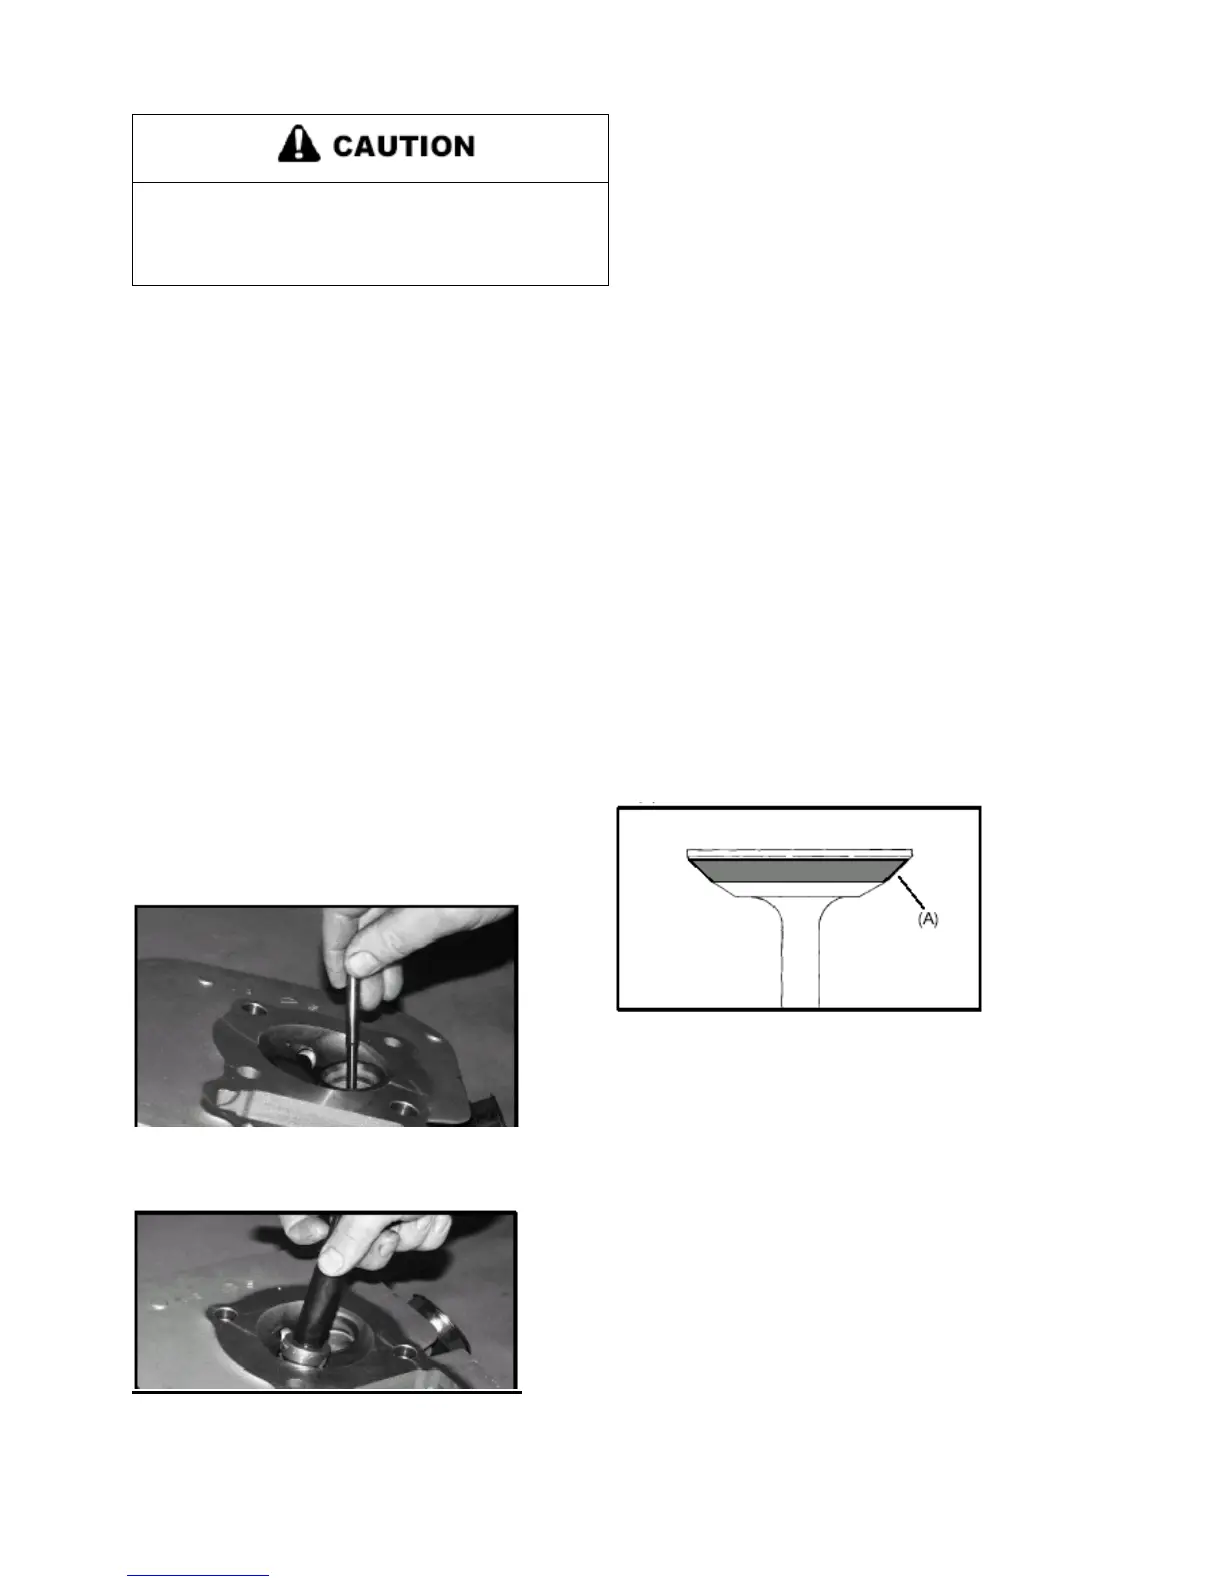
5. To check the contact area of the seat on the valve face, apply
a thin coating of Prussian Blue paste to the valve seat. If using
an interference angle (46∘) apply black marker to the entire
valve face (A).
6. Insert valve into guide and tap valve lightly into place a few
times.
7. Remove valve and check where the Prussian Built or black
marker indicates seat contact on the valve face. The valve seat
should contact the middle of the valve face or slightly above,
and must be the proper width (A).