> > > > 9 Move the flashing cursor over to the units location.
> > > Notice that the units are flashing on the right side of the display.
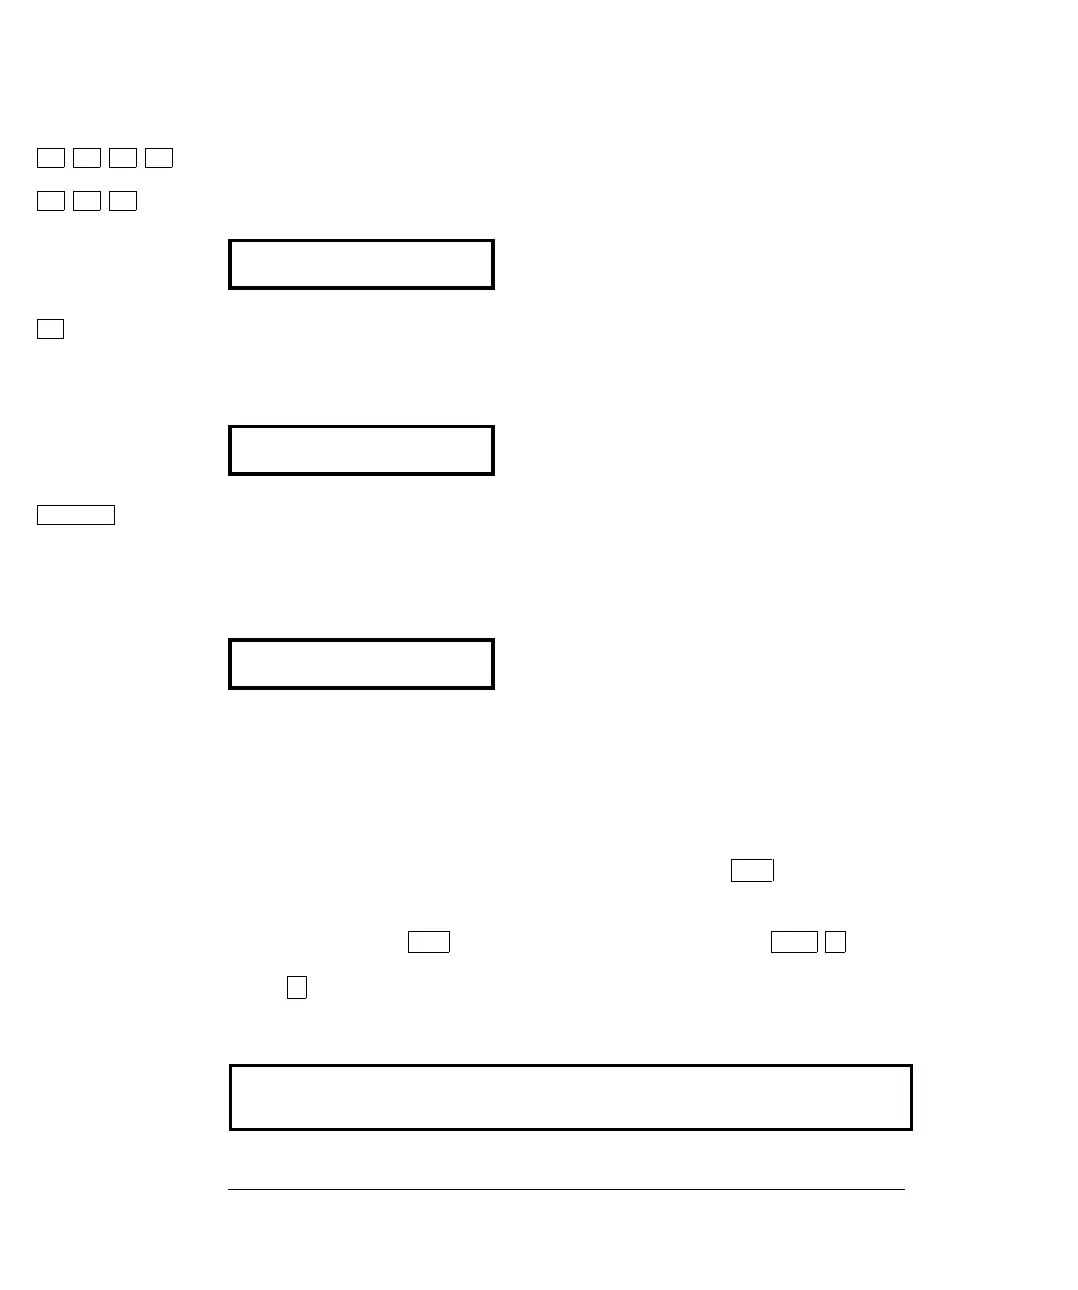
– 0.300,000,0 V
v 10 Decrease the displayed number by a factor of 10.
Notice that the position of the decimal point changes and the displayed
number increases by a factor of 10 and the mV annunciator is on.
– 030.000,00 mV
Auto/Man
ENTER 11 Save the change and turn off the menu.
The meter beeps and displays a message to show that the change is now
in effect. You are then exited from the menu.
ENTERED
You will be returned to the normal measurement display, and, if you
have installed the four-wire short, the display will show a positive
measurement in the approximate amount of the null value just entered.
The Null annunciator is on in the display.
Keep in mind that null is turned on and - 0.03 volts is used as the null
value for measurements. To clear the null value, press
Null .
Hint You can use the menu recall feature to save steps when entering the null
value. First, press
Null on the front panel and then press Shift >
(Menu Recall). The meter will jump to the 2:NULL VALUE command.
Press
v . The null value in the display is the first reading taken after
you turned NULL on. You can then edit this number as described.
This is the end of the front-panel menu tutorial. The remainder of the
chapter discusses several of the most common front-panel operations.
Chapter 2 Front-Panel Operation
A Front-Panel Menu Tutorial
40

 Loading...


