How to Set the Power Tunable Lasers
Agilent 8163A Lightwave Multimeter, Agilent 8164A Lightwave Measurement System, & Agilent 8166A Lightwave
Multichannel System, Fourth Edition
109
– <Off>, to disable the dark position
4Press Enter to return tothe Menu screen.
5 Press [Close] to exit from the Menu screen.
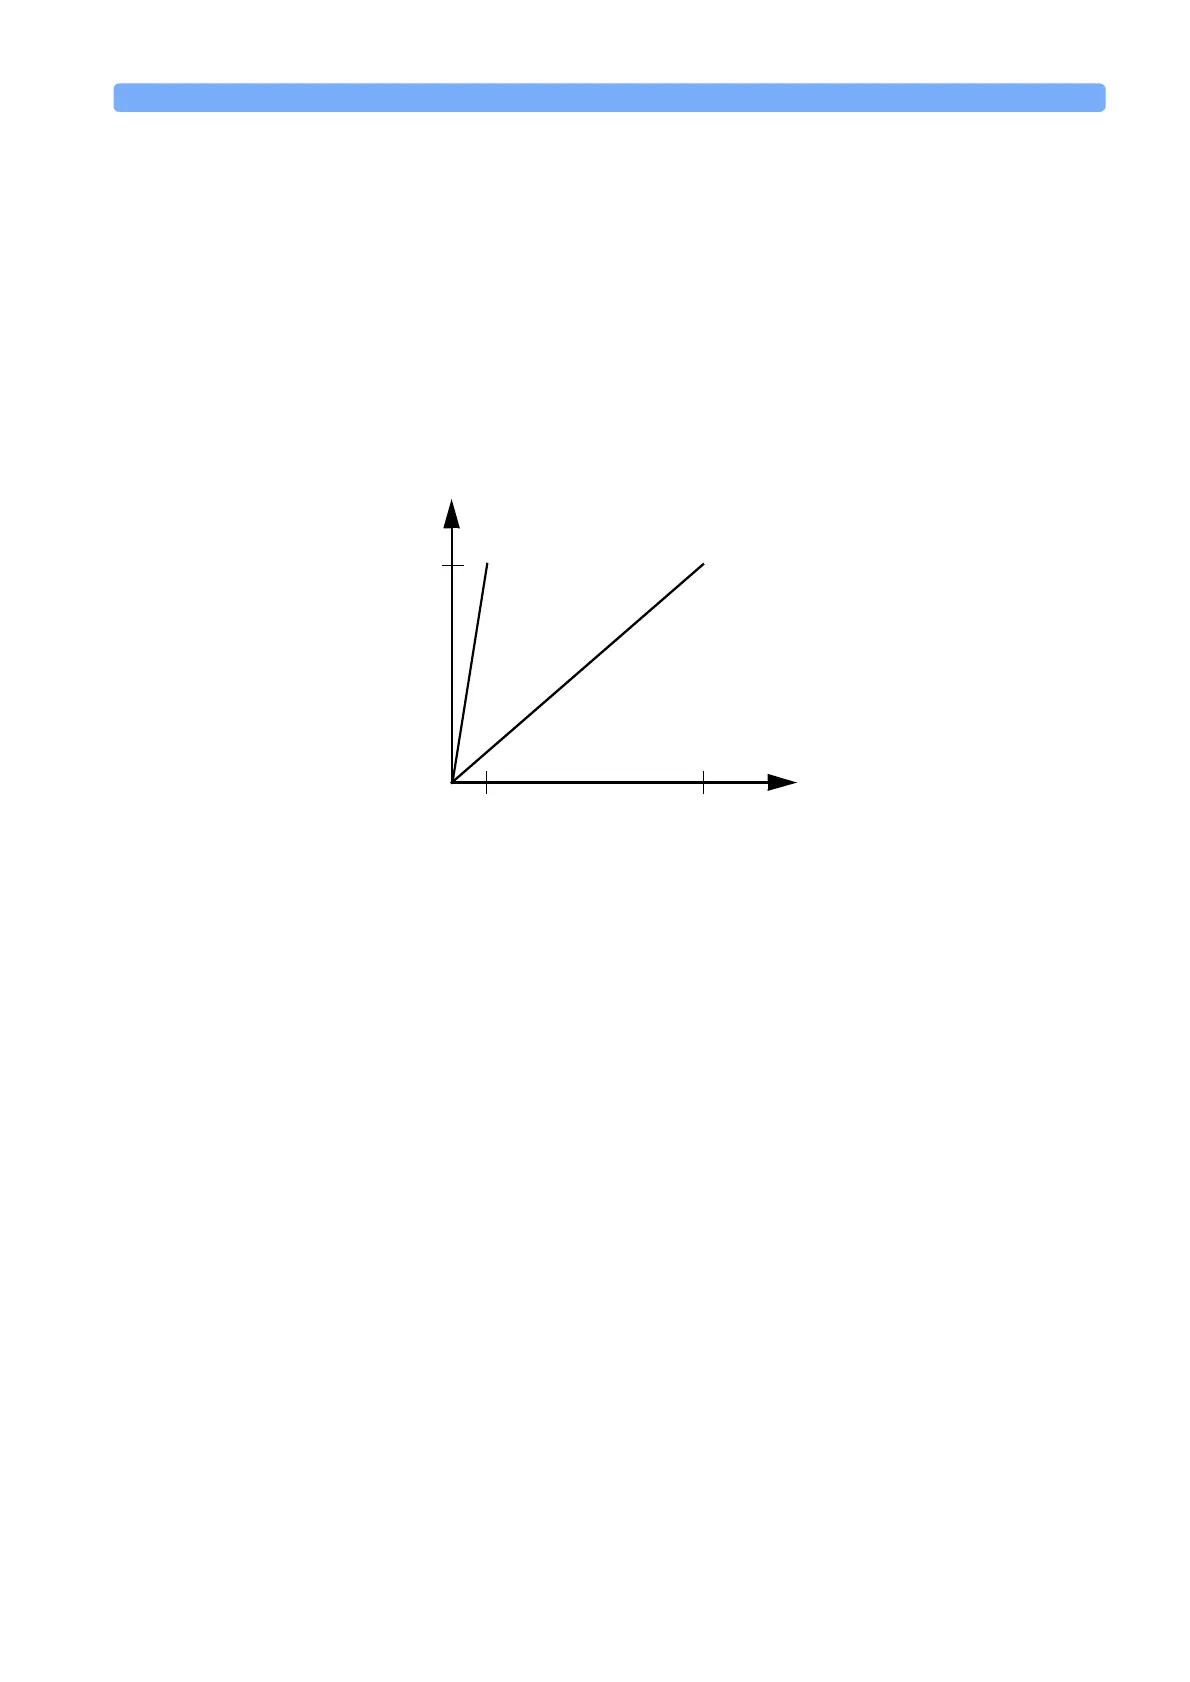
The Analog Output
If there is an output BNC connector on the front panel of your Tunable Laser
module, you can output a DC voltage level that is proportional to the laser output
power. The relationship between this voltage level and the output power is not
calibrated.
Attenuator If your Tunable Laser module has an attenuator installed, the Analog
Output signal depends on the power mode you have chosen. The voltage level
is proportional to the optical power produced by the laser diode (not the
optical output power).
In <Manual Att.> Mode, the relationship between the power value, [P], and
the voltage level is only proportional to the output power if the attenuation
remains constant. The attenuator adds a constant offset to the voltage level.
In <Automatic> Attenuation Mode, the laser output power, and therefore
the Analog Output signal, is not linearly proportional to the output power.
This is because the actual output optical power is derived by the optimum
combination of the laser output power and the attenuation.
To set the power to −10 dBm:
1 Move to power parameter, [P], and press [Pwr unit]. You should see the power
unit menu.
2 Move to <dBm> and press Enter.
3 Press Enter to edit the power value.
4 Enter −10.000 and press Enter.
Figure 69 Output Power and the Analog Output in <M
ANUAL ATT.> Mode
Voltage, V
[P], mW
5 V
20 mW
2 mW
[A
TTEN.] = 0 dB[ATTEN.] = 10 dB
 Loading...


