MM-400A
9. Measurement
9-17
4) Touch the MENU key.
The MENU screen appears. Select EXTEND SETUP.
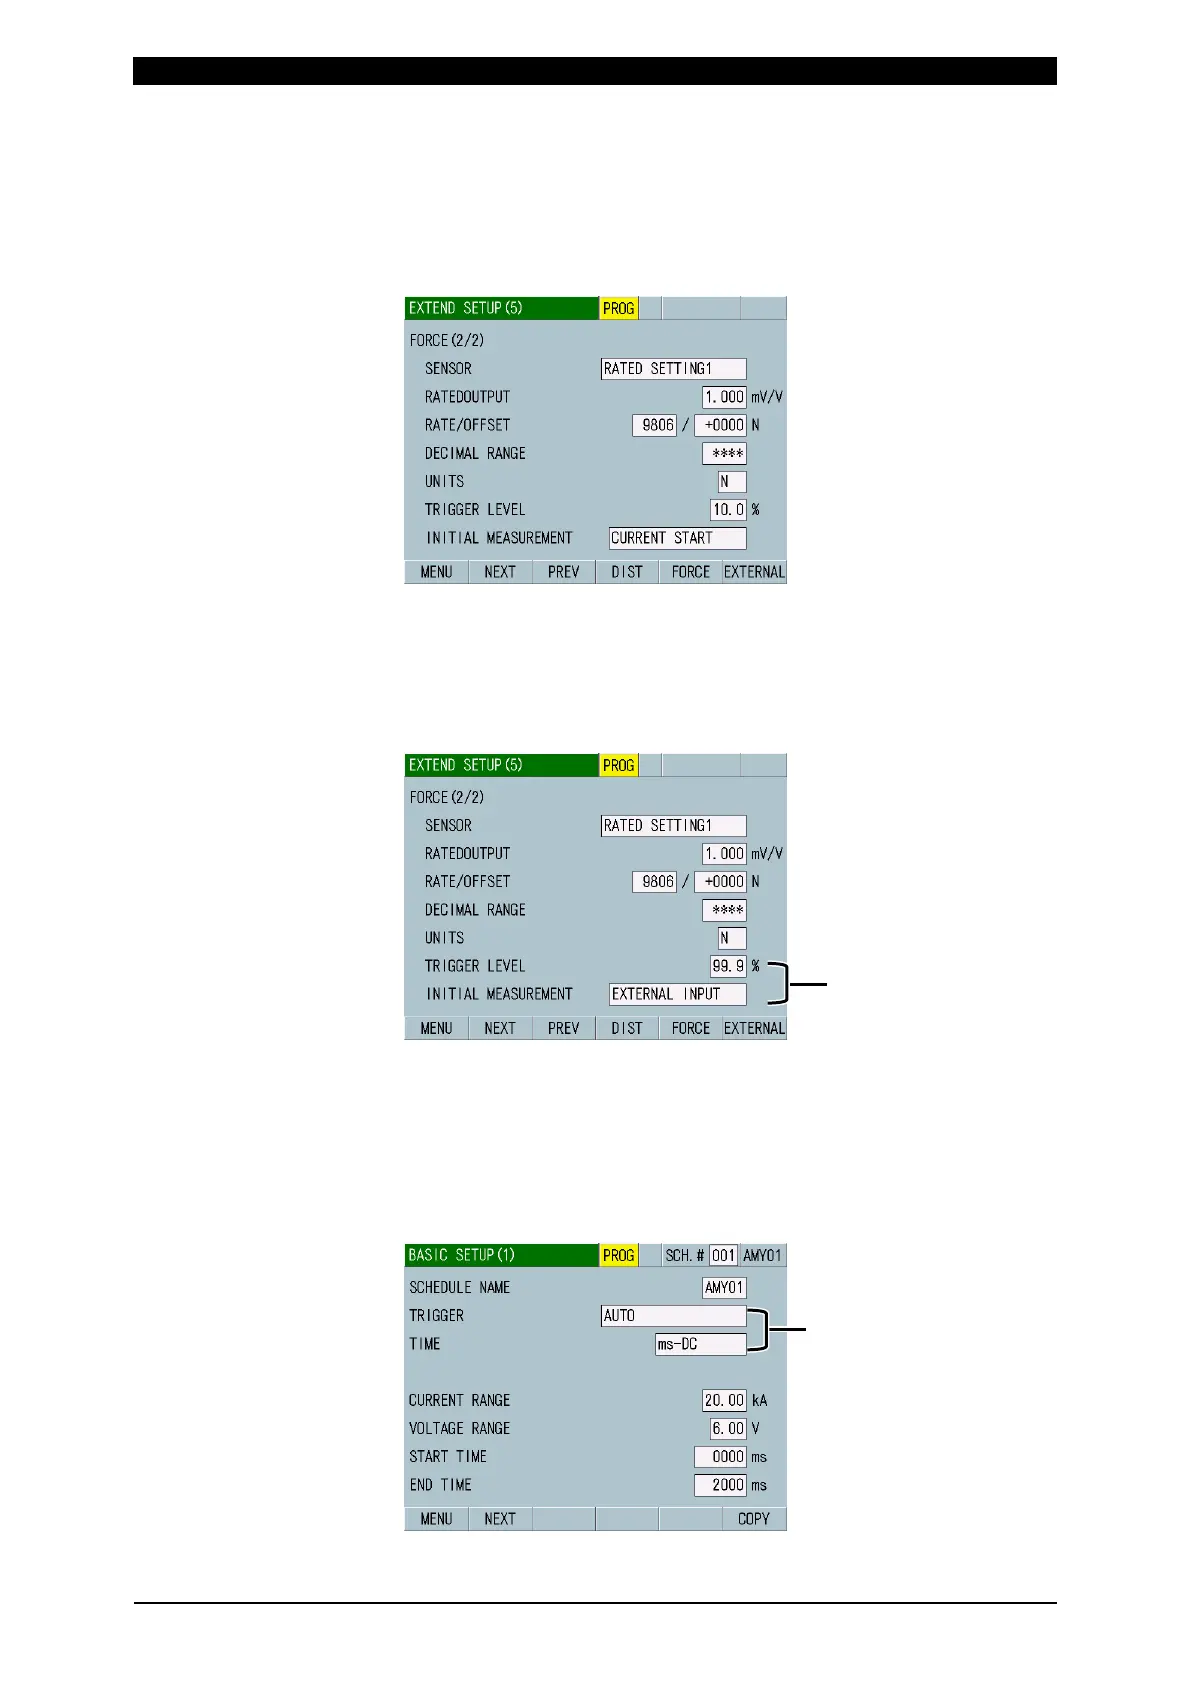
5) Select the EXTEND SETUP (5) screen.
Select RATED SETTING1 for SENSOR. (For more information, refer to (2)
m-5 in Chapter 8.)
6) Set items RATED OUTPUT to UNITS. (For more information, refer to (2) m-5 in
Chapter 8 and (3) 6) in Chapter 9.)
7) Select 99.9 for TRIGGER LEVEL and EXTERNAL INPUT for INITIAL
MEASUREMENT on the EXTEND SETUP (5) screen. (For more information,
refer to (2) m-5 in Chapter 8.)
8) Touch the MENU key.
The MENU screen appears. Select BASIC SETUP.
The BASIC SETUP (1) screen appears.
9) Select AUTO for TRIGGER in the BASIC SETUP (1) screen, and select a type
of welding current to measure and the measurement time unit. (For more
information, refer to (2) l-1 in Chapter 8.)
: -AC for AC welding
-DC for DC welding
NITIAL MEASUREMENT:
EXTERNAL INPUT