Operating the System
Wallstand Examination Procedures
4.10.3 Stitching Wallstand Mode
Note!
Stitching Wallstand Mode is not available according to the described procedure with CR
systems.
WARNING!
The Wallstand detector holder will move during stitching. This may cause danger for
the patient.
Select a Stitching Wallstand mode examination.
The System display will display the following.
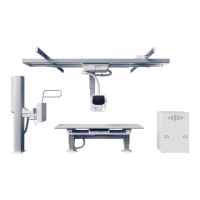
Fig. 4-33 Patient protection
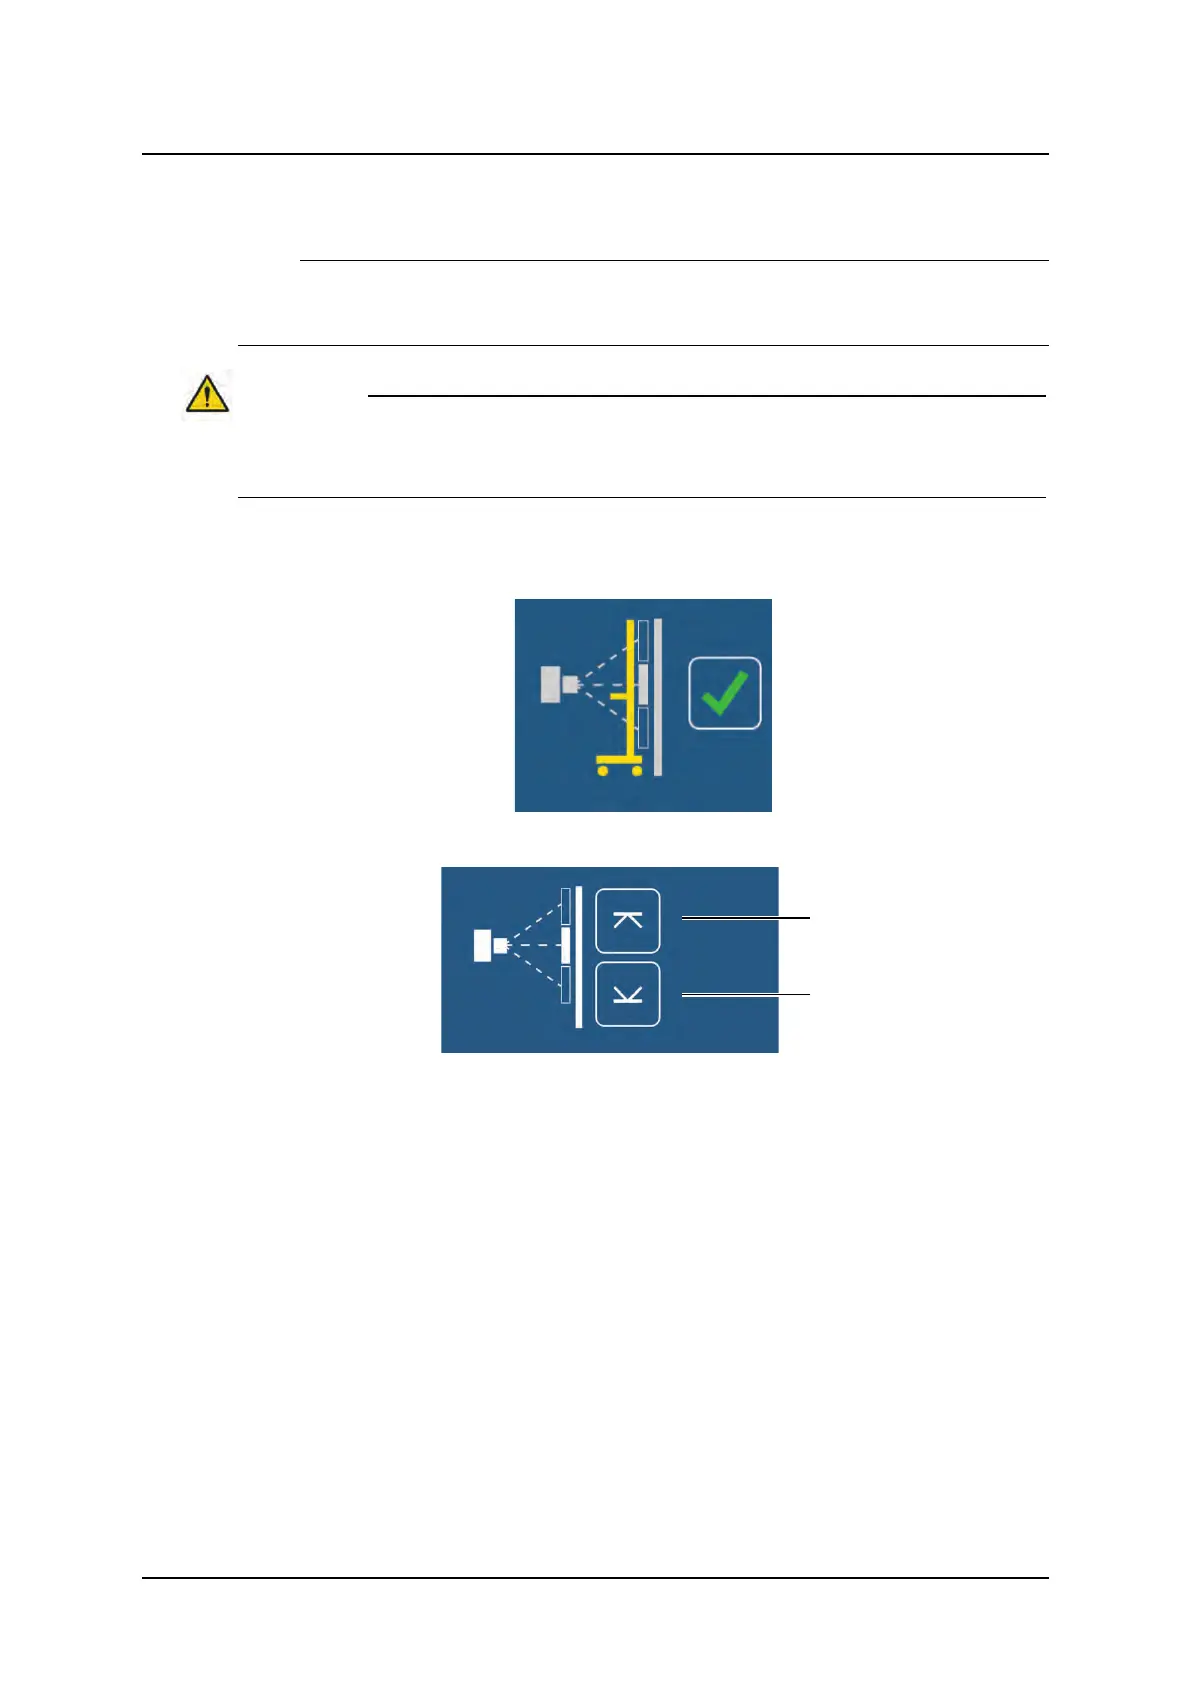
Fig. 4-34 Stitching Wallstand mode examination
The following buttons and information are located in the display, see Fig. 4-34 Stitching Wall-
stand mode examination
a High position , b Low position
1. Activate the mode by pressing the servo button.
• The servo mode indication light will flash until both limits are defined.
• The OTC will automatically move to its programmed position.
• The System will beep when position is reached.
2. Install a patient protection in front of the Wallstand.
3. Invite the patient and position the patient in front of the Wallstand.
4. Verify that the patient protection is placed in front of the Wallstand by pressing thegreen
check button on the display.
5. Move the focus point to the middle of the planned composite image. This could be done
by moving the tube in Z direction.
6. Rotate the x-ray tube in order for the lower edge of the collimator light field to indicate the
lower limit for the composite image.
Operation Manual
1000-095-051-EN Rev. 1.1 ARCOMA AB
2020-06-16 Page 119 SWEDEN