6-22
PR207
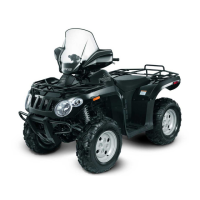
INSTALLING
1. Slide the gear case into position down through
the upper-left side of the frame; then secure it to
the frame with cap screws and lock nuts.
Tighten to specifications.
NOTE: If a new gear case is being installed,
tighten the cap screws to 5.1-6.3 kg-m (37-45.5
ft-lb).
2. Align the scribed match marks on the rear input
drive coupler flange and the rear input yoke
flange; then install three cap screws and tighten
to specifications.
PR211A
3. Install the rear drive axles (see Drive Axles in
this section).
4. Install the drive-line brake caliper and tighten
the mounting cap screws to specifications; then
adjust the parking brake (see Parking Brake in
Section 2).
Hub
REMOVING
1. Secure the vehicle on a support stand to elevate
the wheel; then remove the wheel.
NOTE: Removing or tightening of the hub nuts
requires that the axles be locked. To lock the rear
axle, set the parking brake. To lock the front axle,
turn the ignition switch to ON, select 4WD on the
2WD/4WD drive selector switch, and engage the
differential lock; then set the parking brake and
turn the ignition switch to OFF.
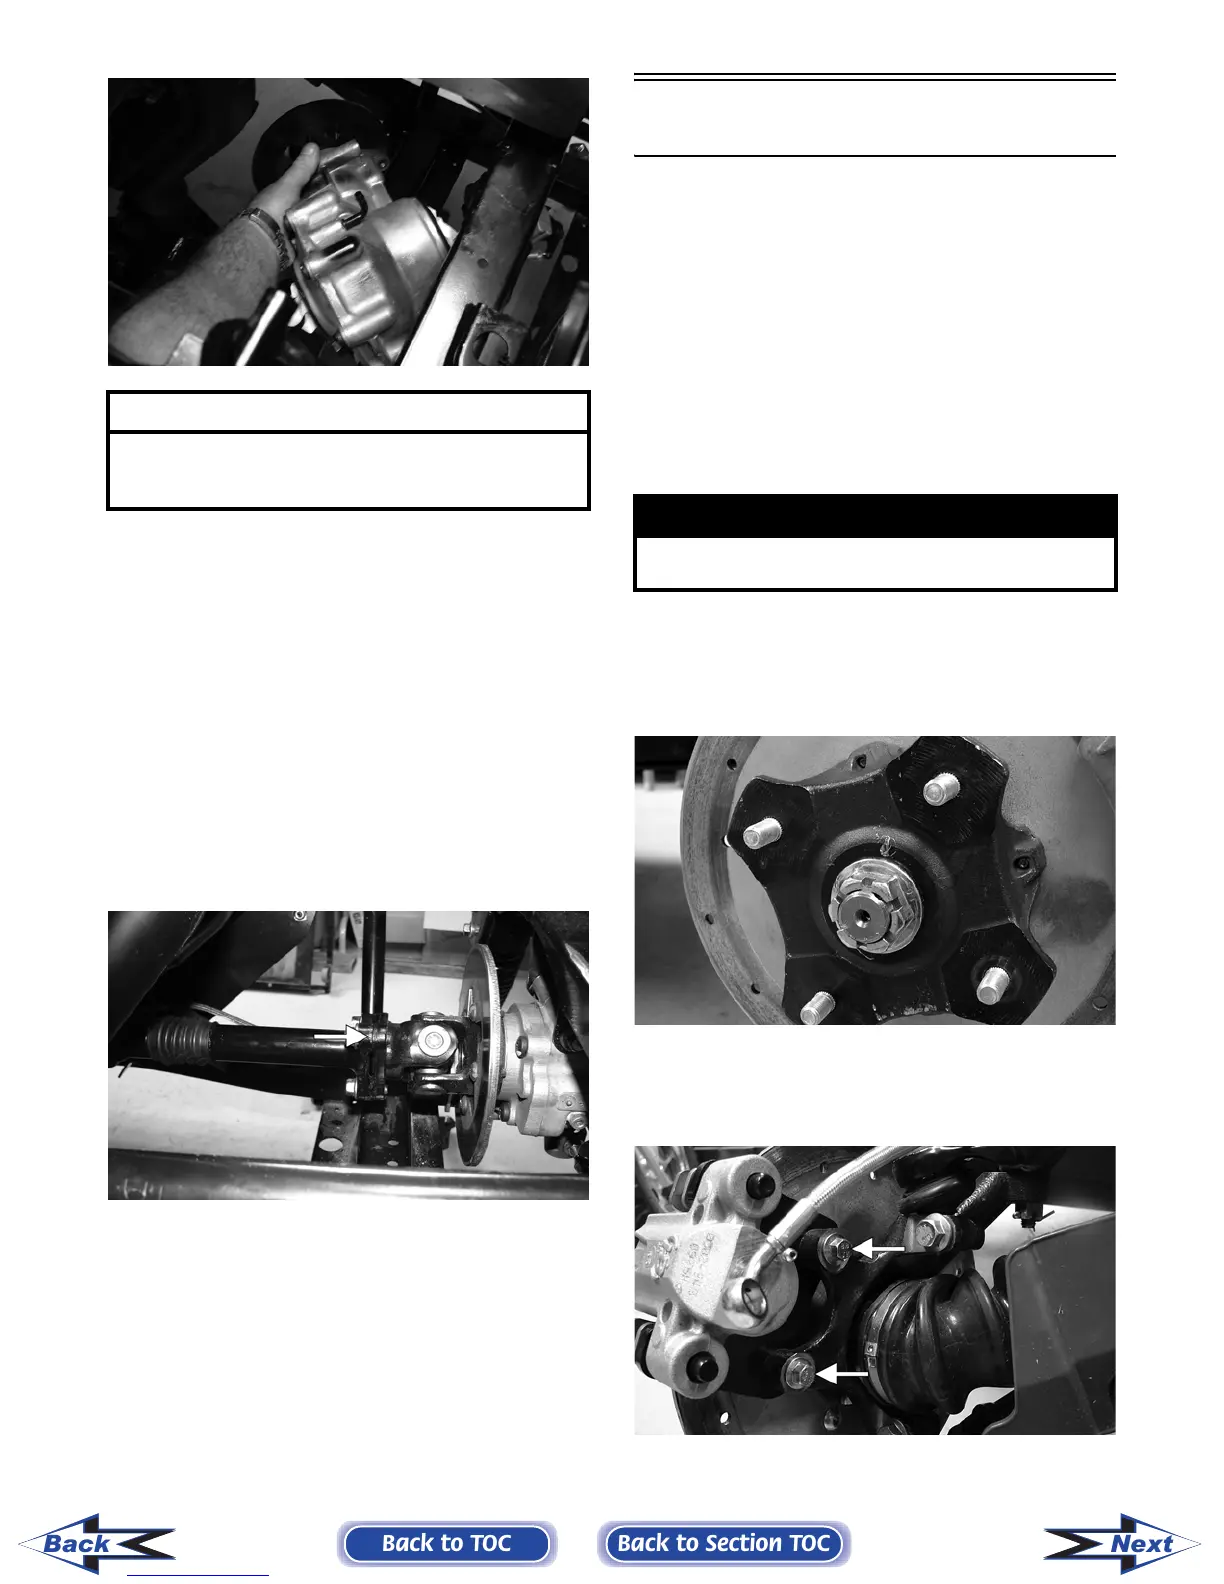
2. Remove the cotter pin from the axle.
NOTE: During assembly, new cotter pins should
be installed.
PR257
3. Remove the flange nut securing the hub.
4. Remove the brake caliper (front only).
PR243A
5. Remove the hub assembly.
AT THIS POINT
For servicing the input shaft, pinion gear, needle
bearing, and axle seal, see Front Differential in this
section.
! WARNING
Make sure the vehicle is solidly supported on the
support stand to avoid injury.
Back to TOC
Back to Section TOC
Next
Back
FOR ARCTIC CAT ATV DISCOUNT PARTS CALL 606-678-9623 OR 606-561-4983
www.mymowerparts.com
 Loading...