4-6
CC748
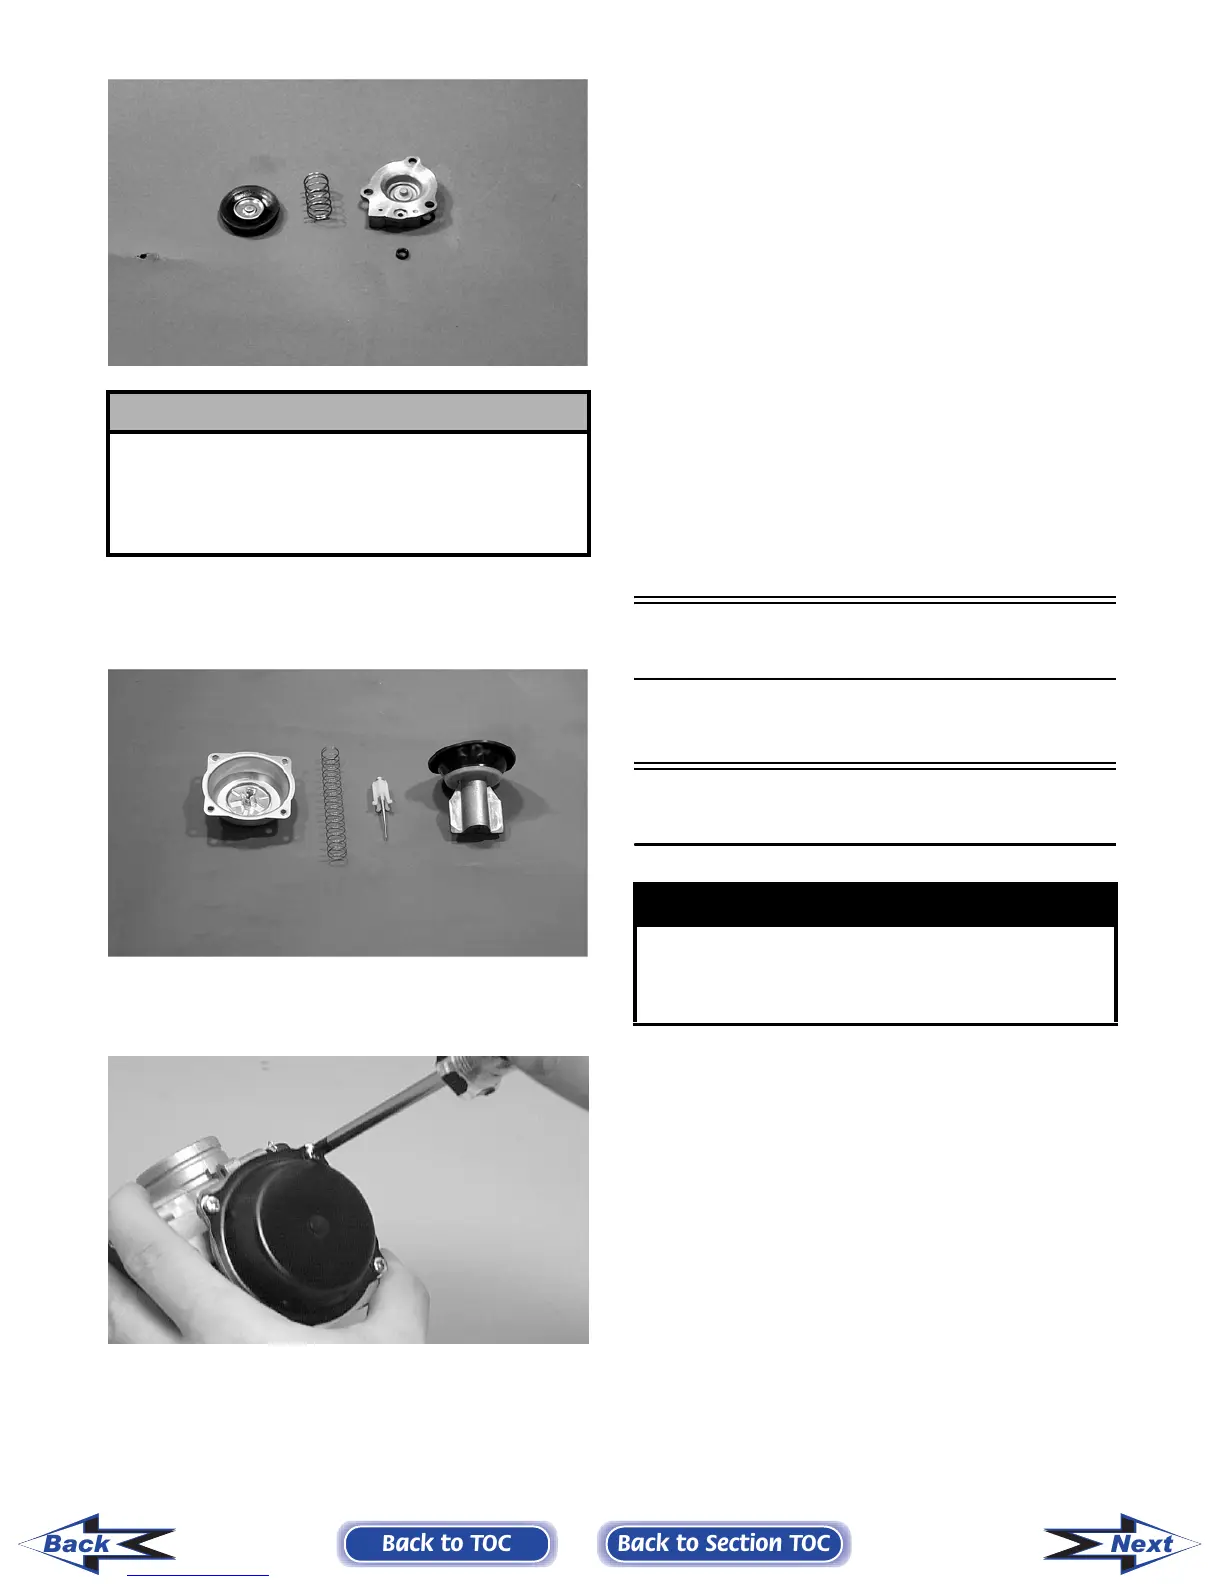
8. Place the jet needle, spring seat, and spring into
the vacuum piston; then place the assembly
down into the carburetor.
CC746
9. Place the top cover into position; then secure
with the Phillips-head screws. Tighten securely.
CH015D
INSTALLING
1. Place the carburetor into position on the engine;
then connect the electric choke connector to the
main harness.
2. Connect the throttle cable to the carburetor.
Tighten the jam nut securely.
3. Connect the gas hose; then connect the carbure-
tor float chamber vent hose.
4. Place the carburetor into the intake boot and
tighten the clamp securely.
5. Install the inlet boot between the air filter hous-
ing and the carburetor; then tighten the clamps
securely.
6. Install the left-side seat-base; then install the
center console and the seats making sure the
seats lock securely.
Engine RPM (Idle)
To adjust idle RPM, see Section 2.
Gas Tank
REMOVING
1. Remove the seats and center console; then
remove the left-side and right-side seat-bases.
2. Remove twelve cap screws and two self-tapping
screws securing the floorboard to the frame.
3. While pulling forward on the upper portion of
the floorboard, lift the rear panel above the seat
lock studs; then insert a small wood block to
hold in position.
! CAUTION
It is important to press down on the pump housing
until it contacts the carburetor to make sure the dia-
phragm lip is properly seated in the groove in the
carburetor. If the diaphragm is not properly seated,
leakage will occur.
! WARNING
Whenever any maintenance or inspection is made
on the fuel system during which there may be fuel
leakage, there should be no welding, smoking, open
flames, etc., in the area.
Back to TOC
Back to Section TOC
Next
Back
FOR ARCTIC CAT ATV DISCOUNT PARTS CALL 606-678-9623 OR 606-561-4983
www.mymowerparts.com