8-5
8
PR313A
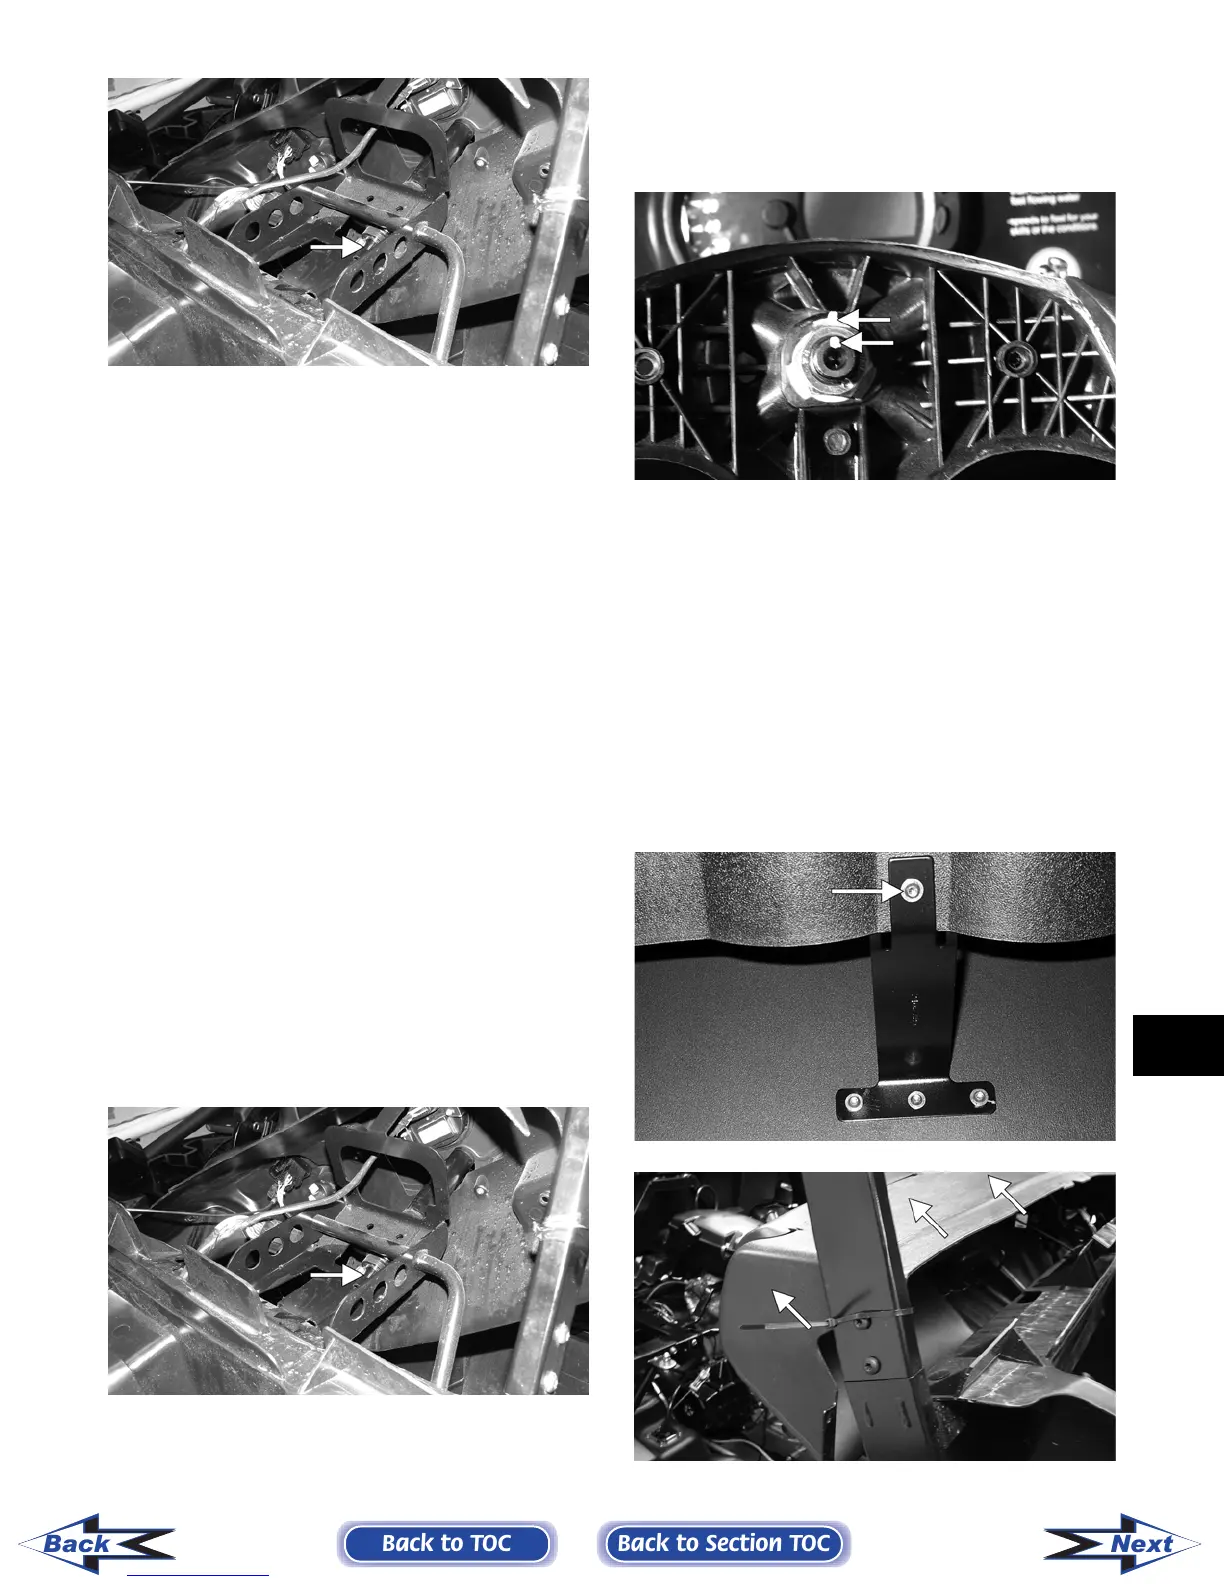
4. Match mark the upper steering shaft joint and
the steering wheel shaft; then remove the steer-
ing wheel shaft. Account for the lower
thrust-washer.
NOTE: Any time steering components are disas-
sembled, all connecting components should be
marked for proper alignment during assembling.
INSPECTING
1. Inspect the steering wheel shaft for excessive
wear.
2. Check for worn splines, cracks, or damaged
threads.
3. Roll the steering wheel shaft on a flat surface to
check for bends.
4. Inspect the nylon bushings in the steering shaft
housing for cracking or excessive wear.
INSTALLING
1. Slide the steering wheel shaft into the steering
housing; then with the lower thrust-washer in
position, align the match marks and slide the
upper steering shaft joint onto the steering wheel
shaft.
PR313A
2. Apply green Loctite #270 to the cap screw; then
install the cap screw in the upper steering shaft
joint. Install the nut and finger-tighten.
3. Align the match marks on the steering wheel
shaft and the steering wheel and slide the steer-
ing wheel onto the splines; then install the nut
and finger-tighten.
PR324A
4. Hold rearward pressure on the steering wheel
and tighten the cap screw (from step 2) to speci-
fications.
5. Remove the steering wheel nut. Apply one drop
of red Loctite #271 to the threads and install the
nut. Tighten to specifications.
6. Check for freedom of movement of the steering
system; then install the steering wheel cover.
7. Move the dash panel into position and secure to
the frame and center support with the existing
hardware.
PR475A
PR181A
Back to TOC
Back to Section TOC
Next
Back
FOR ARCTIC CAT ATV DISCOUNT PARTS CALL 606-678-9623 OR 606-561-4983
www.mymowerparts.com