11
Getting started
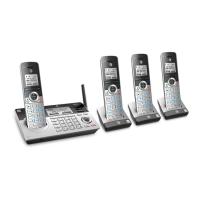
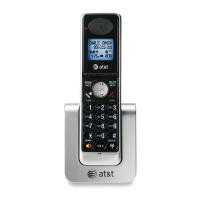
Telephone base and charger installation
Install the telephone base and chargers, as shown below.
The telephone base is ready for tabletop use. If you want to change to wall-
mounting, see Installation options on page 21 for details.
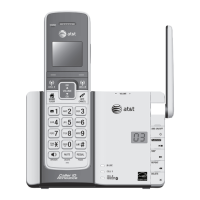
Telephone base installation
1. Plug the corded handset cord into the CORDED HS jack at the back of the
telephone base. Route the cord through the slot.
2. Plug the red end of the telephone base power adapter into the POWER jack
at the bottom of the telephone base. Plug the other end into an electrical
outlet not controlled by a wall switch. Route the cord through the slot.
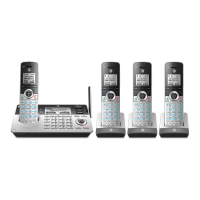
3. Plug the telephone line(s) according to the instructions.
Option 1: If you have separate wall jacks for each line, plug the telephone lines,
as shown below.
Route the cords through
the slots.
Plug the other ends of
the telephone line cords
into the telephone wall
jack, or into DSL lters if
you have DSL high-speed
Internet service.
Raise the antenna.
Line 1 telephone
wall jack
Line 2 telephone
wall jack
Plug one end of the black
telephone line cord into the
LINE 1/L1+L2 telephone jack at
the bottom of the telephone
base.
Plug one end of the clear telephone line
cord into the LINE 2 telephone jack at the
bottom of the telephone base.
Plug the other end of the coiled
handset cord into the jack on
the back of the telephone base.
Plug the large end
of the telephone
base power adapter
into a power outlet
not controlled by a
wall switch.
Plug the small end of the
telephone base power adapter
into the power adapter jack on
the back of the telephone base.

 Loading...