Page | 20 of 105
AVR8414 Operation Manual – Rev O
Set up a Reachback Recording through the Front Panel
1. Set the mode to RDY and choose the video inputs and the storage device to record to.
2. Change the mode to RBKA or RBKT to begin reachback. At this point, a reachback
buffer will begin growing and a progress bar will be shown on the front panel and OSD
displaying the amount of buffer that has recorded so far.
3. To start recording the video, press the record button while the reachback line select is
selected.
The reachback will begin recording to a temporary file until the record button is pressed or the
record discrete start is triggered. (Note: The recording must be started for any record files to be
saved. Temporary reachback files are erased from the device upon power down.) Once the
record button is pressed or the record discrete start is triggered, the mode will change to REC.
At this point, the reachback file will be attached to the beginning of the record file and the
recording will start as usual.
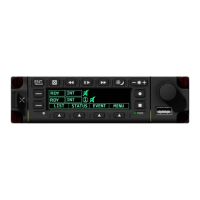
Set up Reachback – Armed Mode
This allows the user to begin a recording at a previous point in time specified in the Recording-
>Reachback OSD menu. Once activated, the timer will begin counting the buffer currently
recorded and display in five (5) second increments.
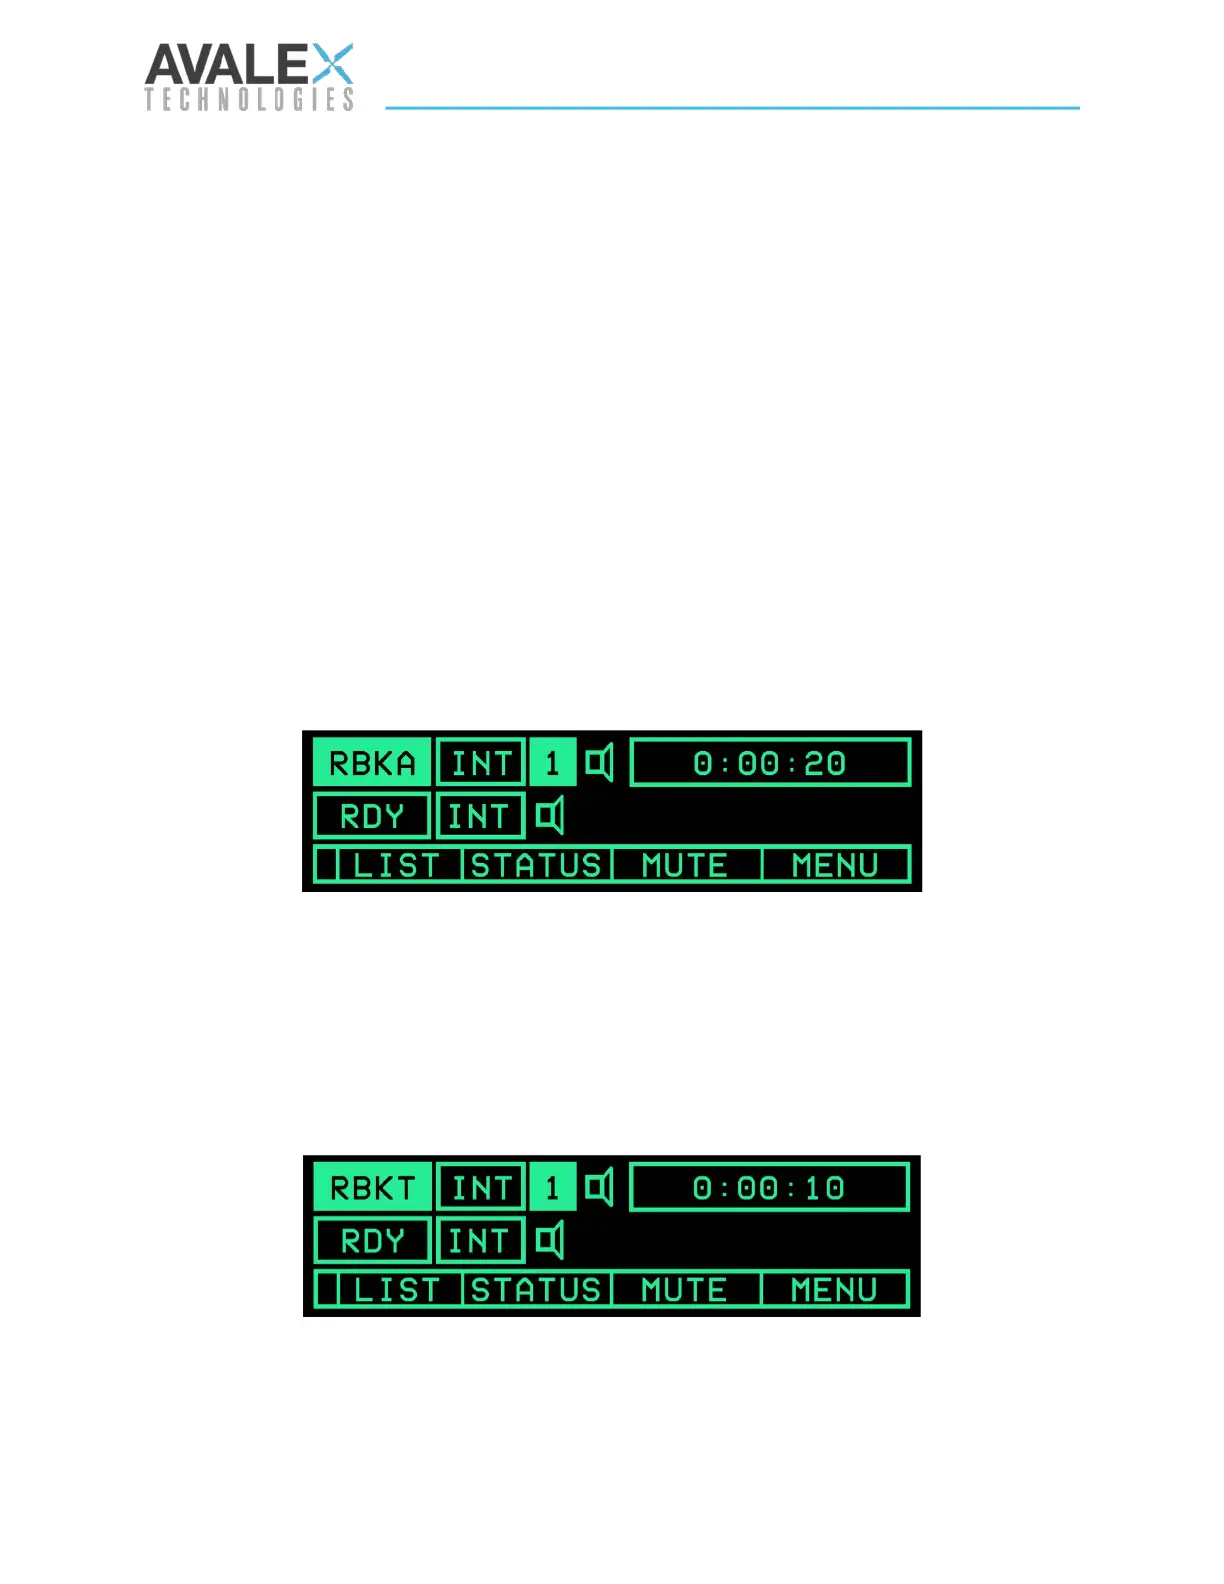
Setup Reachback – Triggered Mode
This allows the user to begin a recording at a previous point in time and trigger the recording to
begin using an external discrete input. Once activated, the timer will begin counting the buffer
currently recorded and display in five (5) second increments.
Figure 11 – Reachback Triggered Mode
Figure 10 – Reachback Armed Mode
 Loading...