Configuring Advanced System Name Settings
About this task
You can set the basic system name in the Quick Setup Wizard (see Setting the System Name,
Language, and Call Method on page 84). This procedure describes how to use an alternate system
name, such as the SIP username.
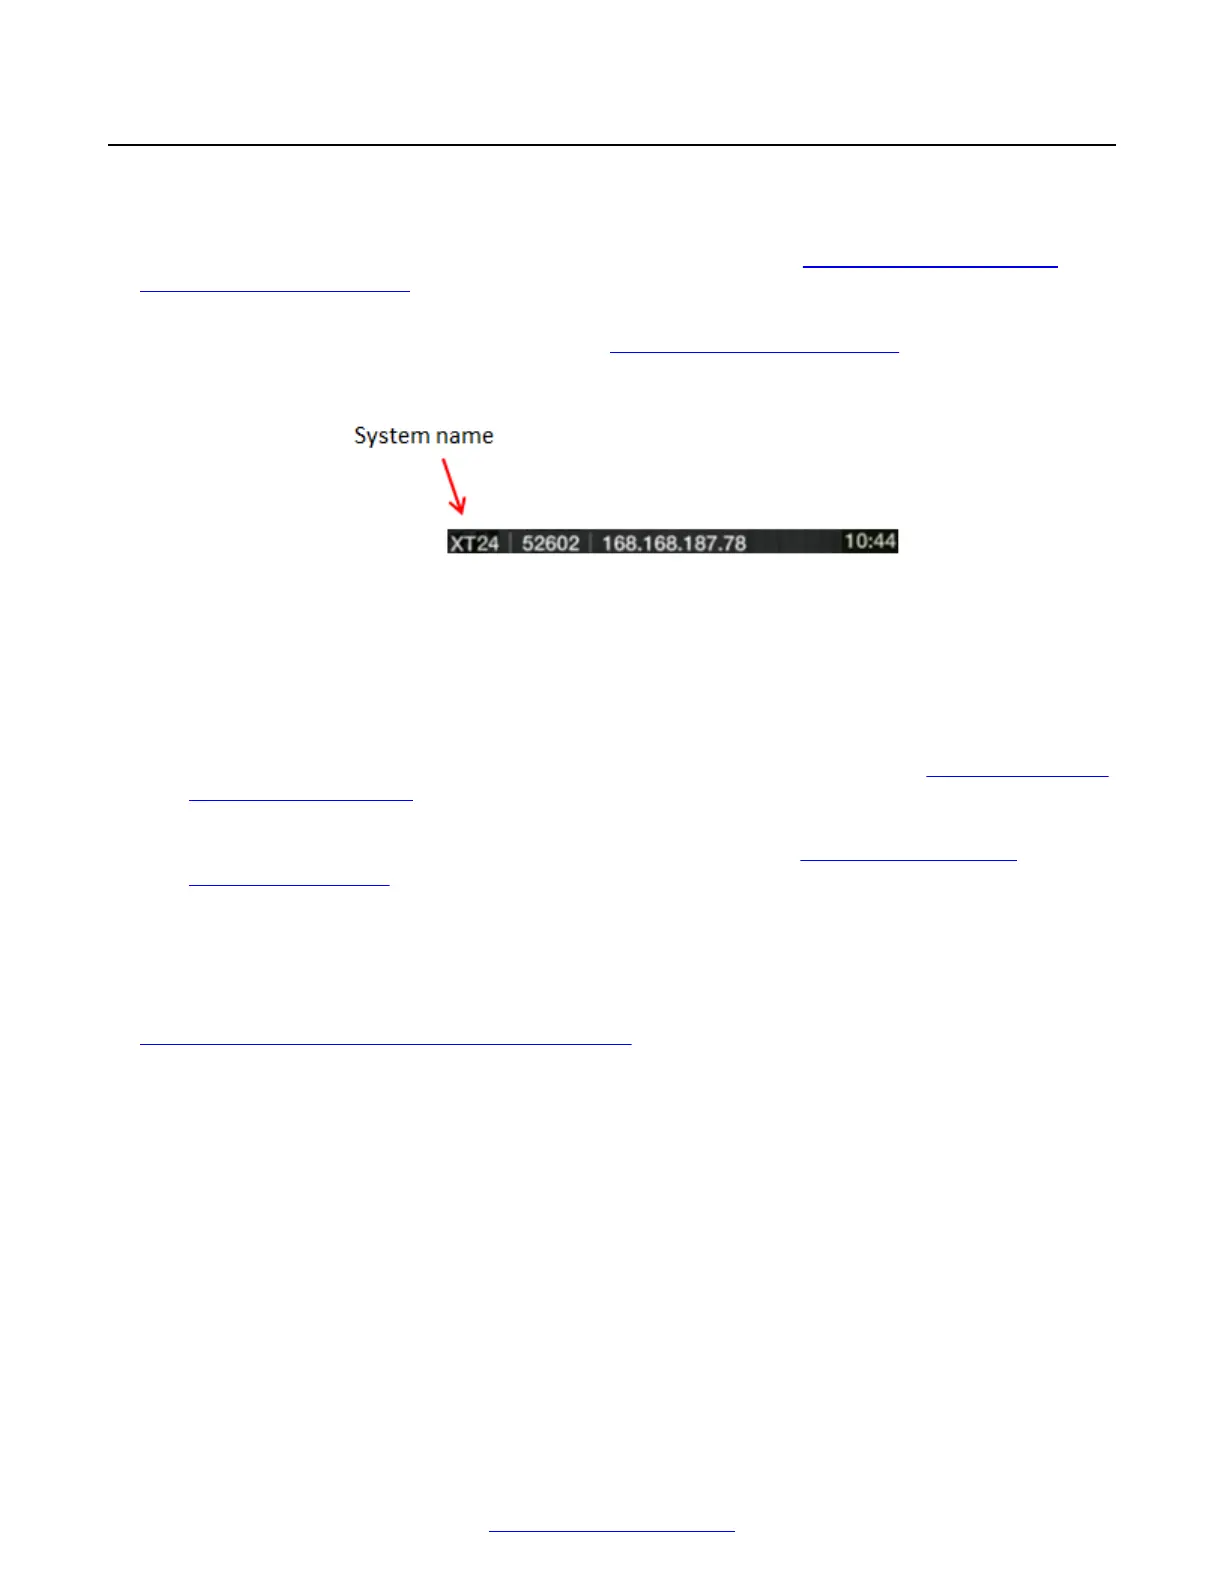
The name is displayed on the system's title bar (Figure 78: XT Series's titlebar on page 114), and is
shown to participants seeing your image in a videoconference (for example: John-Smith, or 9th-
Floor-Room, or NY-Office).
Figure 78: XT Series's titlebar
Depending on your integration, you can configure your XT Series to show one of several names:
• Use the system name as defined in the Quick Setup Wizard.
• Use the unicode version of the system name for non-English characters.
• Use the SIP username if this XT Series is registered to a SIP registrar or proxy. This is the
same as the System Name, unless you change it manually as described in
Registering the XT
Series to a SIP Server on page 107.
• Use the H.323 name if this XT Series is registered to a gatekeeper. This is the same as the
System Name, unless you change it manually as described in
Configuring Advanced
Gatekeeper Settings on page 124.
• Use the hostname, which is the same as the system name, but some characters like a space in
the name are replaced by a hyphen.
Before you begin
If configuring from the endpoint, you must first enable advanced configuration, as described in
Enabling Advanced Maintenance on the XT Series on page 112.
Procedure
1. Access the system name settings. From the XT Series web interface, select Administrator
Settings > System > Location. From the endpoint's main menu, select Configure >
Advanced > System > Location.
Advanced Configuration of the XT Series
114 Avaya Scopia
®
XT Series Deployment Guide April 2015
Comments? infodev@avaya.com

 Loading...


