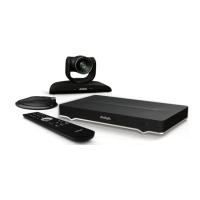
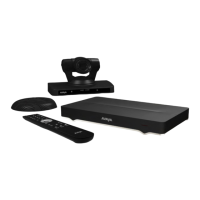
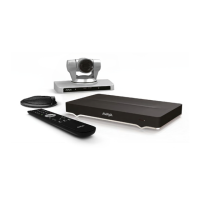
Figure 50: Installing Avaya Room System XT Control for Windows
5. For Mac users only, copy the setup package to a folder on your computer, and launch the
Avaya Room System XT Control:
You may need to follow the steps in
Resolving download problems on page 279.
6. For Windows users only, launch the installation package:
a. Select Next in the installation wizard and select to install Avaya Room System XT
Control.
b. Select the installation folder and click Next.
c. Choose a location in the Start menu, and select Install.
d. Select Finish.
Avaya Room System XT Control automatically connects to the Avaya XTE240.
7. Use your keyboard to enter the user code displayed at the start of this procedure.
If you accidentally closed the code, leave the User Code field empty and select
Authenticate to display a new code.
Figure 51: Entering the user code (example)
8. Select Authenticate using your computer mouse.
9.
You can now control the Avaya XTE240 with your keyboard and mouse by selecting the
Avaya Room System XT Control icon in your taskbar:
For tips on getting started and using the Avaya Room System XT Control utility, see
Navigating Menus with the Keyboard and Mouse on page 144.
Related links
Configuring Basic Settings with the Quick Setup Wizard on page 110
Configuring Basic Settings with the Quick Setup Wizard
August 2020 Deployment Guide for Avaya XT Series 117
Comments on this document? infodev@avaya.com

 Loading...


