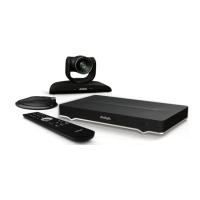
Connecting the Avaya Tracking camera TC220
About this task
This procedure describes how to connect the main Tracking camera TC220 camera to the Avaya
Room System XT Series.
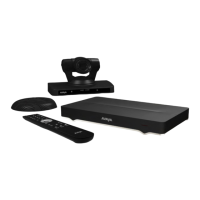
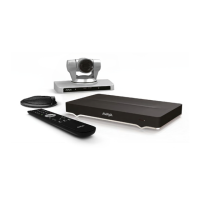
Figure 30: Avaya Tracking camera TC220
For details about the camera's capabilities, see Technical Specifications on page 20. For more
information about the room setup, see Planning the Optimal Room Setup on page 52.
Procedure
1. Place the camera in a position to ensure eye contact between local and remote
participants.
If the XT Codec Unit is housed in a cabinet, the XT Remote Control Unit sends the signal
to the infra-red receiver of the main camera to relay messages to the XT Codec Unit. In
this case, configure the camera settings so the camera's power is always on (see
Configuring Cameras on page 126).
For the Tracking camera TC220, place the camera 1.4-1.8 meters height from the floor.
See Figure 19: Tracking camera TC220 placement in relation to table on page 55 for the
camera placement with respect to the room table. The center of the camera should be
slightly to the left of the center of the table.
Caution:
Do not place the camera on top of the XT Codec Unit. It can cause the system to
overheat.
2. Remove the camera stabilizing cartons before connecting the camera to avoid damage to
the system.
3. Ensure that the Tracking camera TC220 and the XT Codec Unit are turned off.
4. Connect the Tracking camera TC220 to the ports on the back of the XT Codec Unit, as
shown in
Figure 31: Connecting the Tracking camera TC220 on page 66:
• Using the HDMI cable (2), provided with the Tracking camera TC220:
- Insert it in the HDMI-OUT connector (6) of the Tracking camera TC220.
Connecting Cameras or DVD players
August 2020 Deployment Guide for Avaya XT Series 65
Comments on this document? infodev@avaya.com

 Loading...


