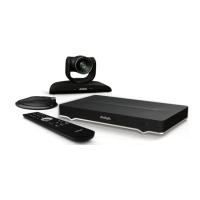
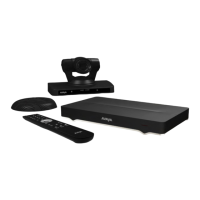
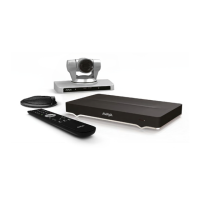
Figure 68: General Settings
You can use the XT Remote Control Unit's initial default pairing to perform this task.
2. Enter a two-digit numeric code between 01 and 96 in the Remote Control Code field.
3. From the web interface only, select Save.
4. On the Simplified XT Remote Control Unit, press the * and # keys simultaneously until its
RED light blinks twice. On the advanced remote control unit, press the RED and GREEN
keys simultaneously until the GREEN light becomes RED.
5. Using the keypad, type the same number used in the Remote control code field.
When the code is not the default 01, the system displays the paired remote icon with its
new code at the top-right corner of the screen.
6. Select Finish in the web interface, or select OK on the endpoint.
Related links
About the XT Remote Control Unit on page 139
Navigating Menus with the Keyboard and Mouse
About this task
On the Avaya XTE240 only, you can navigate through endpoint menus using your computer's
keyboard and mouse instead of the remote control, by running a PC or Mac program called Avaya
Room System XT Control. It also allows you to seamlessly switch between your computer screen
and the system menus. If you are using Avaya Room System XT Control
3
to control more than
one Avaya XTE240 device, it displays the list of controlled devices. You can see the connection
status of each device and you can delete devices that you no longer require. By default, your
computer screen is always displayed when you are not in a call.
Controlling the XT Series
August 2020 Deployment Guide for Avaya XT Series 144
Comments on this document? infodev@avaya.com

 Loading...


