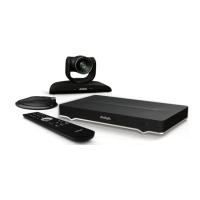
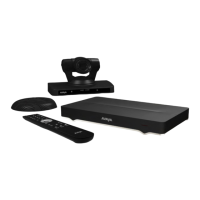
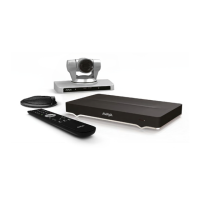
Table 22: Configuring general camera settings
Field Name Description
Default camera Select the port of the XT Codec Unit which you connected the default camera, which is
automatically activated when the system powers up. To configure your default camera
for the Avaya XT5000 Series, you can choose between HD1, [HD2, HD3, HD4 using
the Avaya XT Series Camera Switch], DVI, or USB. To configure the default camera for
the Avaya XT7000 Series, you can choose between HD1, HD2, [HD3, HD4, HD5 using
the Avaya XT Series Camera Switch], DVI, or USB.
Figure 58: Video inputs of the XT Codec Unit (XT5000)
Figure 59: Video inputs of the XT Codec Unit (XT7000)
• HD1( or HD1/HD2 in the case of the Avaya XT7000 Series): Select if you connected
the PTZ camera or the Tracking camera TC220 to the HDMI input of the XT Codec
Unit. This is the most common configuration.
If you connected multiple cameras with the Avaya XT Series Camera Switch, select
the HD port of the Avaya XT Series Camera Switch to which you connected the
default camera, from HD1- HD4. For the Avaya XT7000 Series, select the HD port of
the Avaya XT7000 Series or the Avaya XT Series Camera Switch to which you
connected the default camera, from HD1–HD5.
• USB: Select if your default camera is connected to the upper USB port (for example,
using the Avaya XTE240's built-in camera or the Avaya USB H100 HD Video
Camera as the main camera. You must always plug USB cameras into the upper
USB slot on the rear of the XT panel.
Table continues…
Configuring Cameras
August 2020 Deployment Guide for Avaya XT Series 127
Comments on this document? infodev@avaya.com

 Loading...


