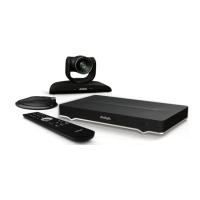
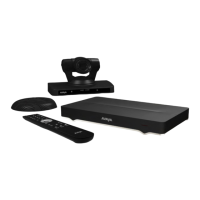
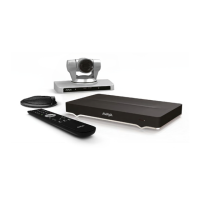
Table 23: Configuring advanced camera settings
Field Name Description
Enable Select Yes to enable this camera. Otherwise, you cannot use the video
input from this camera. If you connected multiple cameras via the Avaya
XT Series Camera Switch, enable each camera.
You cannot disable the default camera.
Presentation
Content
(XT7100 only) Select Yes to use HD1 input for presentation content while
using HD2 for a live camera. If you use HD1 for the presentation content,
you can display a resolution up to 4K Full HD. In this scenario, you must
connect the first camera to the HD2 port of the XT Codec Unit and
connect the cable for serial control and power to the horizontal connect
(VISCA port). You must connect the computer displaying the presentation
to the HD1 port. An HDMI cable or adapter is needed. HD2 is
automatically configured for the default live camera and audio is disabled
for that port.
Figure 61: XT7100 with 4K Input for Presentation Content
Control Camera Enable pan, tilt and zoom functionality if supported by the camera. The
camera must be connected via a VISCA cable. Disable if you connected
DVD devices or non-PTZ cameras. If HD1 is used for presentation
content, the camera cannot be controlled and all of the camera
parameters are disabled.
Driver If the camera driver mode is manual, specify the correct driver here. For
example, if you have the Tracking camera TC220, check that the Tracking
camera TC220 driver is selected.
Tracking For the Tracking camera TC220, enable tracking. If the tracking is
disabled, only the rightmost camera will be used and can be controlled
manually (for PTZ and presets). If the tracking is enabled, manual PTZ
and preset commands are ignored.
Table continues…
2
For the Avaya XT4300 (XT Flex Camera), there are additional settings, such as Ceiling Mount, IR Receivers, Picture,
and Wide Dynamic Range.
Configuring Cameras
August 2020 Deployment Guide for Avaya XT Series 129
Comments on this document? infodev@avaya.com

 Loading...


