7: Advanced Element Controls • 109
©2008 Axia Audio — Rev. 3.0
specify the IP Address
of your Syslog Server,
set the Syslog Sever-
ity Level to log only the
level of messages you
desire, and set various
other logging options.
Click Save Settings
when you’re done.
Element Congu-
ration: This section
lets you Backup and
Restore all Element
configuration settings.
Backup file format is
standard XML.
Save your work! We recommend backing
up your Conguration les whenever a major
change is made, or is about to be made, to your
Element. Whether you are reconguring Show
or Source proles en masse or about to perform
a software update, it’s always a good idea to
have a copy of your important data.
The Log and Log His-
tory Menu
Element keeps a detailed
log of each button press,
fader movement and other
system events. Choosing
the Log menu item lets you
examine the last 100 logged
activities; choosing the Log
History menu item allows
you to view an entire day’s
log at one time and delete
old log files if you choose.
The oldest log files are de-
leted automatically as stor-
age space dictates.
•
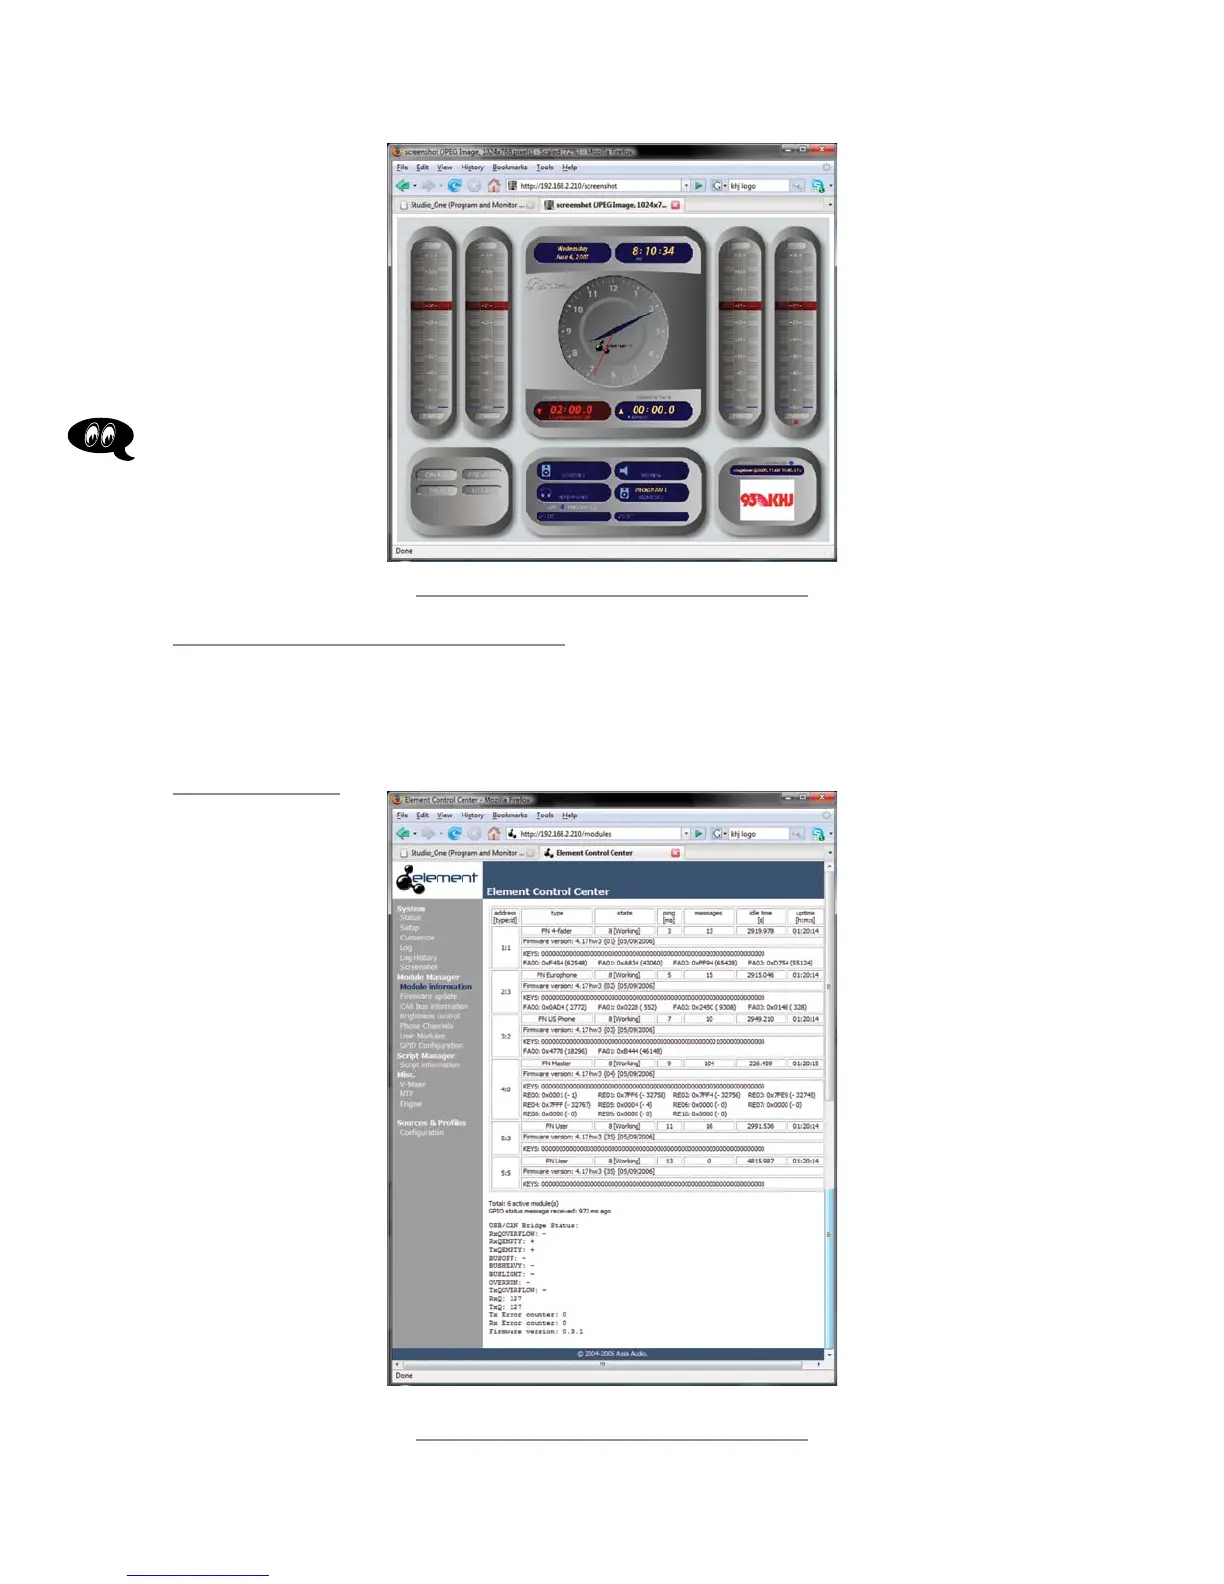
The Screenshot
Menu
Choosing this menu item
immediately captures a shot
of the Element’s Operator
screen. This, in combination
with the activity log, can be
used to determine just what
the operator is seeing —
useful for at-home trouble-
shooting during those 6AM
Sunday phone calls. Press-
ing your browser’s Back
button will return you to the
Element menu.
The Module Information Menu
The first selection under the Module Manager
heading displays a detailed list of the installed modules
in your Element console. Some of these fields are for di-
agnostics; below is a list of
those you might find useful:
The Address field
displays the number Axia
has assigned to each fader
type, followed by the set-
ting of its module rotary
ID selector switch. This is
useful in determining if any
modules’ ID selectors are
set to duplicate values (see
Appendix C for information
on correctly setting module
ID selectors).
The Type field gives
you the actual name of each
module (i.e., 4-Fader, Mas-
ter, US Phone, etc.).
The Status field tells
you whether or not the mod-
ule is working, i.e., commu-
nicating with the Element
CPU.
•
•
•
Fig. 7-4: ScreenShot
Fig. 7-5: Module Information screen. Can you spot the
Module ID conict?