5: Show Proles • 89
©2008 Axia Audio — Rev. 3.0
Individual Headphones Section
Note: These controls apply ONLY IF:
• The loaded source is a Mic-type source.
• The loaded source has an individual head-
phone feed associated with it.
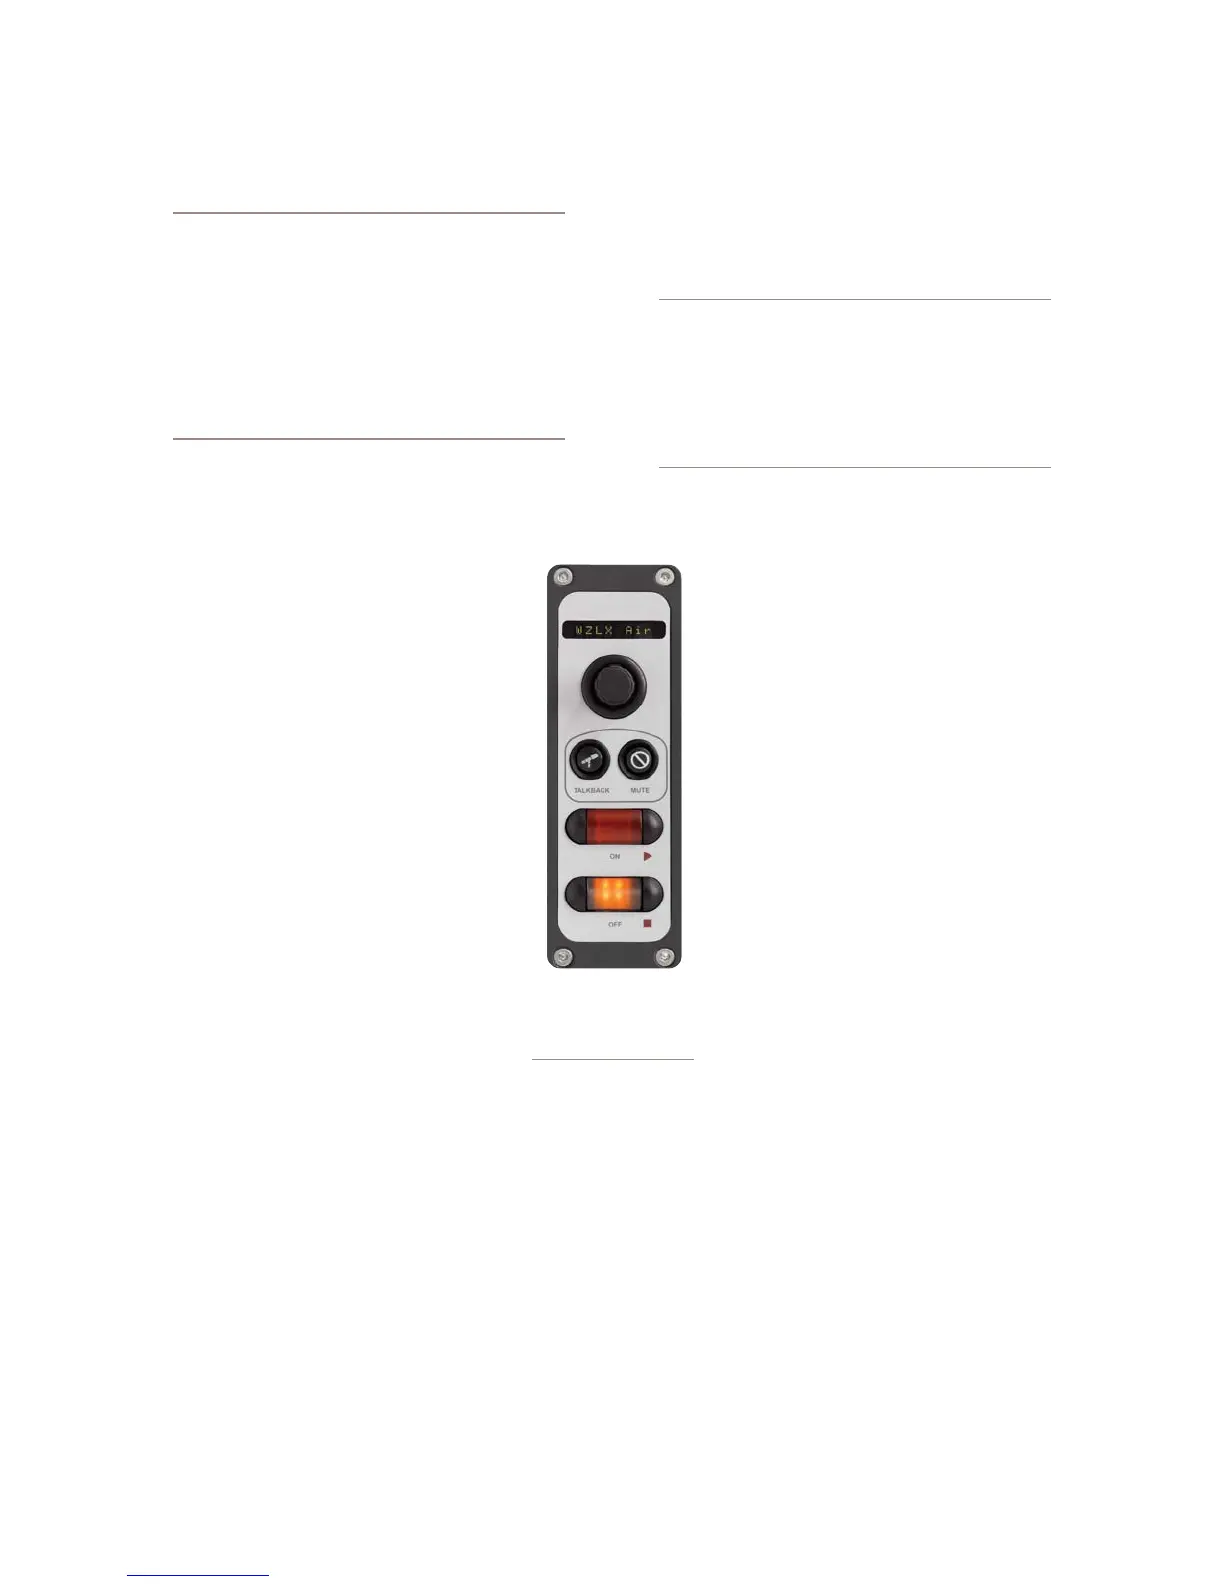
• The position at which the mic is installed also
has an Element accessory panel that allows tal-
ent to select their own headphone feeds (such
as the one shown in Figure 5-2).
CURRENT SOURCE: The source currently specified
for monitoring in the Monitors page of
the Show Profile.
SOURCE FOR PRESET 1: Specify the
source that will load when the acces-
sory panel’s Ext 1 key is pressed.
SOURCE FOR PRESET 2: Specify the
source that will load when the acces-
sory panel’s Ext 2 key is pressed.
HEADPHONES MASTER GAIN: Spec-
ify the initial amount of gain that the
Individual Headphone Feed will have
when the Show Profile loads. Turn then
Off or Use up to 85 dB of cut.
Finishing Up...
Finally, there are two more controls at
the very bottom of the screen:
SAVE CHANGES button applies any changes made
to the current Channel Description. If you don’t click
this button, your changes won’t be saved!
BACK TO SHOW PROFILE link takes you back to
the Show Profile Settings menu.
The Auxiliary Send And Return
Description Screen
In the same way that the Show Profile Channel De-
scription screens mirror Element’s Channel Options
•
•
•
•
•
•
menus, the Auxiliary Send Description Screen captures
the global Aux Send settings that can be set using the
Global Options Sends & Returns Key located on the
Master Module.
Note: Instead of the Retain Source Settings
option found in the Channel Descriptions pages,
the Auxiliary Send Descriptions Screen features
a new option: Retain Existing Settings. Us-
ing this option with any of the Aux Send/Return
settings allows the Show Prole to be loaded
without disturbing the Aux Send/Return master
settings in use by the board operator.
From the Show Profile Settings web
page, choose the Auxiliary Send/Return
Data link. You’ll find the following op-
tions:
Aux Send A / B / C / D Master Gain:
Selecting Off turns off master gain adjust-
ment for each Aux Send’s outbound feed.
Select Use and enter a gain value between
-25 dB and 10 db to trim overall gain if de-
sired, or select Retain Existing Setting.
Aux Send A / B / C / D On/Off Sta-
tus: Choose Off to turn the selected Aux
Send 1 off completely, On to turn it on, or
Retain Existing Setting.
Aux Return 1 /2 Master Gain: Select-
ing Off turns off master gain adjustment
for the selected Aux Return bus. Select
Use and enter a gain value between -25 dB and 10
db to trim overall return gain if desired, or select
Retain Existing Setting.
Aux Return 1 / 2 On/Off Status: Choose Off to
turn the selected Aux Return off completely, On to
turn it on, or Retain Existing Setting.
Aux Return 1 / 2 Signal Mode: Choose from
Stereo, Left (left channel fed to both sides), Right
(right channel fed to both sides), Sum (sum L+R to
mono and feed to both sides) or Retain Existing
Setting.
•
•
•
•
•
Figure 5-2: an
Element accessory
panel with headphone
selector