7: Advanced Element Controls • 111
©2008 Axia Audio — Rev. 3.0
ting to determine how “dark” display text is when
that text flashes for attention. A value of 0 makes
the text flash from completely on to completely off;
a higher value keeps the text slightly illuminated in
its “off” state.
User Module Button LCD Brightness: This af-
fects only SmartSwitch modules and panels. Deter-
mines how bright the backlighting is for each Smart-
Switch button’s colored LCD screen.
User Module Button LCD Contrast: Adjusts the
contrast between the text and background areas of
SmartSwitch button displays.
Production Module Circular Bargraph Bright-
ness: Determines the luminance of the lit segments
that surround the adjustment knobs on the optional
Element Production Module.
Phone Channels Menu
This screen allows you to set up Element for use with
Telos Series 2101, TWOx12 and Nx12 broadcast phone
systems. For more details, please refer to Appendix D:
Working With Phone Hybrids.
User Modules Menu
This menu allows you to set up and use Axia acces-
sory SmartSwitch and Film-Cap Button modules and ac-
cessory panels with your Element console. Please refer
to Appendix E: Accessory User Panels.
GPIO Conguration Menu
This menu is where you configure the assignments
for the eight opto-isolated GPIO connections found on
the Element CPU connection panel. For a thorough dis-
cussion of this screen and how to configure GPIO, please
refer to Chapter 3: Configuring GPIO.
Script Information Menu
Element consoles use standard Javascript code for
some routine functions. This screen is for diagnostics
and custom programming only and should not be used
without the express instruction of Axia Support.
•
•
•
V-Mixer Menu
Element allows you to mix up to 40 sources using a
built-in Virtual Mixer, consisting of eight submixers con-
trolling five inputs each. Setup and use is described in
Chapter 6: Virtual Mixer.
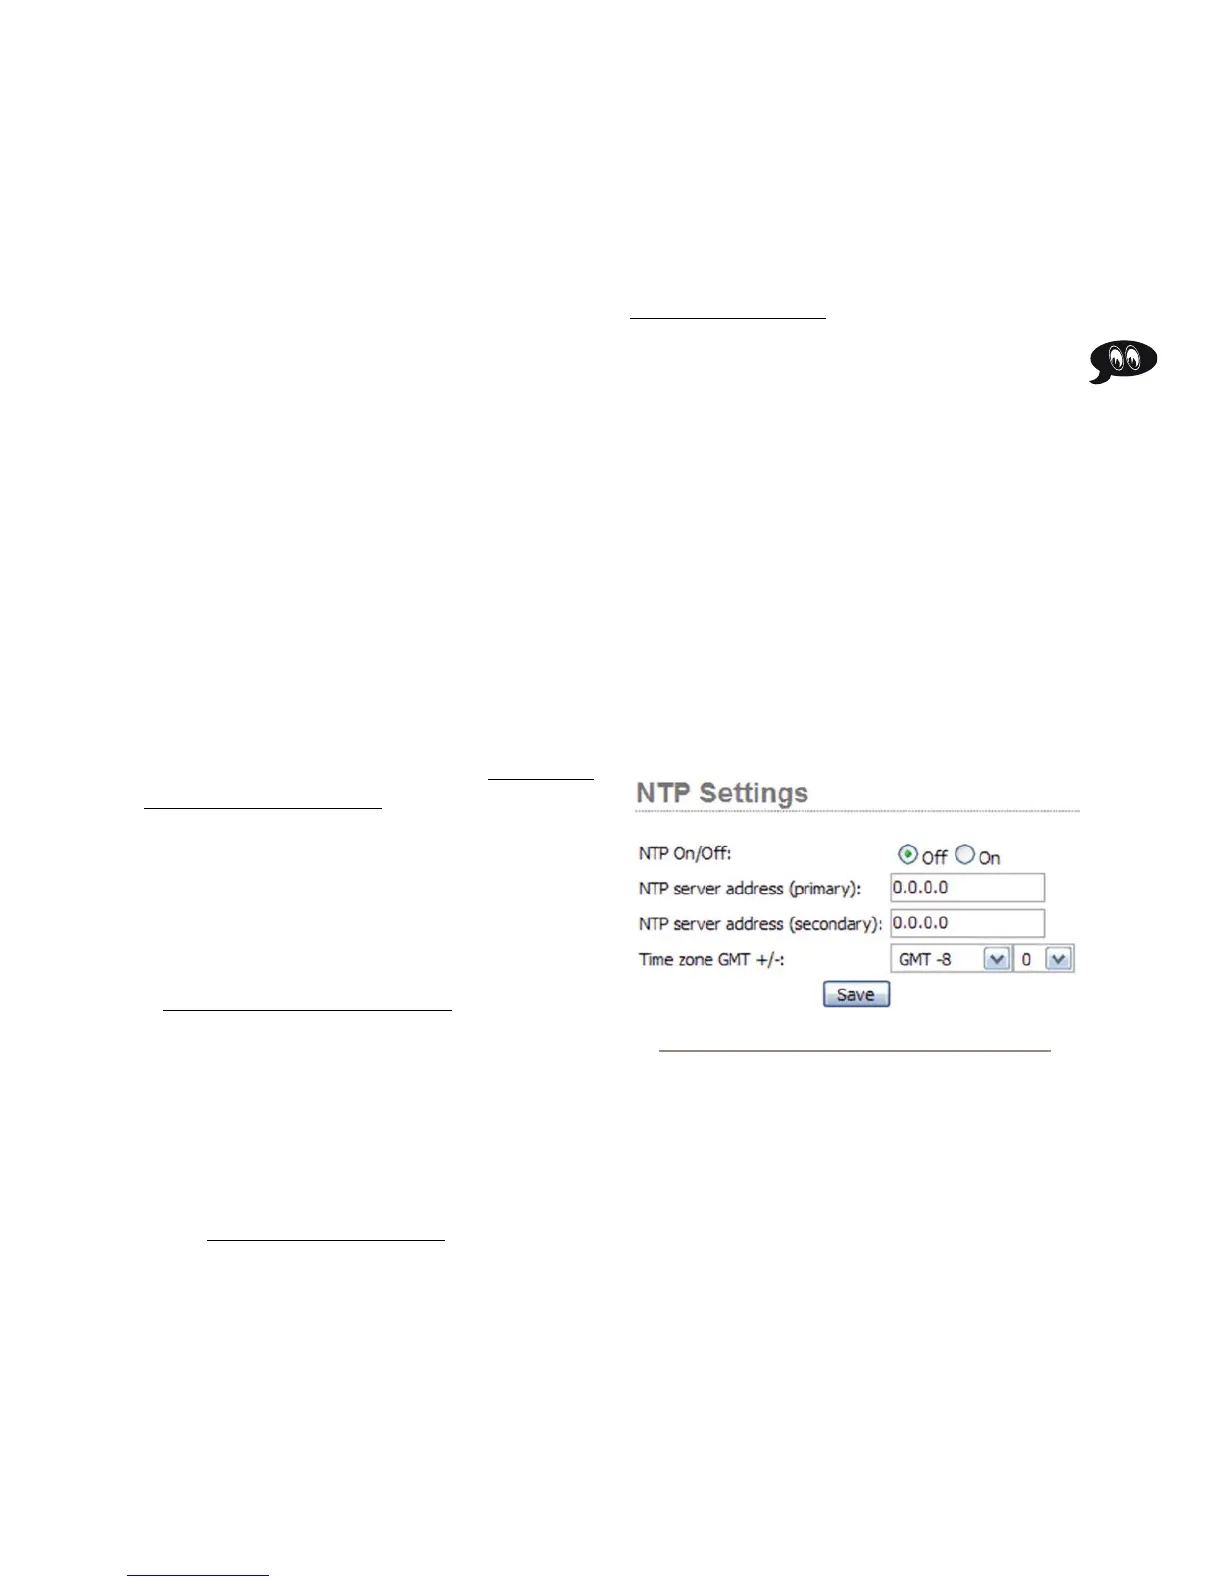
NTP Menu
Each individual Element in your network can use ei-
ther its own internal clock or an external time server for
timekeeping. To set up an NTP server:
Choose the NTP ON radio button.
Enter the address of an NTP server in the Primary
box, and a Secondary server if available.
Set your Time Zone offset using the dropdown box.
Click Save.
To disable NTP service, simply choose NTP OFF and
click Save.
Engine Menu
Alternate location to enter the IP Address of the
StudioEngine your Element is paired with (typically this
is entered using the IP Address Book screen). Click
Save if you’ve made changes..
Sources & Proles Conguration Menu
Choosing this menu item takes you to the Profiles
submenus.
1.
2.
3.
4.
Fig. 7-8: NTP Menu controls