3 Major Features
3.1 Demo Mode
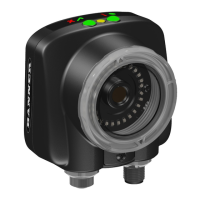
The first time you power up the iVu Plus TG sensor, it starts in Demo Mode and allows you to choose whether to stay in
Demo Mode or exit to Live Mode
. Demo Mode uses stored images and inspection parameters that demonstrate how the
sensor is set up without having to worry about focus, lighting, or triggers. In this mode, you can learn how to make
adjustments while working with the different sensor types and observing how the adjustments affect the sensor results.
When you exit Demo Mode, the sensor reboots into its normal operating mode with default settings.
NOTE: Switch between Live Mode and Demo Mode any time by going to Main Menu > System >
Mode.
3.2 Sensor Types
The iVu Plus TG sensor includes four Sensor Types:
•
Area Sensor
• Blemish Sensor
• Match Sensor
• Sort Sensor
3.2.1 Area Sensor
An Area type sensor is used to ensure that a feature, or multiple features, are present on a part. When setting up the
sensor for an Area inspection, a feature, such as a drilled hole, is identified as well as the size (area) expected. If there is
more than one of the identified features on a part, the number expected can be set as well. During the inspection, the
sensor verifies that each part or package includes the specified number of features. Some example applications include:
• Inspections that check for drilled holes on a part
• Inspections that check for correctly stamped parts
• Inspections that ensure proper packaging (for example, check that a packing slip exists in or on a box; test
whether a vial is properly capped)
• Inspections of blister packs
iVu Plus TG Gen2 Image Sensor
14 www.bannerengineering.com - Tel: 763.544.3164

 Loading...