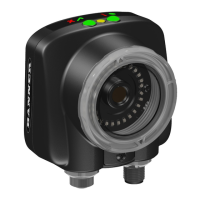
Power I/O Connections
Pin # Wire Color Description Direction
3 Green Output 2 Output
4 Yellow Strobe Out (5V dc only) Output
5 Gray Remote Teach Input
6 Pink External Trigger Input
7 Blue Common (Signal Ground) Input
8 Red Ready Output
9 Orange Output 3 Output
10 Light Blue RS-232 TX Output
11 Black RS-232 Signal Ground Output
12 Violet RS-232 Rx Input
2.2.3 Installing a Filter on iVu Series Sensors
Installing a Filter on the Micro Video Lens Model
To install a filter on the iVu Series sensor with Micro Video Lens, use the illustration as a guide and follow the steps listed
below.
CAUTION: Failure to follow these instructions may cause damage to your iVu Series sensor.
Micro Video Lens Models
A Lens
B Focusing Window
C Locking Clip
D Locking Screw
E Filter Cap
F Filter
1. Remove the Focusing Window locking screw (D) using the 1/16 in. hex key.
NOTE: The Locking Clip (C) inserts in a groove near the top of the Focusing Window (B). When
removing the window, the Locking Clip will be loose. Be careful not to lose the clip while
removing the window.
2. Unscrew the Focusing Window by turning it clockwise approximately 5 complete turns or until the Focusing Window
disengages from the light/lens assembly.
NOTE: The light/lens assembly may include an integrated ring light or a blank disk if an
integrated ring light is not used. Be careful that the light/lens assembly does not pull out when
removing the Focusing Window. Give a slight tug on the Focusing Window when you think
you've unscrewed it far enough. If the lens assembly moves with the window, continue to rotate
the window clockwise until the lens assembly does not move.
3. Set the Focusing Window aside. Be careful not to get any debris on the window's O-ring.
4.
If present, remove the protective covering on the filter.
5. Place the filter into the Filter Cap and press the cap onto the lens.
iVu Plus TG Gen2 Image Sensor
www.bannerengineering.com - Tel: 763.544.3164 9

 Loading...