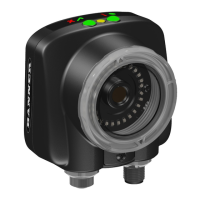
7.3 Configuring a Blemish Sensor
NOTE: By default, the Trigger
is set to Internal, and will continuously trigger based on a time interval
setting. This may make it more difficult to make adjustments while setting up the sensor. The best
practice is as follows:
• Go to the Main Menu > Imager > Trigger menu and select External.
•
Make sure there is no external trigger input.
• Use the Trigger icon in the lower-right of the screen to manually trigger the sensor to capture
an image as you set up and test.
• Capture images of a range of samples to set up from the "worst" good part to the "best" bad
part.
The Demo application shows how the sensor, when configured as a Blemish sensor, can accept or reject parts based on the
range of edge pixels the sensor detects in the ROI.
Start the setup with a good part. Normally, each part to be tested will be centered in the Field of View (FOV).
1.
Adjust the Region of Interest (ROI). Resize the ROI so that it surrounds just the feature of interest. In the Blemish
Demo example, the feature of interest includes the two irregular shapes below the Banner logo.
2.
Adjust the parameters of the sensor by clicking inside the ROI then click the sensor name button.
iVu Plus TG Gen2 Image Sensor
64 www.bannerengineering.com - Tel: 763.544.3164

 Loading...