Chapter 4 FUNCTIONAL TESTS
4 - 4
4.2.6 Power On Self Test (POST): (*D*)
NOTE
Read this entire step before turning the pump on.
1. Switch the pump “ON” and verify the following events occur:
• The pump sounds a high-low beep;
• All segments of the LCD and the LEDs momentarily turn on;
• The pump sounds one short beep;
• An identifier is momentarily displayed at the bottom of the display;
NOTE
AS50 is the factory default identifier.
• The pump prompts for a LIBRARY or MODE selection at the completion
of the POST.
NOTE
If the pump has been configured to operate remotely, REMOTE
CONTROL will appear on the display.
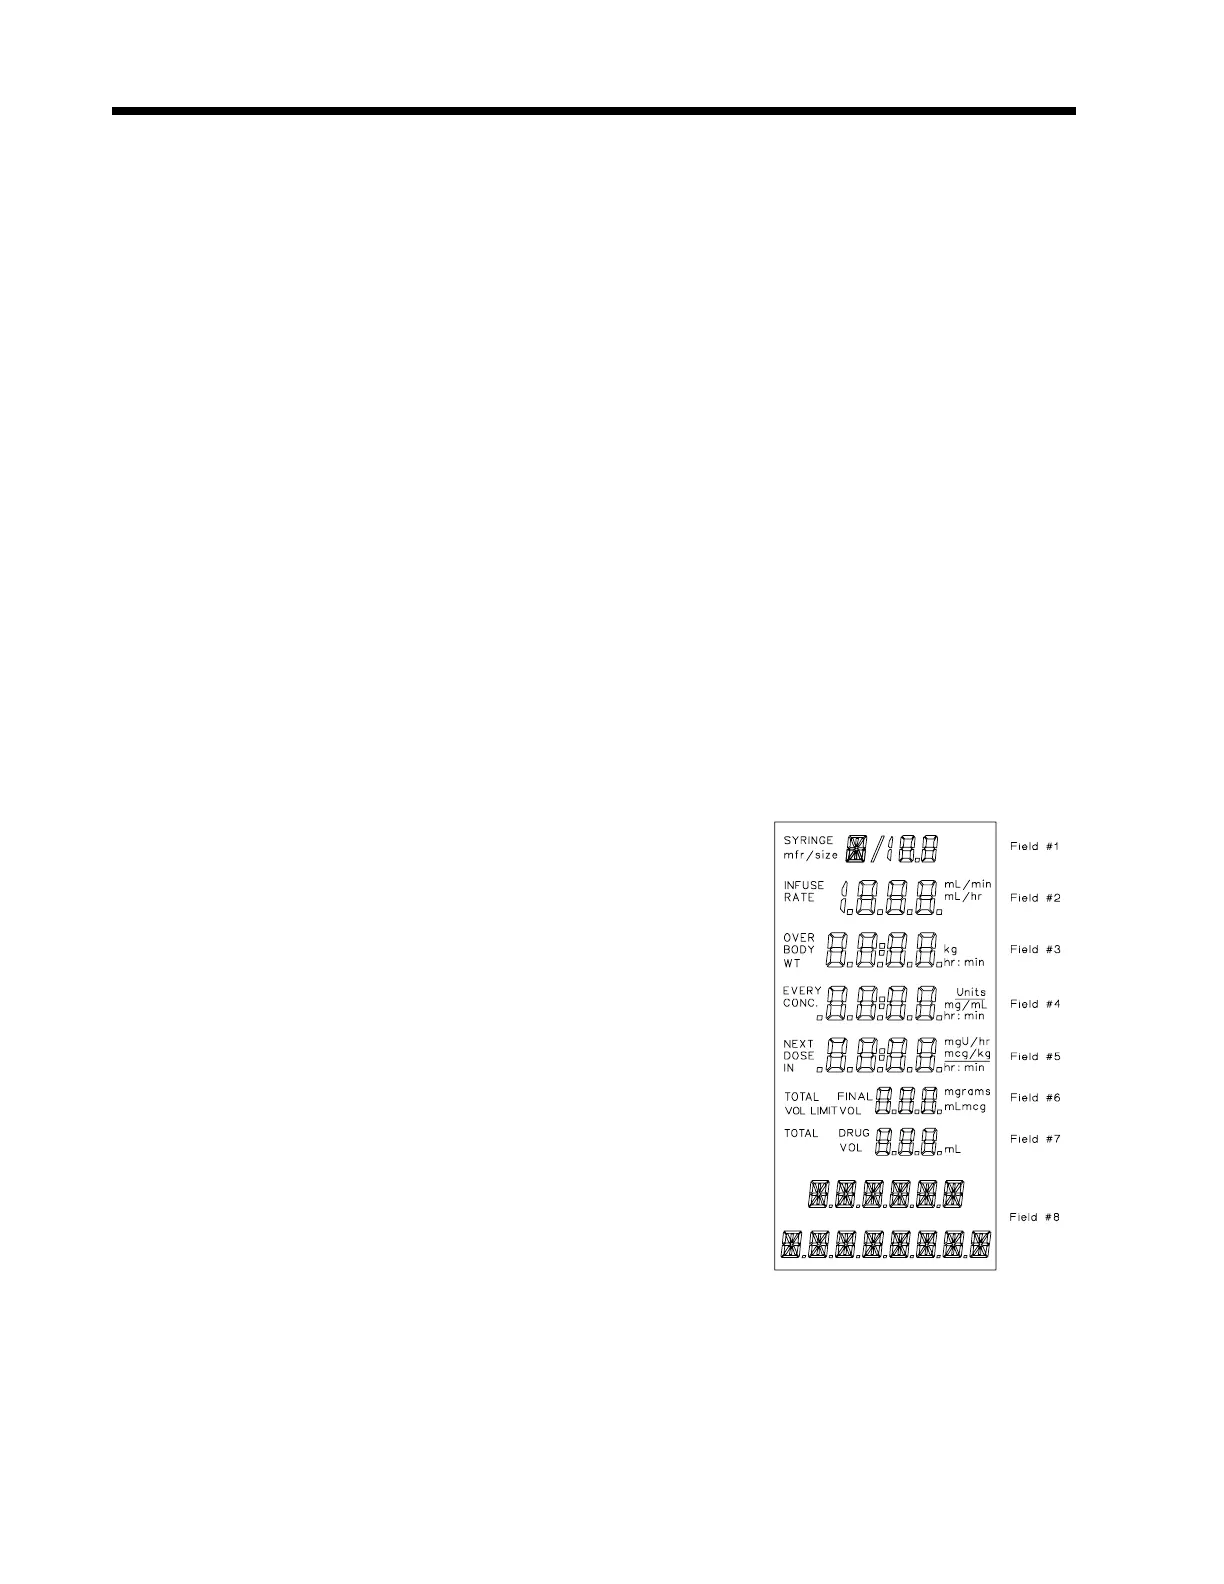
4.2.7 LCD and LED Check: (*D*)
1. (*D*) Switch the pump “OFF.” Depress and hold
the STOP key and switch the pump back “ON.”
While continuing to hold the STOP key depressed,
observe that all nine LEDs momentarily turn “ON”
and all but the “ON CHARGE” LED turn “OFF.”
Continue to hold the STOP key depressed and
proceed to the next step.
2. (*D*) Verify that all segments of the LCD remain
visible as long as the STOP key is depressed and
that each segment appears as shown. Also
confirm that there are no missing segments or
legends on the LCD. Variations in contrast,
however, are permissible. Release the STOP
key. A short beep will sound when the key is
released.

 Loading...

