Chapter 6 TROUBLESHOOTING AND REPAIR
6 - 6
6.3 AUXILIARY LCD TEST
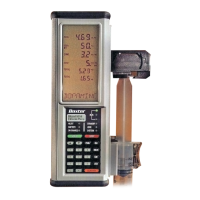
The pump allows a detailed test of the LCD for segment shorts and opens (see Chapter 4
for a detailed illustration of the LCD segments).
1. Switch the pump “ON” and wait for the pump to complete the power-on self test
(POST).
2. Enter the Calibration Review access code 3 2 1.
3. Observe that DRIVEPOS appears on the display. Press CONFIRM repeatedly, until
TEST LCD appears on the display.
4. Press ▲ or ▼ to change the N to Y and press CONFIRM. Do not press CONFIRM
while N is displayed as this will cause the pump to exit the calibration review mode
and restart the POST.
5. The LCD is initially blanked. Each segment in the top line of the LCD is then turned
on for 1/4 second, starting with the SYRINGE mfr/size enunciator on line 1, and
proceeding from left to right through each segment to the last segment on the line.
6. When the last segment has been displayed, the test repeats with the first segment of
the same line. To proceed to the next line, press CONFIRM at any time. Each time
CONFIRM is pressed, testing begins on the next line, rolling over from the bottom line
to the top line.
7. If a segment fails to turn on, or two or more of the segments turn on simultaneously,
then the test has failed and the Digital/LCD PCB needs replacement.
8. Press STOP to terminate the LCD Test. The pump responds by repeating the power-
on self test (POST) and prompts for a selection.
9. Switch “OFF” the pump.

 Loading...