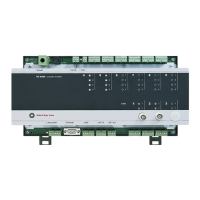
Mounting and Installation Part A VC 6000
TM
Compact monitor
© VC 6000
TM
Compact monitor Juni 2014 C100575.002 Introduction Vers.10 - 34 -
9.6 Commissioning and function testing
9.6.1 Commissioning
♦ Signal-flow chart and configuration sheet
An individual signal-flow chart and configuration sheet exists for each
VIBROCONTROL 6000 Compact monitor .
These two documents can be found at two locations:
1. In a document pocket on the housing cover of the VIBROCONTROL
6000 Compact monitor
. The document pocket has an adhesive
strip which you can use to attach it e.g. to the control cabinet door.
The document pocket with the individual instrument documents
should be secured in the near vicinity of the installed
VIBROCONTROL 6000 Compact monitor for ready access.
2. In section individual instrument documentation of the handbook.
♦ Checking the instrument using the signal-flow chart and the
configuration sheet:
The signal-flow chart shows the structure of the VIBROCONTROL 6000
Compact monitor ; the configuration sheet shows the physical
construction and the connection plug layout.
Using this documentation please check your VIBROCONTROL 6000
Compact monitor .
♦ Making the connections
The connections should be made only by technical personnel!
The connections for the input signals, output signals, reporting signals
and power supply can be identified using the configuration sheet.
We recommend that the connections be made in the following
sequence:
1. The input signals (sensors) = X1 / X2 / X3
2. The output signals (current/voltage outputs, relays) = X4 to X9
3. The reporting signals (OK relay, Power fail) = X21, X23
4. The power supply = X20
♦ How to switch on?
After establishing the power supply the VIBROCONTROL 6000
Compact monitor will be switched on. The instrument will self-load the
firmware in the back-ground of the Flash memory.