1 689 989 087 2018-07-24| Robert Bosch GmbH
Preparing for testing | CRI/CRIN 848H | 83
en
1.1
1.2
12
1
458847-07_Pal
2
3
6
5
8
7
4
1
1
1
A
A
Fig. 68: Connection diagram for commercial vehicle injectors on
EPS 815 (without high-pressure connection)
1 Hose line for injection quantity
2 Injection chamber
3 KMAmeasuring system
4 Injector
5 Return adapter
6 Hose line for return quantity
7 Hose line
8 Heat exchanger
1)
Included in scope of delivery of heat exchanger.
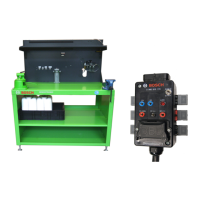
5.3.6 Connect injectors electrically
1. Connect the multiple connector (Fig. 69, item3) to
connection X5 of the trigger electronics (Fig. 69,
item1).
2. Connect ground line (Fig. 69, item2) to ground con-
nection bushing of the actuation electronics.
! Please observe the assignment of injectors when
connecting connecting cable 1 684 463 799. As-
signment must be based on the connected hoses. A
false assignment can lead to wrong measurements
and thus faulty assessment of the injectors.
3. Set cable lug onto the winding connection of the
injector (Fig. 69, item4) and fasten the connections
using a wrench.
458808-34
6
5
1
2
3
4
Fig. 69: Connection of adapter cable 1 684 463 799
 Loading...