Solution 6000-IP
Installation Manual Output Programming
8-20
Bosch Security Systems 10/22 BLCC615I
Outputs > Macros >
Scene
MENU 4-8-2
Each scene follows their corresponding macro. A
maximum of 8 different macros can be configured. A scene
allows the control panel to operate additional outputs etc
when the macro is true.
1) Press [MENU] + [4] + [8] + [2] and use the up and
down arrows to highlight the macro in the list then
press [OK]. Alternatively, you can enter the macro
number directly and press [OK].
2) Use the arrow and number keys to move and
change text. When the macro scene is complete,
press [OK]. At any time you can press the [OFF] key
to clear the text from the current cursor position to
the end of the line.
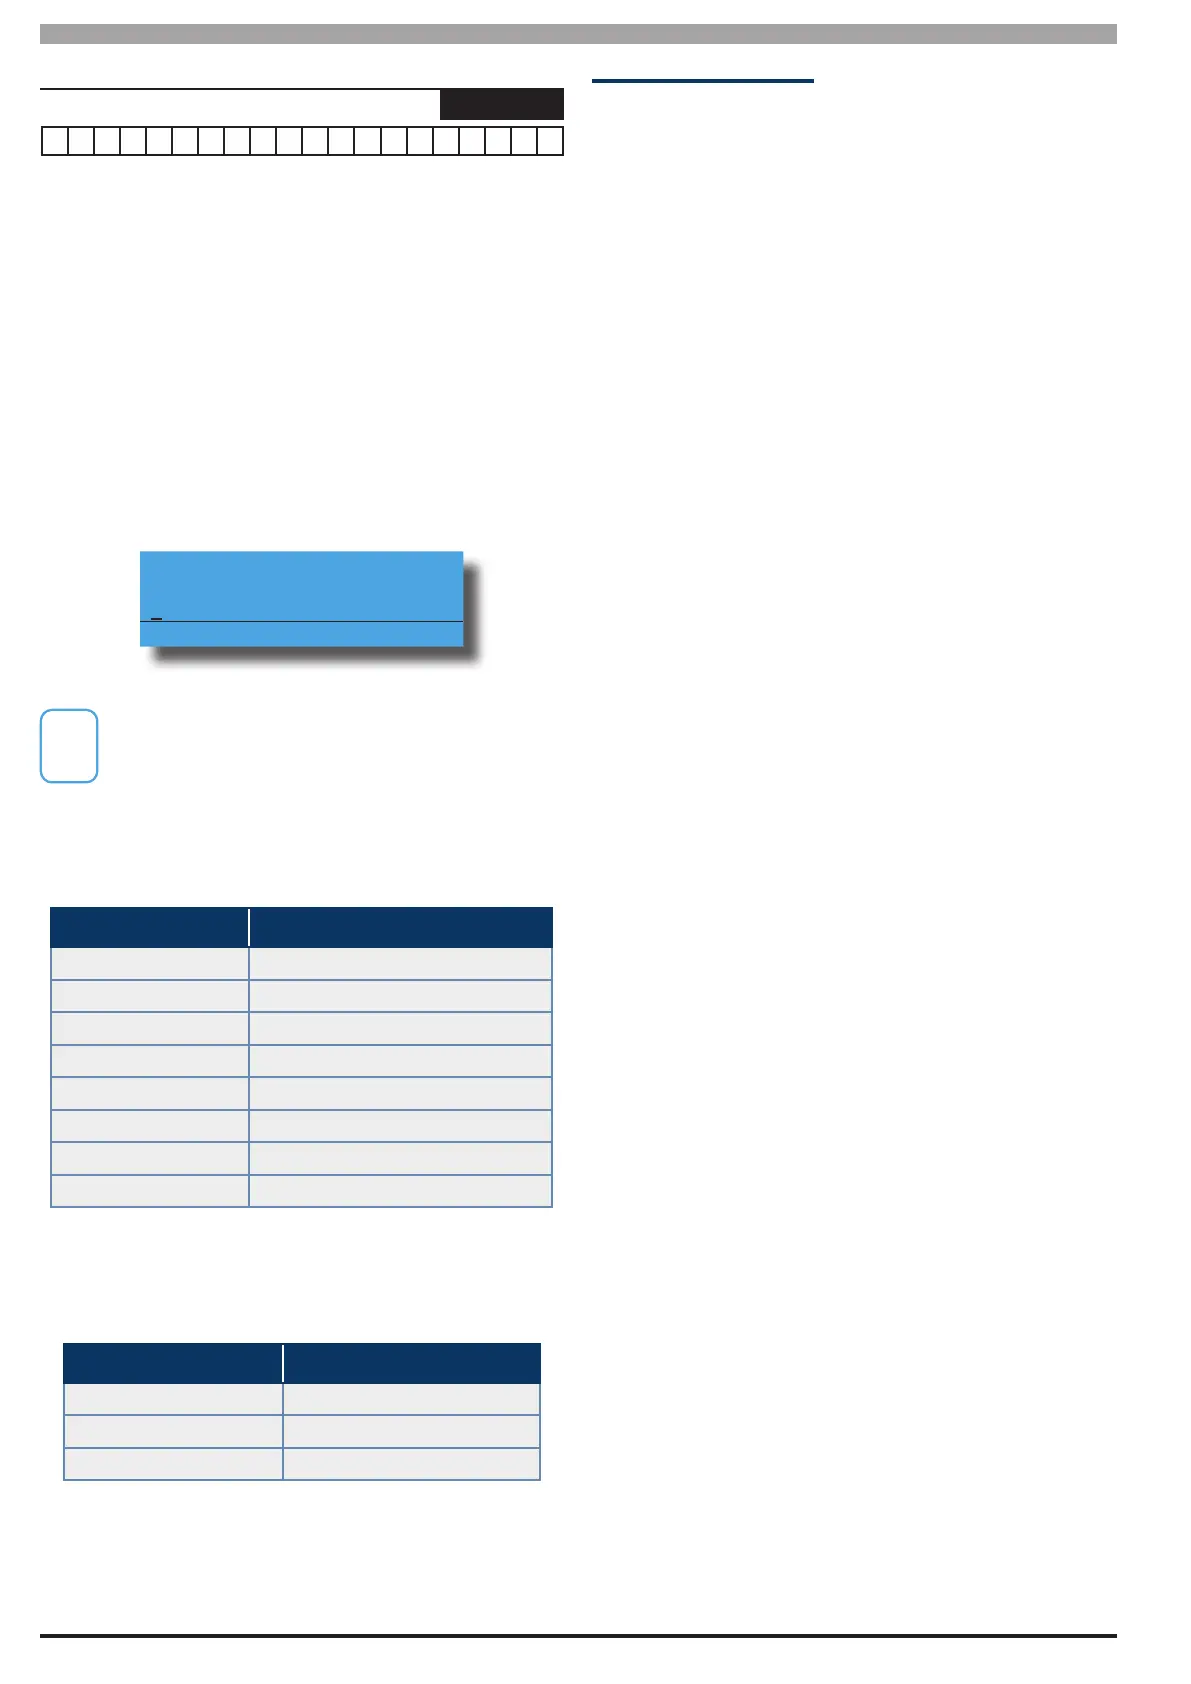
Scene MA1
Press OK to SAVE
See Alpha Text Programming in Section 4 —
Programming Overview for further detail on entering
alpha text.
Only the following characters are supported when
constructing macro scenes.
Script Character Character Represents
O Output
D Door
A Area
P Part 1
Q Part 2
Z Zone Bypass
M Macro (TBA)
C Countdown
Table 24: Macros Scene Characters
The following macro scene operators are available.
Operator Character Operator Meaning
& And
| Or
! Inverted Function
Table 25: Macro Scene Operator Characters
Macro Scene Examples
Following is a list showing examples of how each macro
scene character can be used when the corressponding
macro rule set in MENU 4-8-1 is true.
O5 - Operate Ouput 5.
!O5 - Turn Off Output 5.
D1 - Operate Door 1.
!D1 - Lock Door 1.
A1 - Turn Area 1 All On.
!A1 - Turn Area 1 Off (Disarm).
P1 - Turn Area 1 Part On.
!P1 - Turn Area 1 Off (Disarm from Part On)
Q1 - Turn Area 1 Part 2 On
!Q1 - Turn Area 1 Off (Disarm From Part 2 On)
D1&!A1 - Operate Door 1 and turn Area 1 Off (Disarm)
A1&C60&A2 - Arm Area 1, Wait 60 Seconds, Then Arm Area
2