S83/85 Ultrasonic Generator Installation
A40-064 Rev 0 Page 28
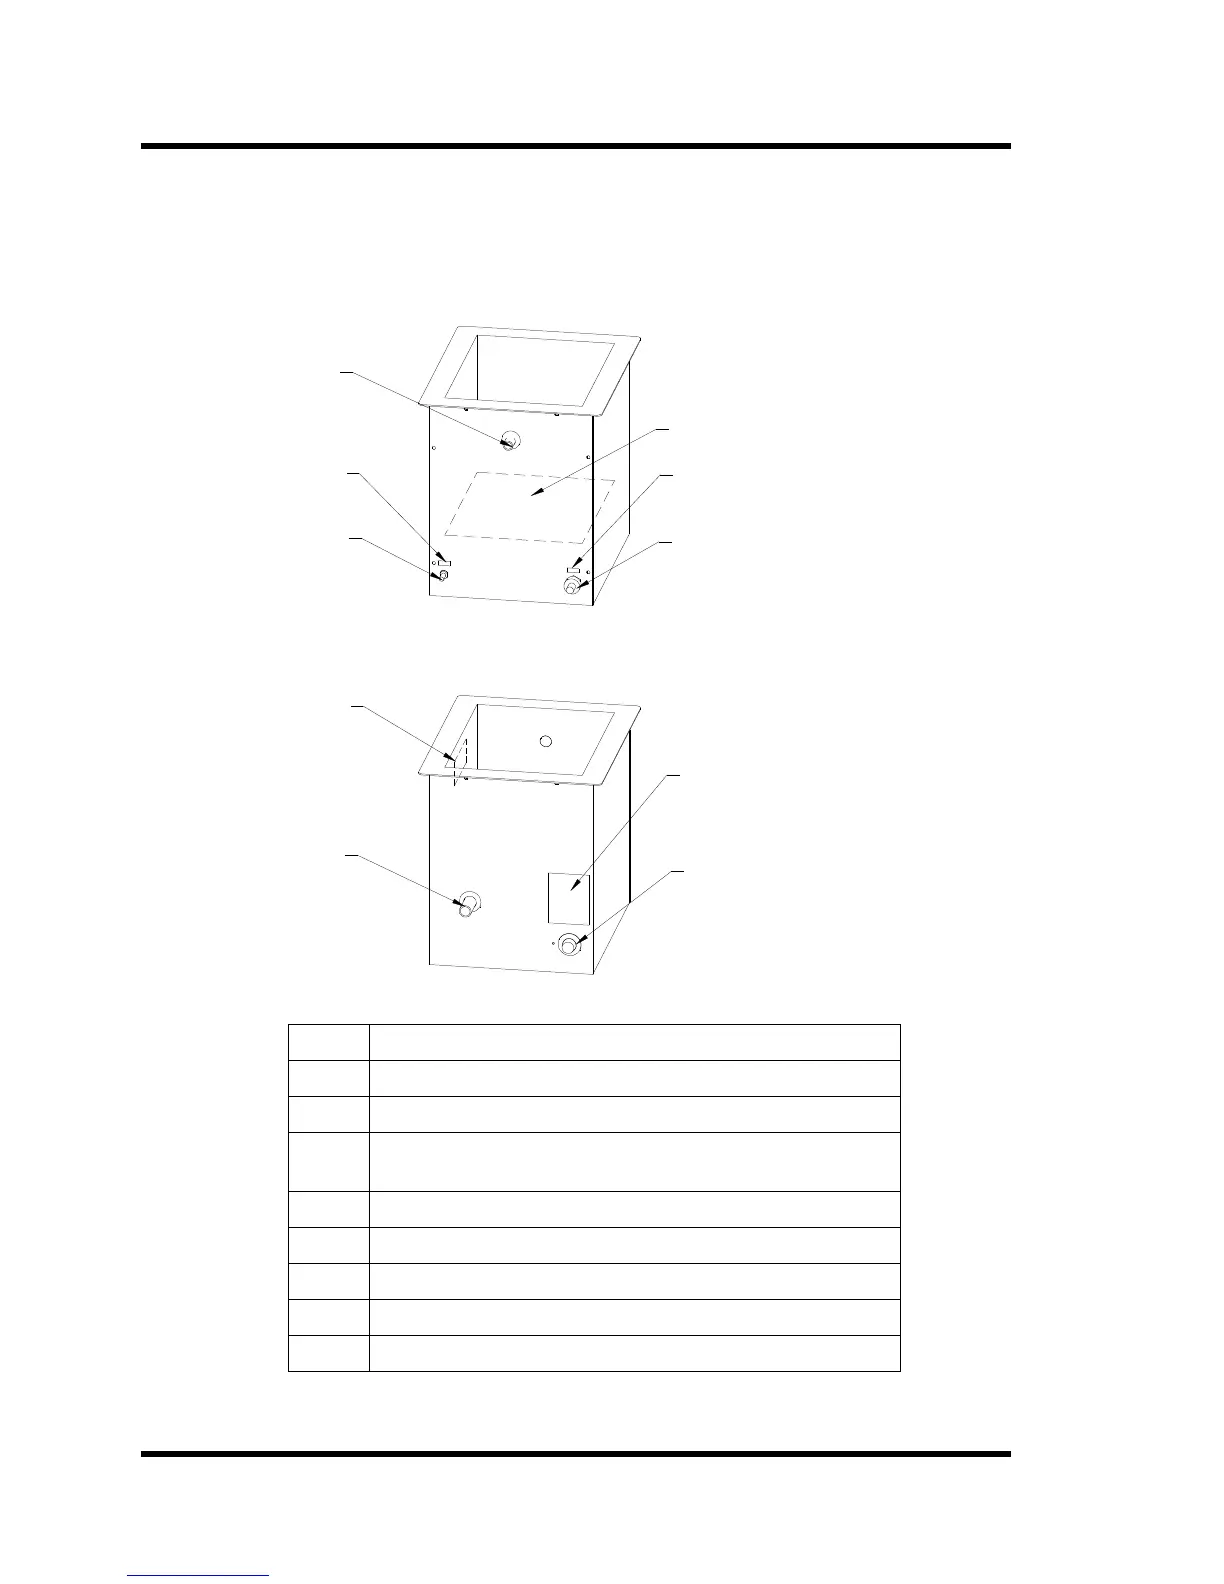
3.7.3 Tank Features
The following figures contain illustrations of the right side and left side of an ultrasonic
tank (CH1012-25-12 shown). The illustration contain callouts to the features of the
ultrasonic tank that you need to know to install and operate an ultrasonic tank.
Figure 3-5 Ultrasonic Tank Features
RF cable to
ultrasonic
power supply
AC line
cord
Fill port
Radiating Surface
Frequency
label
Voltage
label
Tank ID
plate
Warning
label
Temperature
control knob
Drain
port
3.7.4 Installing an Ultrasonic Tank
Step Action
1 Check tank plumbing; make sure drain is closed.
2 If using a heated tank, set temperature control to lowest setting.
3 Fill the tank with liquid to the 3 inches from the top – the same
level as the fill port.
4 If using a heated tank, plug in the heater.
5 Plug RF cable into power supply.
6 Turn on the ultrasonic power supply.
7 If using a heated tank, set the tank temperature.
8 Place parts in basket.