S83/85 Ultrasonic Generator Troubleshooting
A40-064 Rev 0 Page 75
6 Troubleshooting
Overview
This section contains information for troubleshooting the ultrasonic power supply and includes the
following:
• Periodic maintenance – steps for maintaining tanks and immersible transducers.
• Troubleshooting charts – common problems and possible solutions.
• Resistance charts – for isolating defects in the Driver Board.
• Parts list – contains part numbers for replaceable components.
Warning: Ultrasonic Power supplies produce high voltage. Before working on an
ultrasonic power supply, do the following (1) turn off the ultrasonic
power supply and unplug AC voltage; and (2) remove the cover and
allow at least 1 minute for capacitors to discharge.
6.1 Periodic Maintenance
Ultrasonic power supplies, ultrasonic tanks, and immersible transducers require periodic
maintenance every 3 months or sooner.
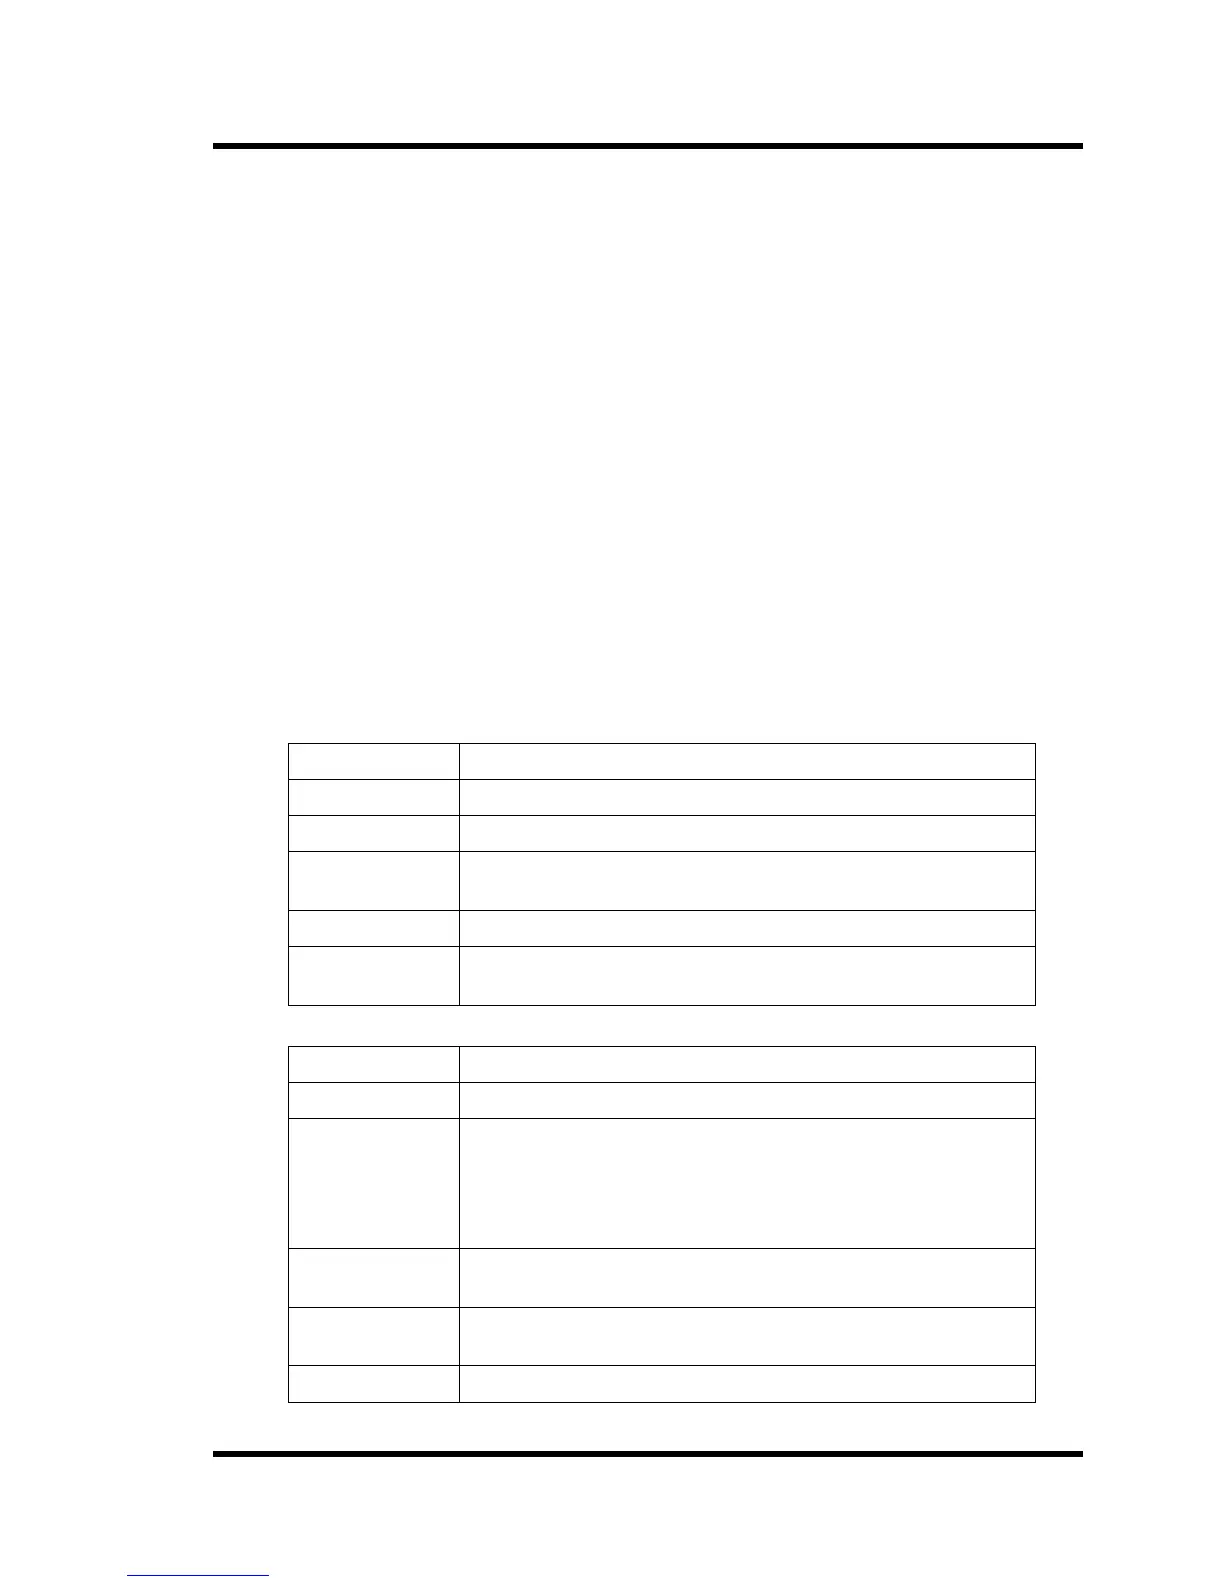
6.1.1 Ultrasonic Power Supplies
Step Action
1 Unplug the Ultrasonic power supply from the AC voltage source.
2 Remove the cover (Figure A-1).
3 Remove any dirt and dust. (You can use forced dry air, filtered to 5
microns).
4 Replace the cover (Figure A-1).
5 Inspect RF cable and line cord for damage or wear. Replace if
damaged.
6.1.2 Tanks and Immersible Transducers
Step Action
1 Drain the tank as required by your application.
2 Use a non-abrasive cloth to remove contamination from cleaning
surfaces or an ultrasonic tank or an immersible transducer.
Caution: Take care never to mar or scratch a radiating surface.
Doing so can accelerate cavitation erosion.
3 For a tank with the pump and filter option, inspect the filter
cartridges and replace when necessary.
4 Inspect the RF cable and line cord (heated units only) for damage.
Replace a damaged cable, and damaged line cord, or both.
5 Refill the tank.