User Manual 5 Step-by-Step Guides
102
This section describes the acquisition of maps using the Mapping workspace. Maps can be saved
as element distribution images or datacube (HyperMap data)*.
Use high count rate for good count statistics.
on the scan configurator to set
Image resolution defines the pixel resolution.
Adjust brightness, contrast and magnification
on the microscope.
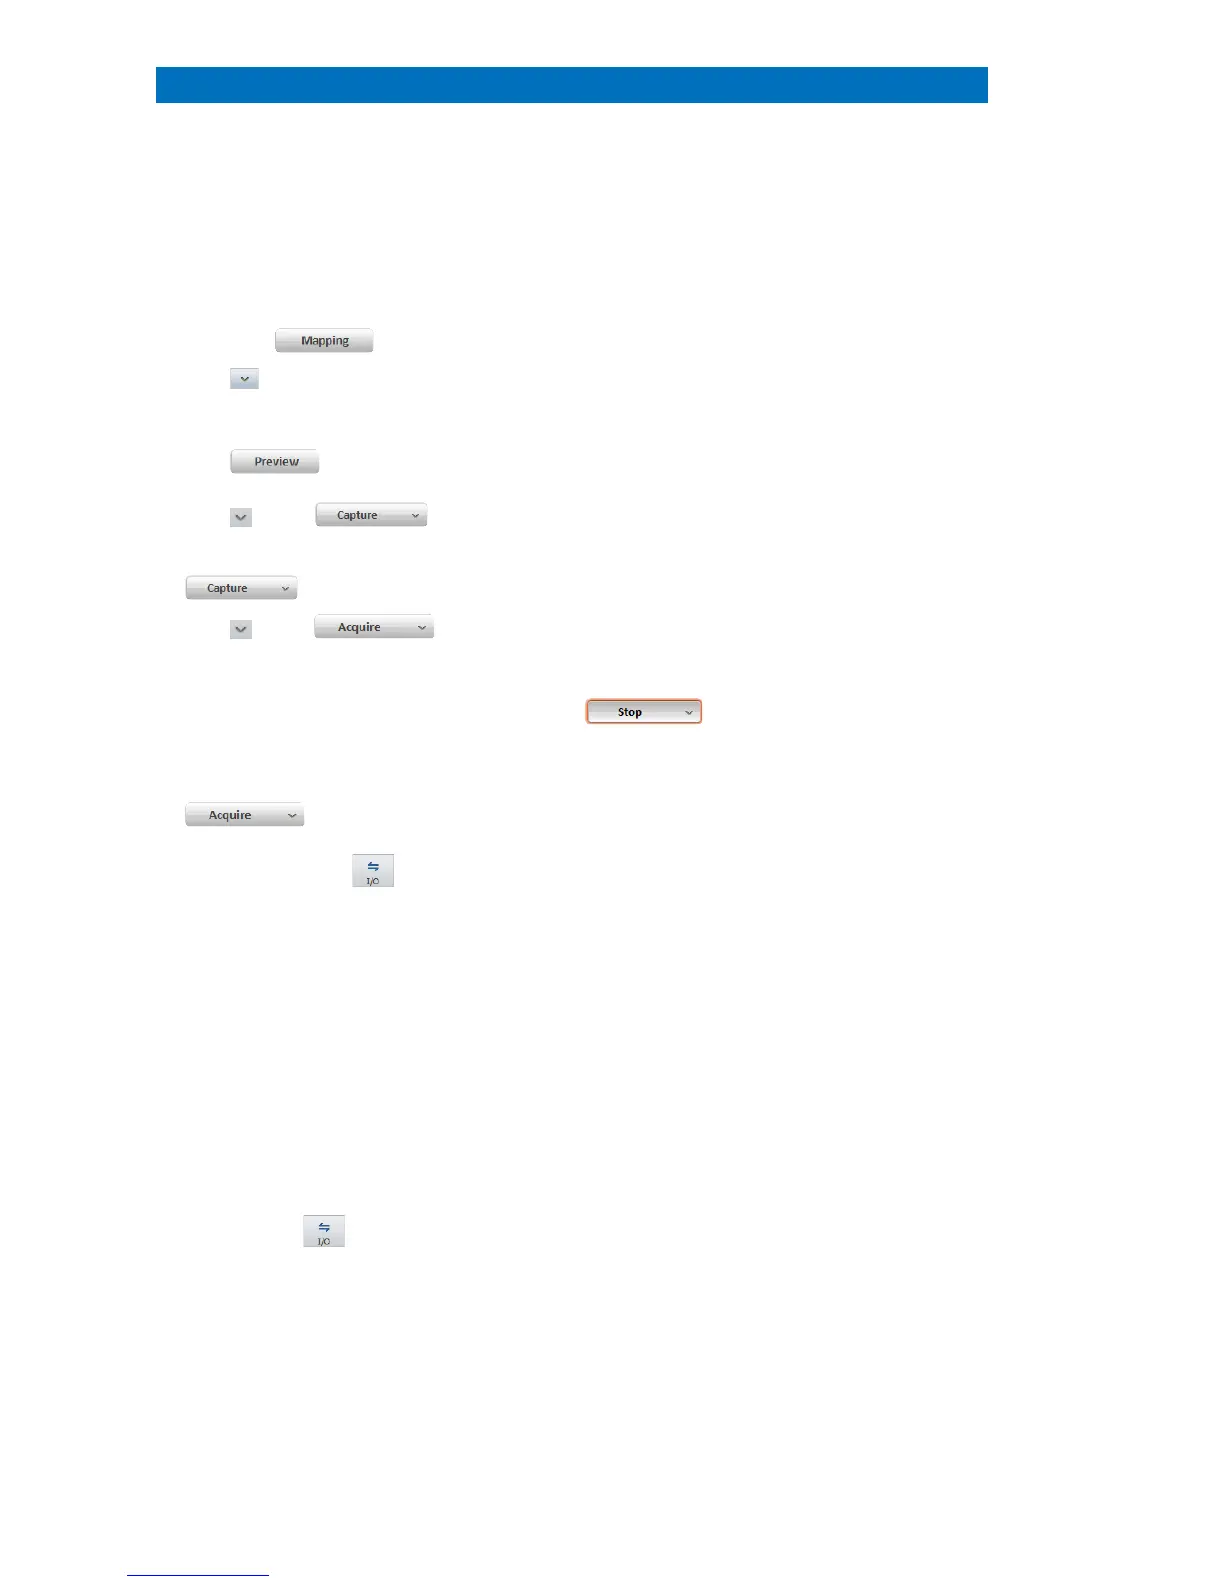
Adjust Capture parameters
ingle or continuous (see section 5.3 for
button and
set parameters for
Mapping is automatically terminated if
Measur
ement time [s] or Cycles is set.
Manual is selected acquisition has to
be stopped manually by clicking
the
button. One click terminates
scan after finishing the last frame,
The processing of map data is described in
section 5.19.
Use the workspace icon to
bcf: to save HyperMaps (datacube,
hyperspectral data set). Spectra for each pixel
are saved.
Further processing is possible
only, when data is saved as a .bcf file.
rtm: To save element distribution images
raw: To save hyperspectral datacube for
processing with third party softwares
Note: Only the EM image, composite
element images and Map
not the whole
hyperspectral database (HyperMap).
Use the chart icon of Map tab to
map image (Element selection,
Settings, Result table)
Use image file formats (.bmp, .png, .jpg, .tif)
to save
the composite element image.
Alternatively, click with the right mouse
button into the map.
Composite element image will be added to
Project

 Loading...