4-19
INSTALLATION
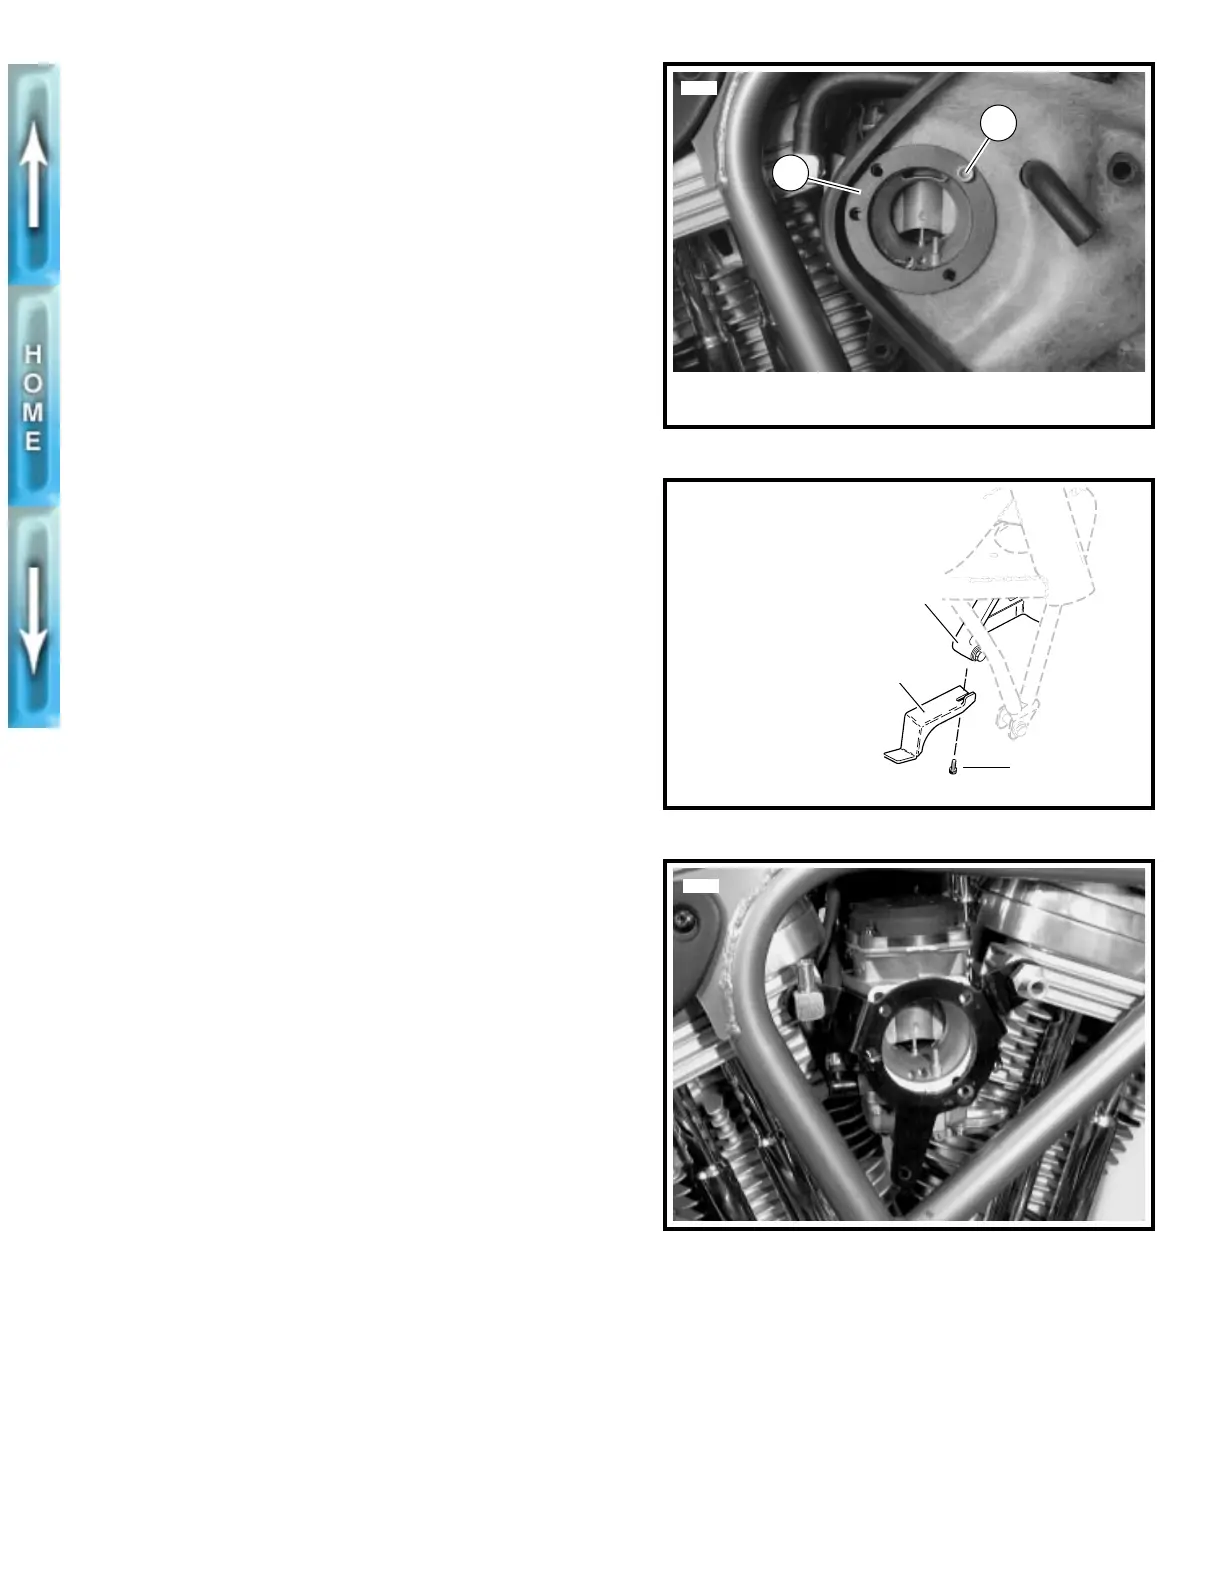
1. See Figure 4-20. If removed, apply HYLOMAR to threads
of breather bolts. Install air cleaner support ring using
breather bolts and washer. Tighten breather bolts to 10-
15 ft-lbs (13.6-20.3 Nm).
2. See Figure 4-16. Attach breather hoses.
a. If removed, attach hoses to breather bolts in cylinder
heads.
b. Slide hoses through backplate.
c. Connect hoses to tee fitting.
d. On California models, insert fresh air hose from can-
ister through backplate.
3. See Figure 4-19. Apply LOCTITE THREADLOCKER 242
(blue) to air cleaner front support screw. Install support/
backplate and tighten screw to 3-5 ft-lbs (4.1-6.8 Nm).
NOTE
Step 3 may require a cut down allen wrench.
4. See Figure 4-18. Apply LOCTITE THREADLOCKER 242
(blue) to screw. Install ring with screw through backplate.
Tighten to 7-9 ft-lbs (9.5-12.2 Nm).
5. See Figure 4-17. Apply LOCTITE THREADLOCKER 242
(blue) to screws. Fasten snorkel tube with ring and two
screws. Tighten to 6-8 ft-lbs (8.1-10.8 Nm).
6. Check air cleaner filter. See AIR CLEANER FILTER in
Section 1. Attach filter box with filter to snorkel tube.
7. Connect breather hose to snorkel tube.
8. See Figure 4-15. Place cover over backplate assembly.
Install screw and washer into top well nut.
9. Install screw, nylon washer and locknut at rear mount.
Tighten to 6-8 ft-lbs (8.1-10.8 Nm).
Figure 4-18. Air Cleaner Spacer
Figure 4-19. Air Cleaner Front Support
Figure 4-20. Breather Bolts
1. Air cleaner spacer with gasket
2. Screw
1
5679
2
Front isolator mount
Air cleaner front
support
Screw
b0249x4x
NOTE
Air cleaner backplate
not shown.
5752