57
Contents
Preparation/
Setup
Print Using a
Computer
Appendix
IndexPrint/SaveInput/Edit
Names of
Components
Maintenance/
Printer Settings
Trouble-
shooting
6
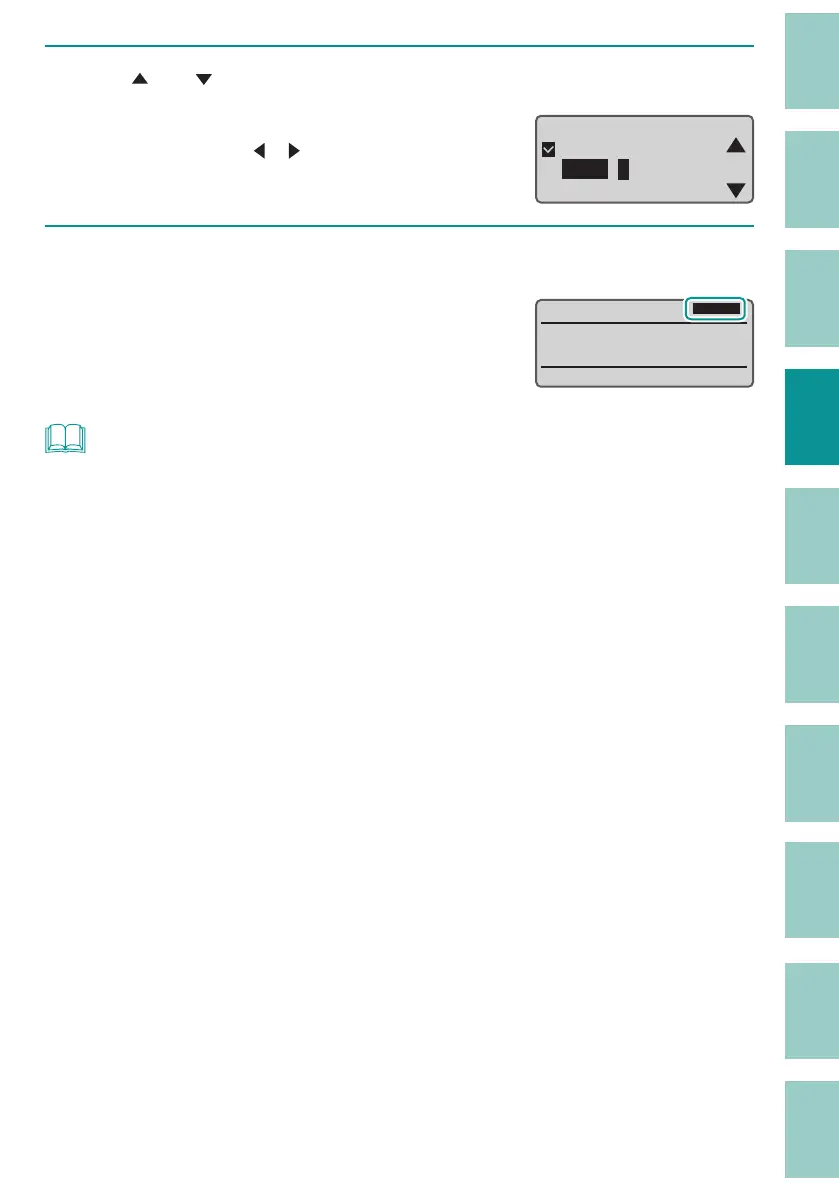
Use [ ] or [ ] to select "Left" and enter "5" (margin).
The value can be set by entering numbers or
using arrow keys ([
]/[ ]).
Alignment
ɻɻ
Centered
Left : 5㎜[2 to 5]
Right :5㎜[2 to 5]
7
Press the [Enter] key.
The display returns to the character input
display. Input the characters.
Cut length and alignment can be checked
on the displa
y.
˛
/
NOT
• The cut length and alignment can be set for each page.
• Depending on the character size, some cut lengths cannot be speci ed.
• If you want to change the cut length of all pages, use "Batch Setting."
(P.63)
In Batch Setting, the
"Cut Length," "Alignment," "Plate Print Area," and "All line centering" settings are applied to all pages.
• Approximately 60 mm from the print start position, there may be a slight di erence between the
speci ed cut length and the print result.
• Depending on your print media and environment, the cut length and margins may di er from the
settings. If the results are not as expected even after setting the cut length and margins, ne-tune the
cut length and print position. For more information on ne adjustment of the cut length and print
position, refer to
"Fine Adjustment of Print Position and Cut Length (P.85)"
.
• When the Plate Print Area is set to "Expansion," the "Left" and "Right" margins cannot be set. (They will
be set to "0 mm.")
(P.58)
• When the print media is a label or a plate, the cut length is "less than 8.0 mm;" when the Plate Print
Area is "Normal," the alignment is "Centered" and the settings cannot be changed.
• When the orientation is set to "Vert/Hor char," the alignment cannot be set.
 Loading...