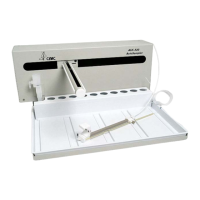
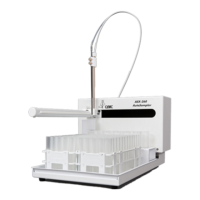
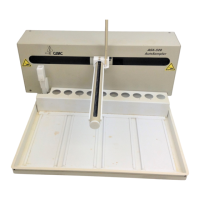
ASXPRESS PLUS Rapid Sample Introduction System Operator’s Manual
Chapter 3: Preparing an ASX-500/510 Autosampler
22
3 Thread both tubes under the autosampler.
4 Connect the drain tube from the rinse station to a suitable waste container,
ensuring that the end of the drain tube does not become submerged below the
waste liquid level, as that condition will impede proper drainage. Note: This
length of tubing may be cut to accommodate your specific
position/arrangement.
5 Gently push the modified rinse station into place onto the rinse station holder
block (mounted on the autosampler front cover) and turn it ¼ turn clockwise.
6 Replace the screw to secure the rinse station.
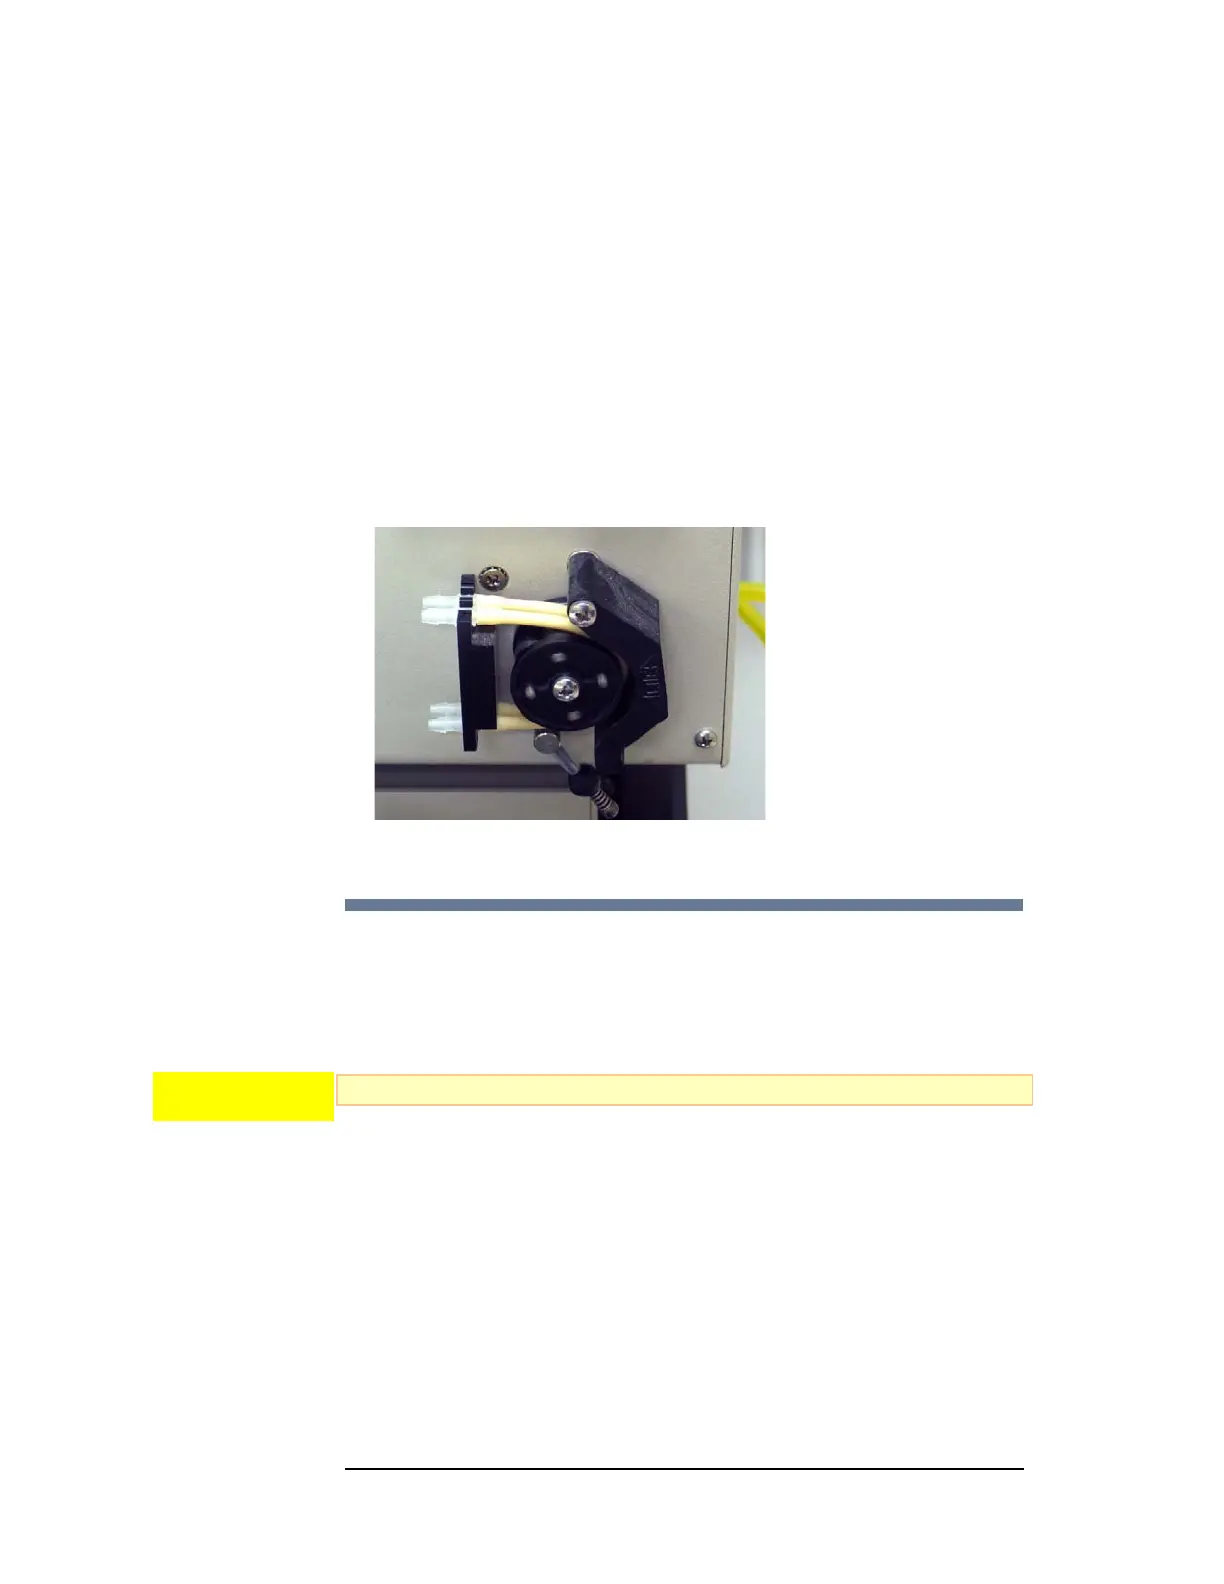
7 Do not connect the tubing to the peristaltic pump on the autosampler. Instead,
a higher-speed external pump will be used.
Figure 3-2 Leave the Peristaltic Pump Disconnected
Install the External Rinse Pump
An external peristaltic pump, which is faster than the one built into the
autosampler, must be used to supply the rinse station.
The pump will be powered by the ASX
PRESS PLUS electronics module.
Use only the pump provided with the ASXPRESS PLUS system.
1 If you have not already done so, remove any tubing connected to the built-in
pump and set it aside.
2 Find the Y-tubing assembly which is attached to the rinse station. Attach both
free ends to the output of the two pump channels. See Figure 3-4.
3 Attach a length of tubing to the input of both one channel.
4 Place the other end of this tubing assembly into the container of rinse solution.
5 Leave the input of the other pump channel disconnected (open to the
atmosphere).
CAUTION