ASXPRESS PLUS Rapid Sample Introduction System Operator’s Manual
Chapter 4: Preparing an ASX-260 or ASX-520 Autosampler
27
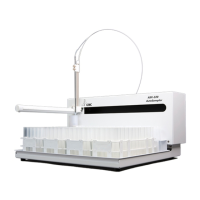
Installing the Xpress Rinse Station
An Xpress rinse station (Figure 3-1) and associated modified tubing
arrangement is required to accommodate the design requirements of the
ASX
PRESS PLUS system.
The Xpress rinse station allows the rinse solution to flow efficiently at the high
flow rate used by the ASX
PRESS PLUS system.
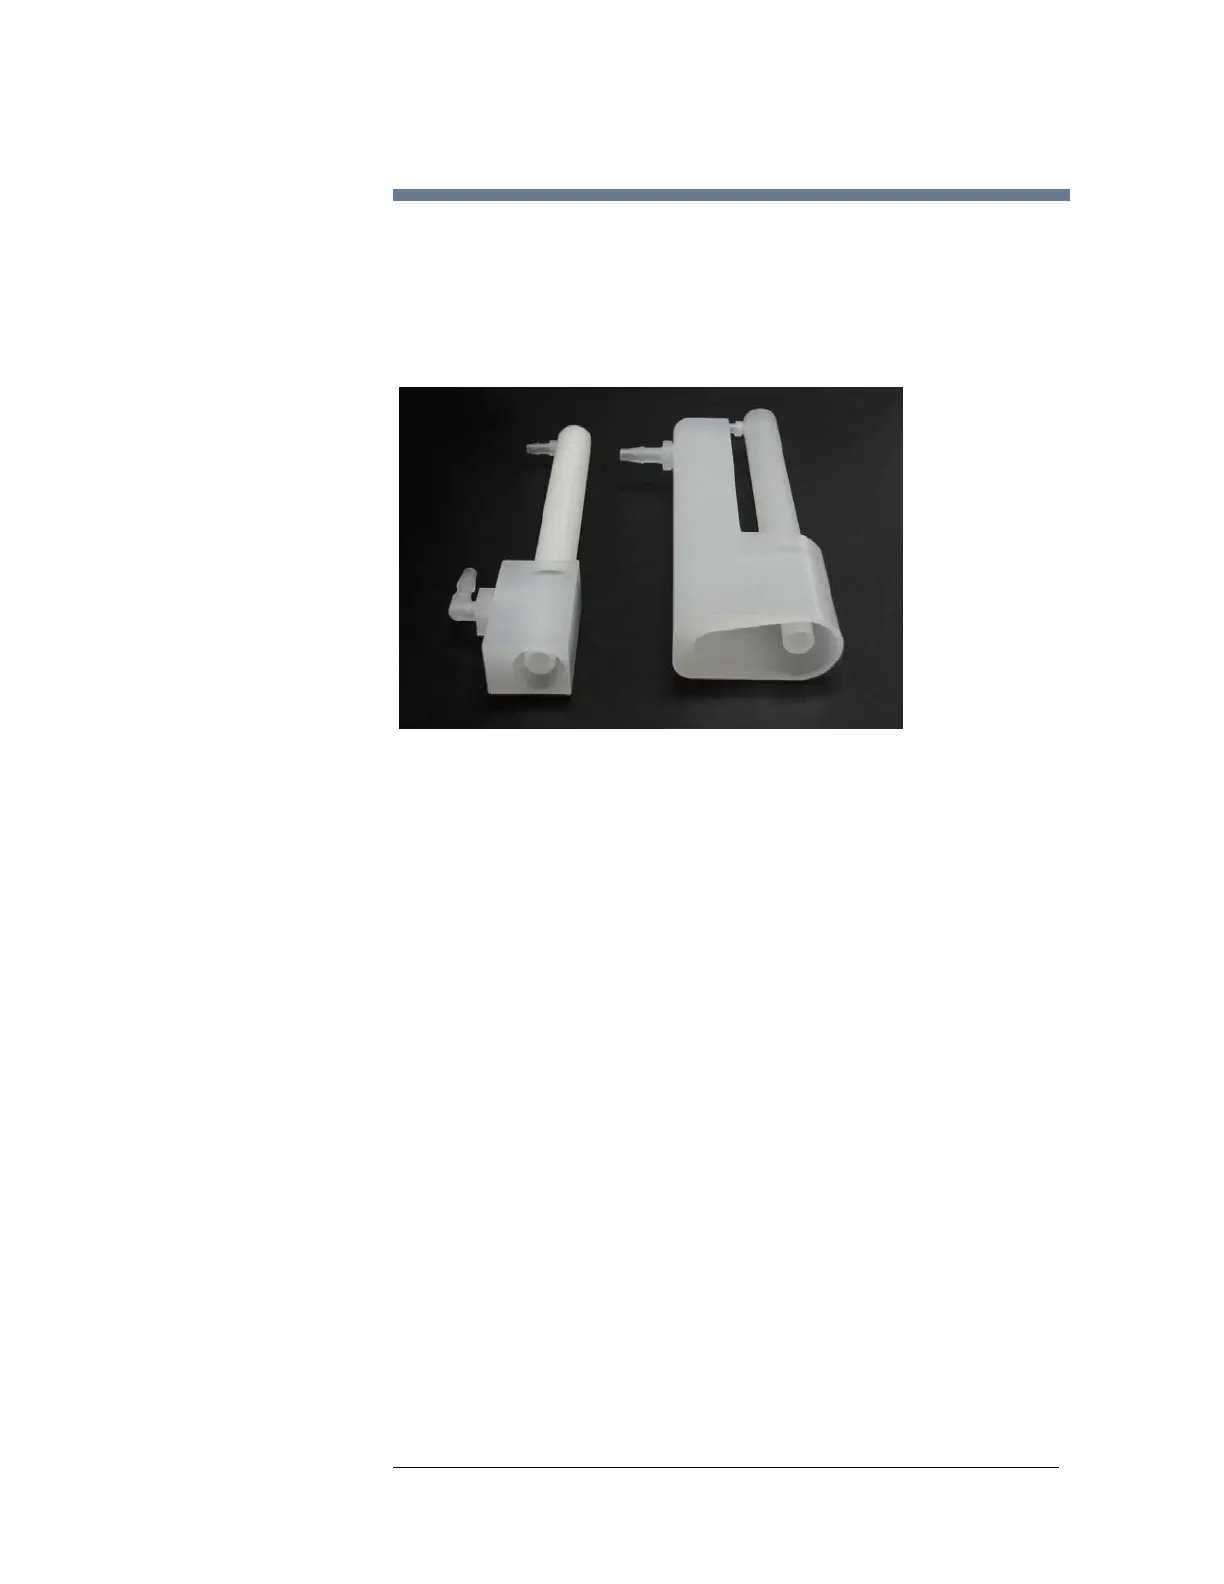
Figure 4-2 Xpress Rinse Station for ASX-500/510/520 Autosamplers
Removing the Existing Rinse Station
1 Verify that the autosampler is turned off and unplugged, and that no hazardous
materials are present in the rinse station or tubing.
2 Turn the rinse station ¼ turn counter-clockwise while pulling up.
3 Note how the rinse tubing is threaded underneath the autosampler.
4 Remove the tubing connecting the rinse station to the peristaltic pump.
5 Remove the tubing connecting the rinse station to the drain/waste container.
Set the rinse station and all tubing aside, as those items will not be
reinstalled. You may wish to store the rinse station in a labeled plastic bag,
in case the autosampler ever needs to be restored to its original state.
Installing the Xpress Rinse Station
1 Gently push the Xpress rinse station into place onto the rinse station holder
block (mounted on the autosampler front cover) and turn it ¼ turn clockwise.
2 Replace the screw to secure the rinse station.
Standard Rinse Station Xpress Rinse Station