ASXPRESS PLUS Rapid Sample Introduction System Operator’s Manual
Chapter 4: Preparing an ASX-260 or ASX-520 Autosampler
34
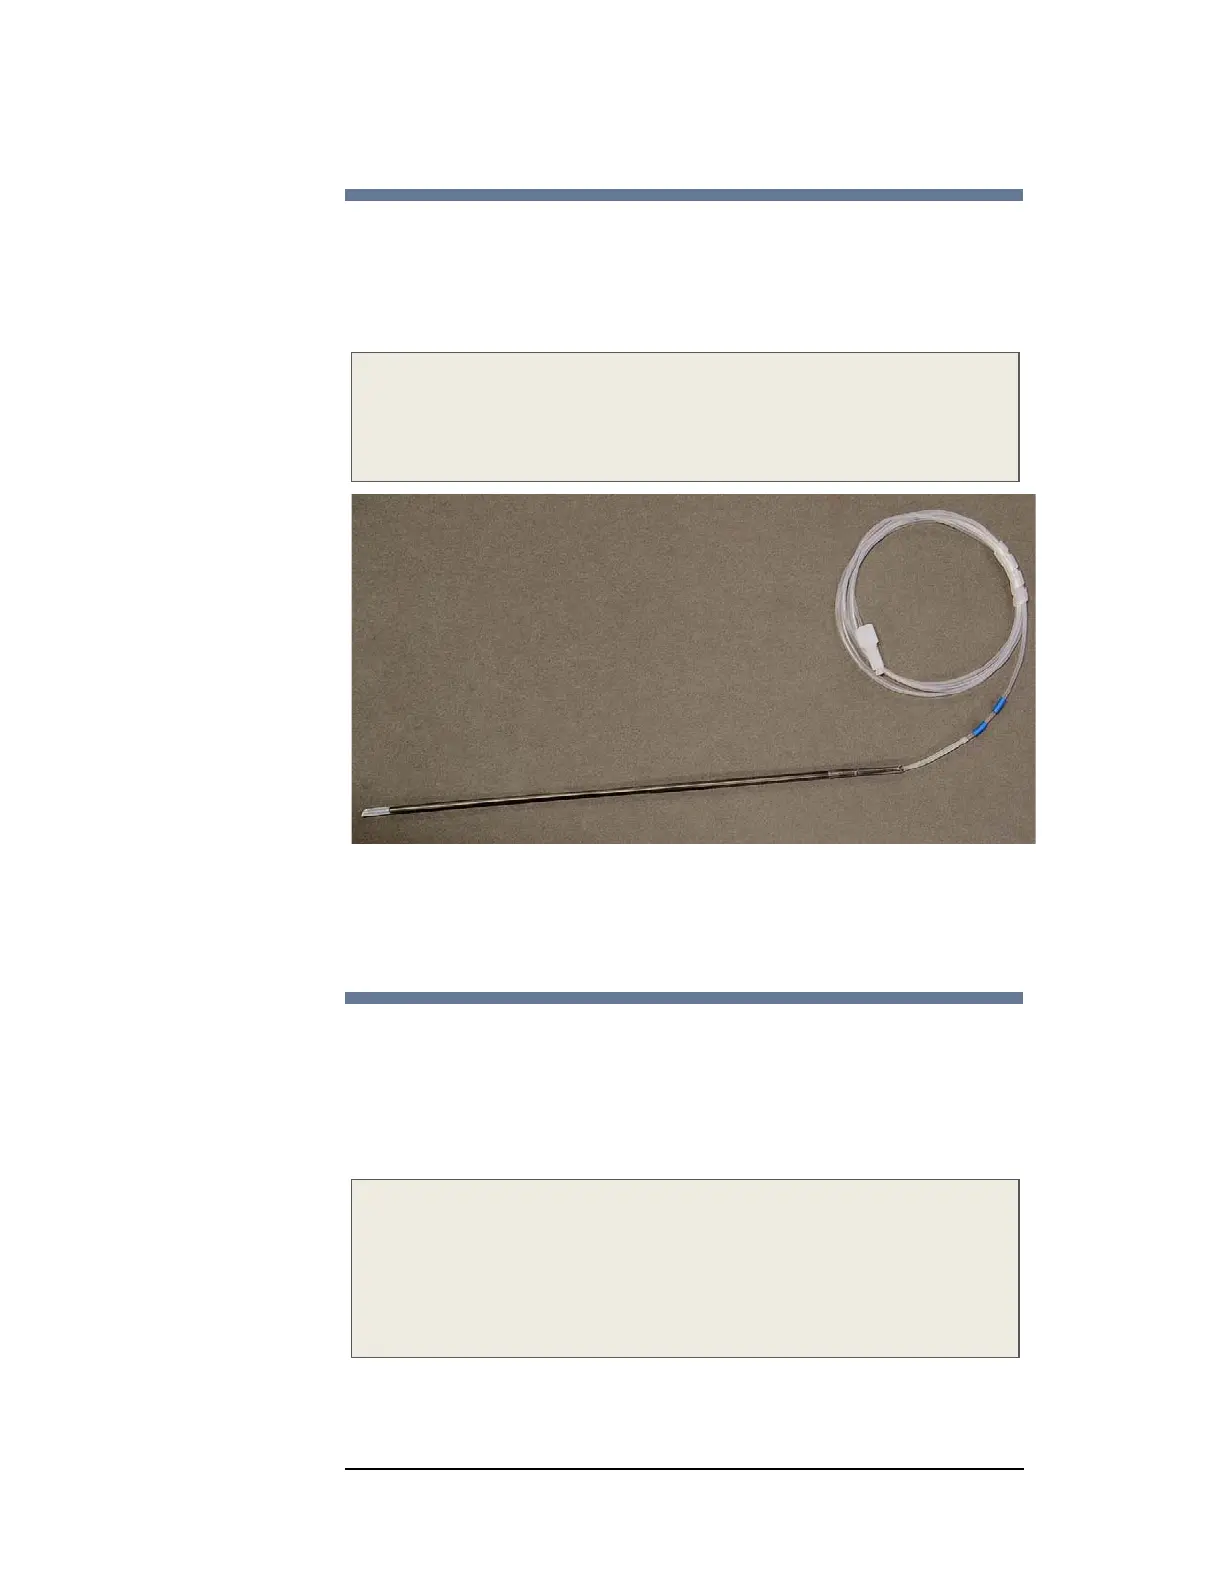
Installing the 1.0mm ID Sample Probe
A 1.0mm ID sample probe (Figure 3-5) is provided for use with the CETAC
autosampler for proper operation with the ASXpress
PLUS system. Refer to the
autosampler Operators Manual to replace the probe with the 1.0mm sample
probe, which is attached to the ASX
PRESS PLUS 6-port valve at Port #2.
NOTE
The 1.0mm I.D. sample probe must be installed on the autosampler or the
ASXPRESS PLUS Rapid Sample Introduction System will not perform properly. It is
identified by double blue bands (Figure 3-5) installed on the probe tubing.
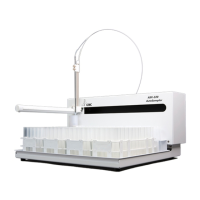
Figure 4-10 Double Blue Bands Identify the 1.0mm I.D. Sample
Probe (carbon fiber probe shown is standard equipment)
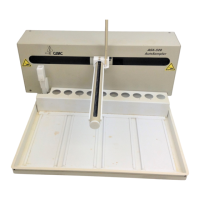
Accessing the Interior of the Autosampler
In most cases, you do not need to open up the autosampler. However, you may
need to open up the autosampler to:
Upgrade the autosampler firmware
Adjust the speed of the built-in peristaltic pump
NOTE
Your equipment may differ in appearance from what is shown in the photos.
The photos represent typical CETAC instruments from a range of eras and
applications. Most of the photos depict a standard ASX-520 with a standard
rinse station; note that for the EXR-8, the standards rack is attached to
autosampler and not integrated into the tray.
1 Place the autosampler on a flat surface and ensure that the unit is powered off.
2 Remove the two Kynar thumbscrews from the Y-axis home block.