ASXPRESS PLUS Rapid Sample Introduction System Operator’s Manual
Chapter 11: Maintaining the ASXpress Plus Rapid Sample Introduction System
121
Replacing or Reorienting the 6-Port Valve
The 6-Port valve assembly has a finite lifespan that is dependent upon the
conditions and sample media to which it is exposed. Exposure to higher
sample solids levels reduces the valve lifespan.
To determine whether the 6-port valve requires replacement, inspect the unit
for these conditions:
Valve dripping or leaking from the overflow hole behind port #4 at bottom
of the valve body.
With no other apparent problems, air is present in the lines (indicating a
leak or poor seal).
The valve can also be reoriented so that the nebulizer port is as close as
possible to the nebulizer.
Note that any time the 6-port valve body is removed from its actuator, the valve
will require retraining (reinitialization).
To replace or reorient the 6-port valve:
1 Unplug the valve/pump module cable from the electronics module.
Leave the electronics module powered on.
2 Remove the tubing/connectors on the 6-port valve.
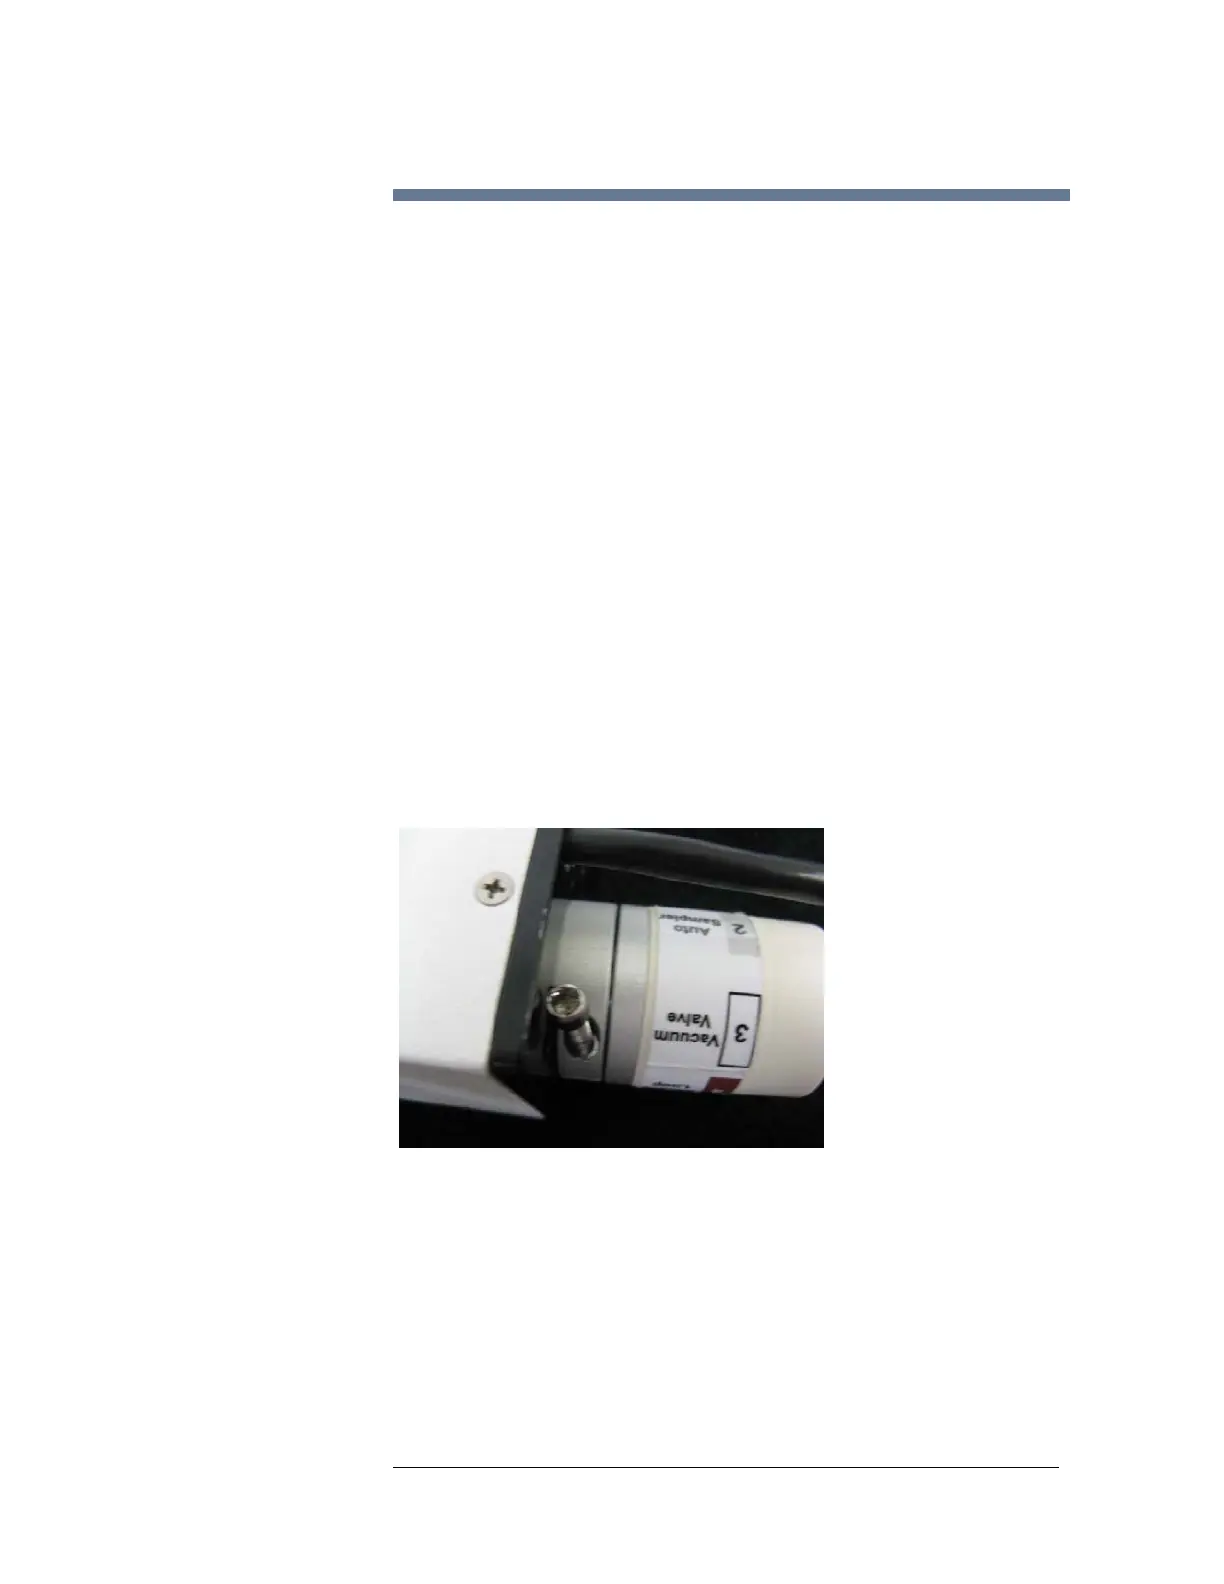
3 Using the provided hex key, loosen the hex screw on the locking collar which
secures the base of the valve to the body of the valve/pump module.
Figure 11-5 Locking collar with hex screw loosened
4 Place the pump/valve module on its back, on a tabletop.
5 Firmly but carefully pull the valve straight up.
Now, before you reinstall the valve, retrain the valve actuator:
6 Start the Xpress Configuration Tool and make sure it is communicating with
the electronics module.
7 Expand the GUI using the arrow button on the right side of the window.