ASXPRESS PLUS Rapid Sample Introduction System Operator’s Manual
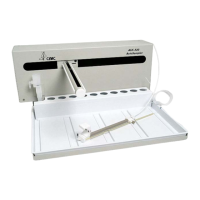
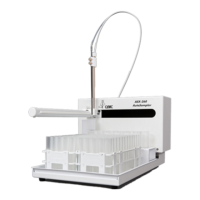
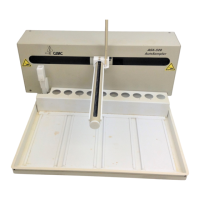
Chapter 4: Preparing an ASX-260 or ASX-520 Autosampler
50
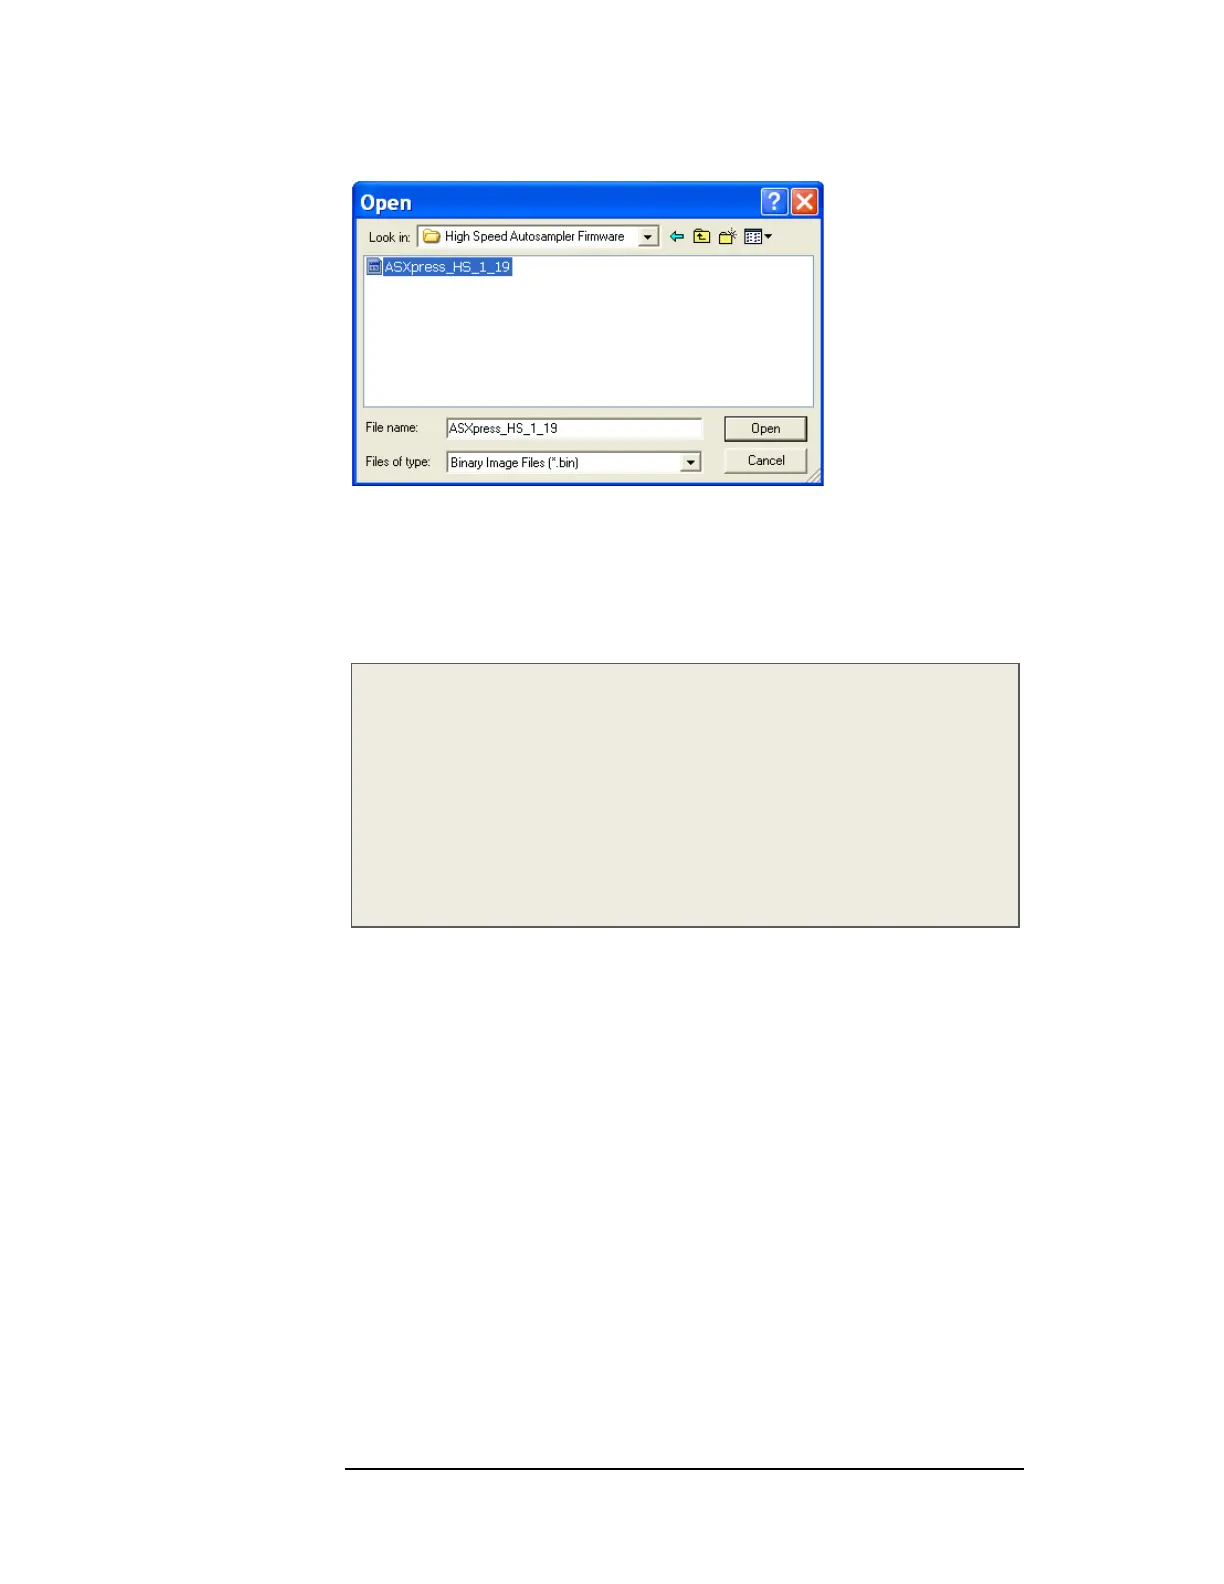
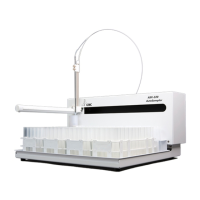
Figure 4-31 “Open” Window (ASX-520HS)
7 Click the Open button to select the appropriate file (Figure 3-67 and Figure 3-
68). The “Choose Flash Image” window reappears.
8 Click the OK button (Figure 3-66). A progress bar will appear indicating
loading of the selected firmware file.
NOTE:
The .bin file name shown in Figure 3-63 (i.e. ASXpress_1_19 or
ASXpress_HS_1_19) will vary depending on which era ASXPRESS FW is being
loaded. CETAC Technologies makes every effort to update the firmware as
needed to ensure that the most beneficial functionality is provided to the
customer.
As of December 2009, the most current firmware version file name is
“ASXpress_1_19” for standard speed autosamplers or “ASXpress_HS_1_19” for
High Speed autosamplers.
9 When the status bar completes its movement, indicating completion of the
firmware load to the rabbit module within the autosampler, the Rabbit Field
Utility can be closed.
Returning the Autosampler to Normal (Non-Programming
Mode) Configuration
1 Turn off the autosampler.
2 On the ASX-520/520HS board, move jumper JP5 and JP6 back to JP3 and JP4, or
On the ASX-260 board, move jumper JP4 back to JP2 and leave JP3 in place.
3 Turn the autosampler back on. The autosampler should go to the home
position.