ASXPRESS PLUS Rapid Sample Introduction System Operator’s Manual
Chapter 8: Installing the Software
93
NOTE
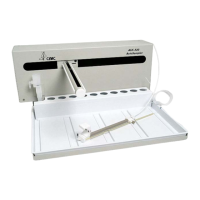
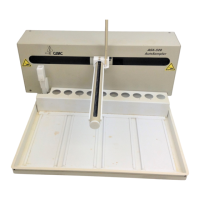
Visually inspect the six port injection valve, three port valve, vacuum ports, and
all other components, such as cabling, enclosure, tubing, etc., for any signs of
damage. Pay special attention to all tubing to ensure that no kinks exist
If you detect a leak or other damage to any ASXPRESS PLUS component, you must
replace it. For more information, refer to the appropriate section in Chapter
. Kinked
tubing will impair performance of the ASXPRESS PLUS system by reducing flow
rates.
11,
“Maintaining the ASXpress Plus Rapid Sample Introduction System.”
Making sure the system is ready
Verify that:
• The equipment is positioned so that you can quickly disconnect power
if something goes wrong.
• All tubing connections are secure.
• The rinse solution intake tube is submerged in the rinse container, and
the waste tube is well above the surface of the liquid in the waste
container.
• The valve/pump module is plugged into the electronics module.
• The electronics module is connected to the host computer, the
autosampler, and the power supply.
• The autosampler is set up and turned on.
• The electronics module is turned on.
Setting the communication port
1 The Xpress Configuration Tool window should still be open from when you
installed the software. If not, double-click the tool icon.
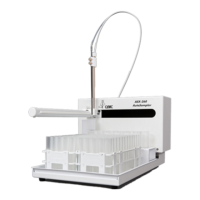
2 Click the Comm Port field and select the serial or USB port where you
connected the GUI COM cable.
Remember, if you use a USB connection, it will emulate a serial connection, and
the serial port emulation is tied to a specific USB port.
Verifying communication
1 Click the Connect to ASXpress+ button.